Notification Management
Notification Management
The Notification Management module allows users to set up channels and examples for receiving messages about Control server activities: Automation processes, Schedules, Nodes, and Human tasks.
You can access the module by clicking Administration → Notification Management. Required Permission: Channel-READ, Template-READ and Administration-READ. See Role Permissions.
Channels
Сhannels allows configuring the address of the final recipient of the notifications. You are able to set notifications for email and slack (see Notification Service).
Also to receive results of some Automation processes (for example, Debtor Analysis, SAP Material Management) you need to add channels with the name that are specified in the Automation process configuration parameters. Option sending results is configured by developers; the templates are included in the AP package and loaded with upload button in Automation Process module.
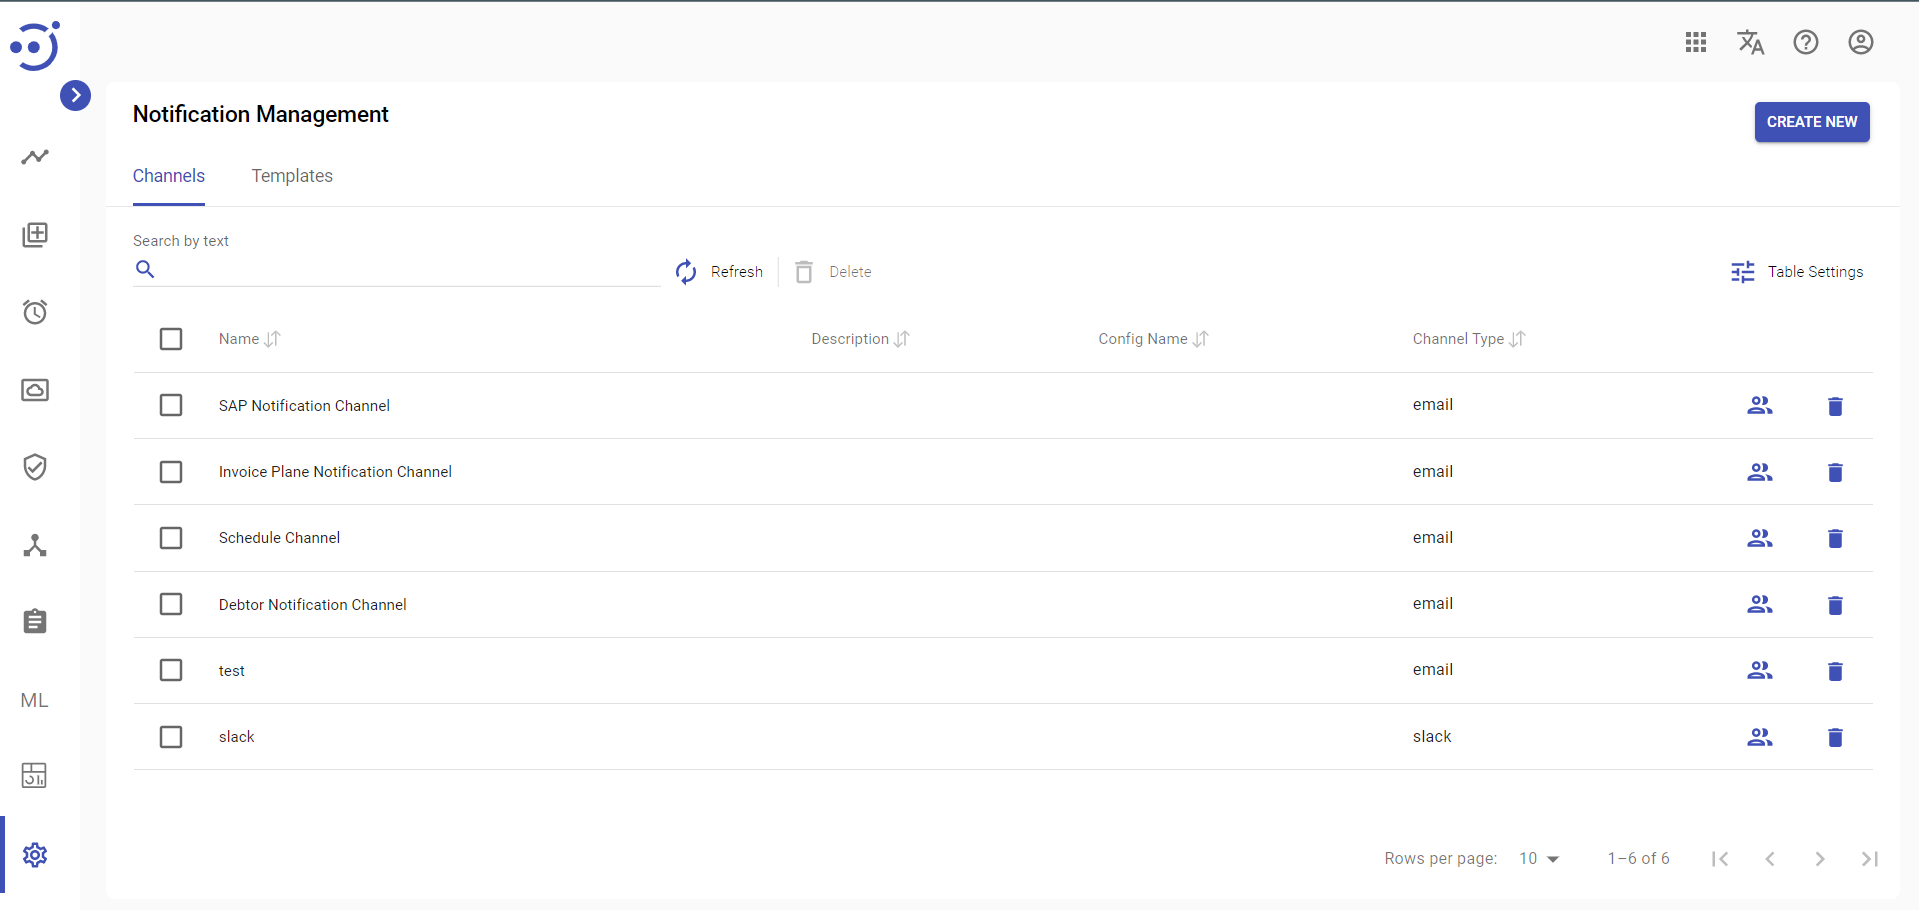
Columns Description:
- Name - the template name.
- Description - a short description of the template.
- Config Name - specify additional parameters to configure multiple channels for the notifications.
 For config name must be specified settings in CS configuration and notification.channels.config. See Notification Service.
 - Channel Type - define, where to send notifications: email or slack.
Table Settings
Table settings allow you to manage the table view. Click the icon ![]() to start working with the table settings. The table settings can be managed with the following buttons:
to start working with the table settings. The table settings can be managed with the following buttons:
- Advanced filter - to switch the advanced filters for the columns.
- Columns Display - to select the columns that will be displayed in the table.
- Apply - to apply the changes made to the table settings.
- Сancel - to cancel the last actions with the table settings.
Filter by text
Filtering allows you to search the channel by the columns: Name, Description, Channel Type.
Advanced filters by columns
Advanced Filter allows you to extract a list from a table with predefined criteria. Click the icon ![]() to start working with the advanced filter. The advanced filters can be managed with the following buttons:
to start working with the advanced filter. The advanced filters can be managed with the following buttons:
- Clear filter - to reset all the proposed advanced filter criteria for the column.
- Сancel - to cancel the last actions with the proposed criteria for the column.
Apply - to filter the table according to the proposed criteria for the column.
Sorting
Ascending/descending sorting is allowed for the columns: Name, Description, Config Name, Channel Type.
Control icons
- Refresh - to refresh the page.
- Delete an existing channel via the recycle bin control icon in the table row or Delete icon above the table. Required Permission: Channel-DELETE. See Role Permissions.
- Security Access - to manage a group for a specific entity, click Security Access icon in the table row.
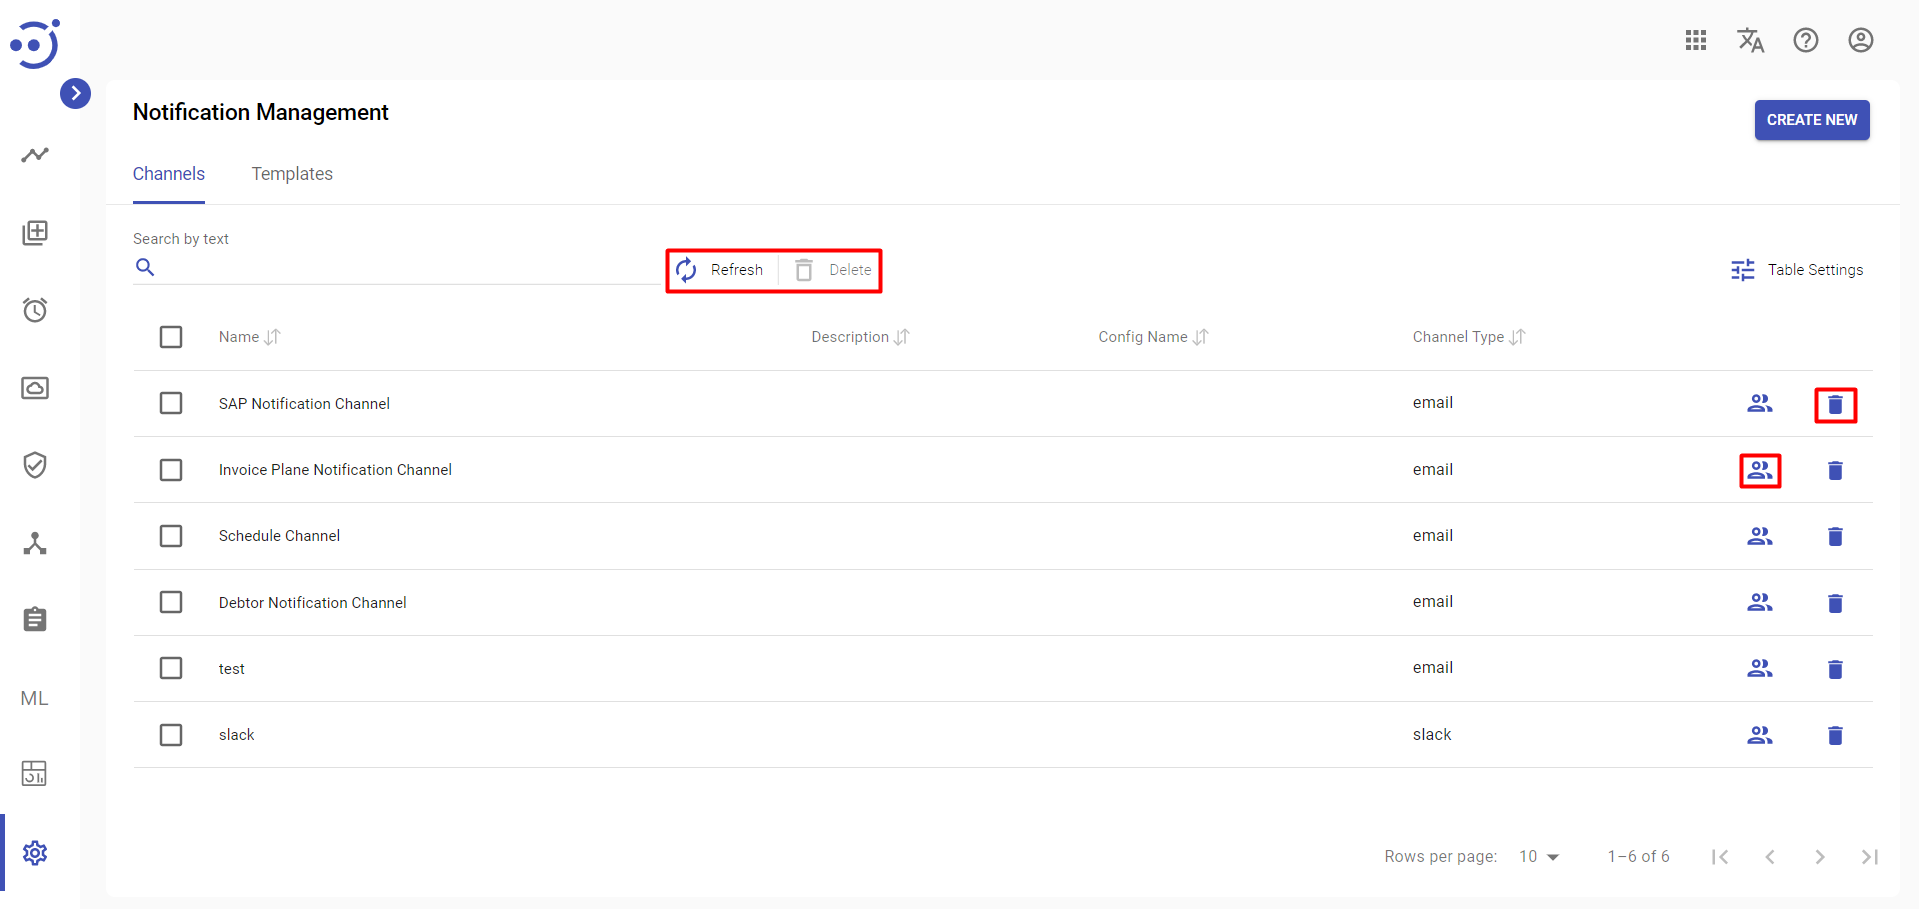
![]() Сhannel can't be deleted if it's used in any module.
Сhannel can't be deleted if it's used in any module.
Create a new channel
To create a channel:
- Go to the Administration → Notification Management module Channels tab and click CREATE NEW. Required Permission: Channel-CREATE. See Role Permissions.

- In the New Channel popup panel enter:
- Name,
- Description (optionally),
- Channel Type - email or slack,
Recipients - if Channel Type is email, emails should be from the host added to the Control Server Configuration; if Channel Type is slack, you should add slack channel ID to the Recipients and check that token is added to the Control Server Configuration. See Notification Service.
There is a possibility to add multiple recipients at once using delimiters, specified in notification.channels.config. Delimiters could be specified for channels individually.
- Config Name (optionally).
3. Click CREATE.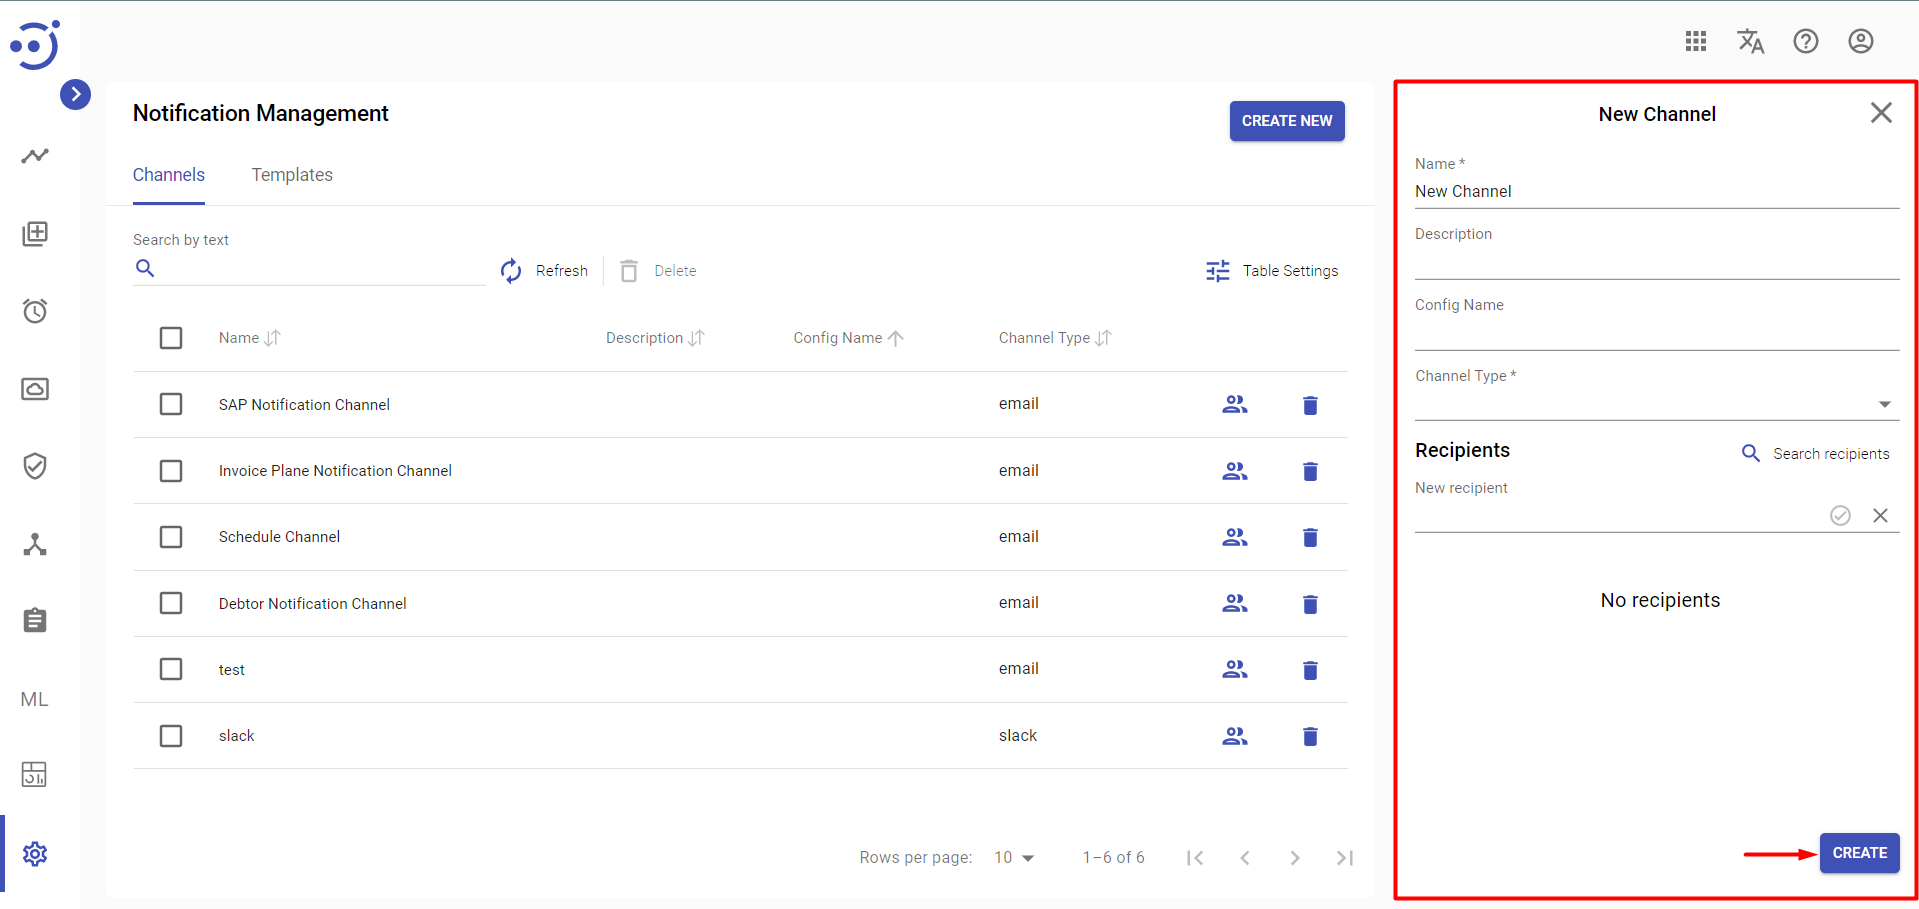
You can customize the subject line of the notification email by doing the following:
- Create a notification template.
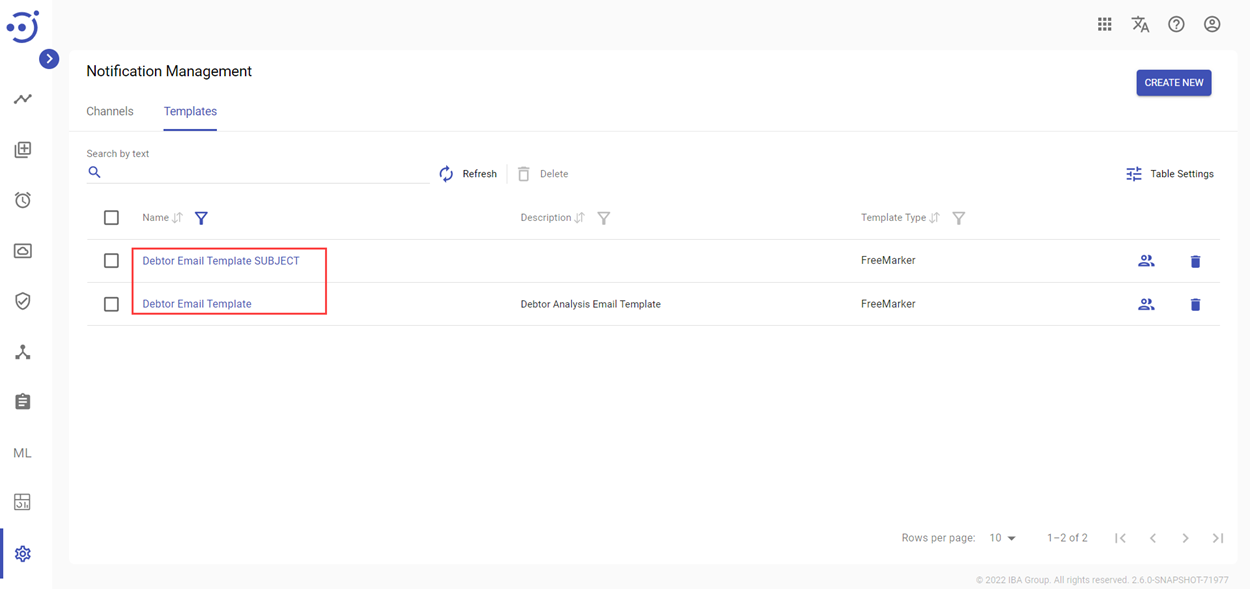
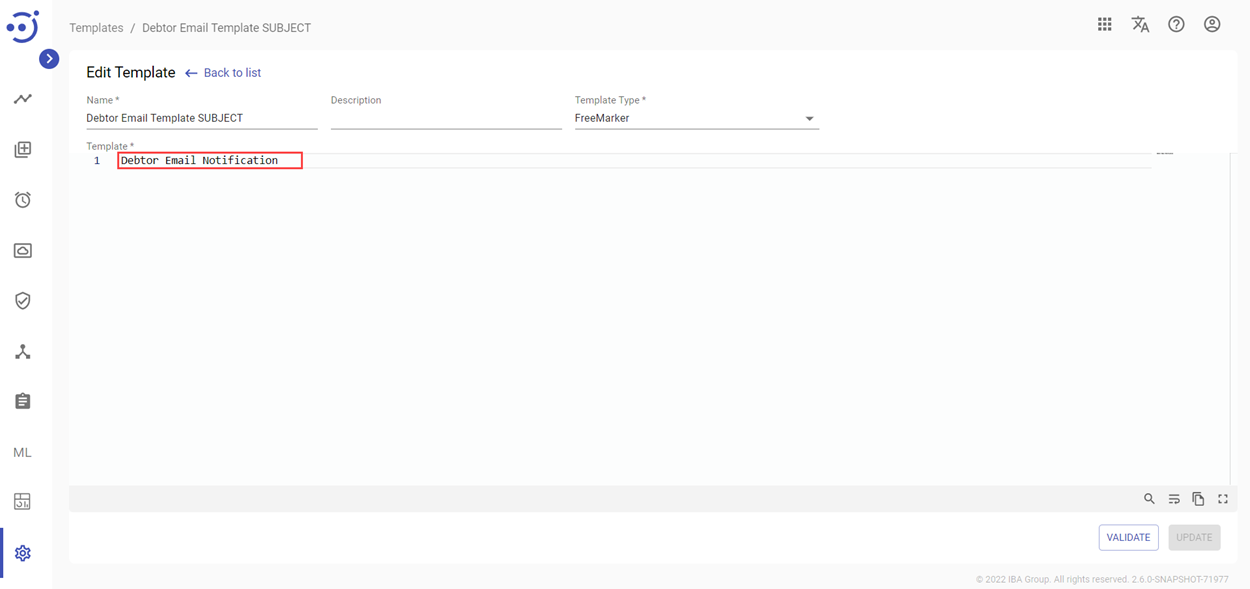
- Create an additional template with the email subject added and assign the same name as the notification template. Add the SUBJECT postfix to the template.
Edit an existing channel
To edit a channel:
- Go to the Administration → Notification Management module Channels tab and click record with created Channel. Required Permission: Channel-UPDATE. See Role Permissions.
- In the Edit Channel popup panel change:
- Name,
- Description (optionally),
- Channel Type - email or slack,
Recipients - if Channel Type is email, emails should be specified in domain company according to notification.channels.config in the Control Server Configuration; if Channel Type is slack, you should add slack channel ID to the Recipients and check that token is added to the Control Server Configuration. See Notification Service.
There is a possibility to add multiple recipients at once using delimiters, specified in notification.channels.config. Delimiters could be specified for channels individually.- Config Name (optionally).
3. Click UPDATE.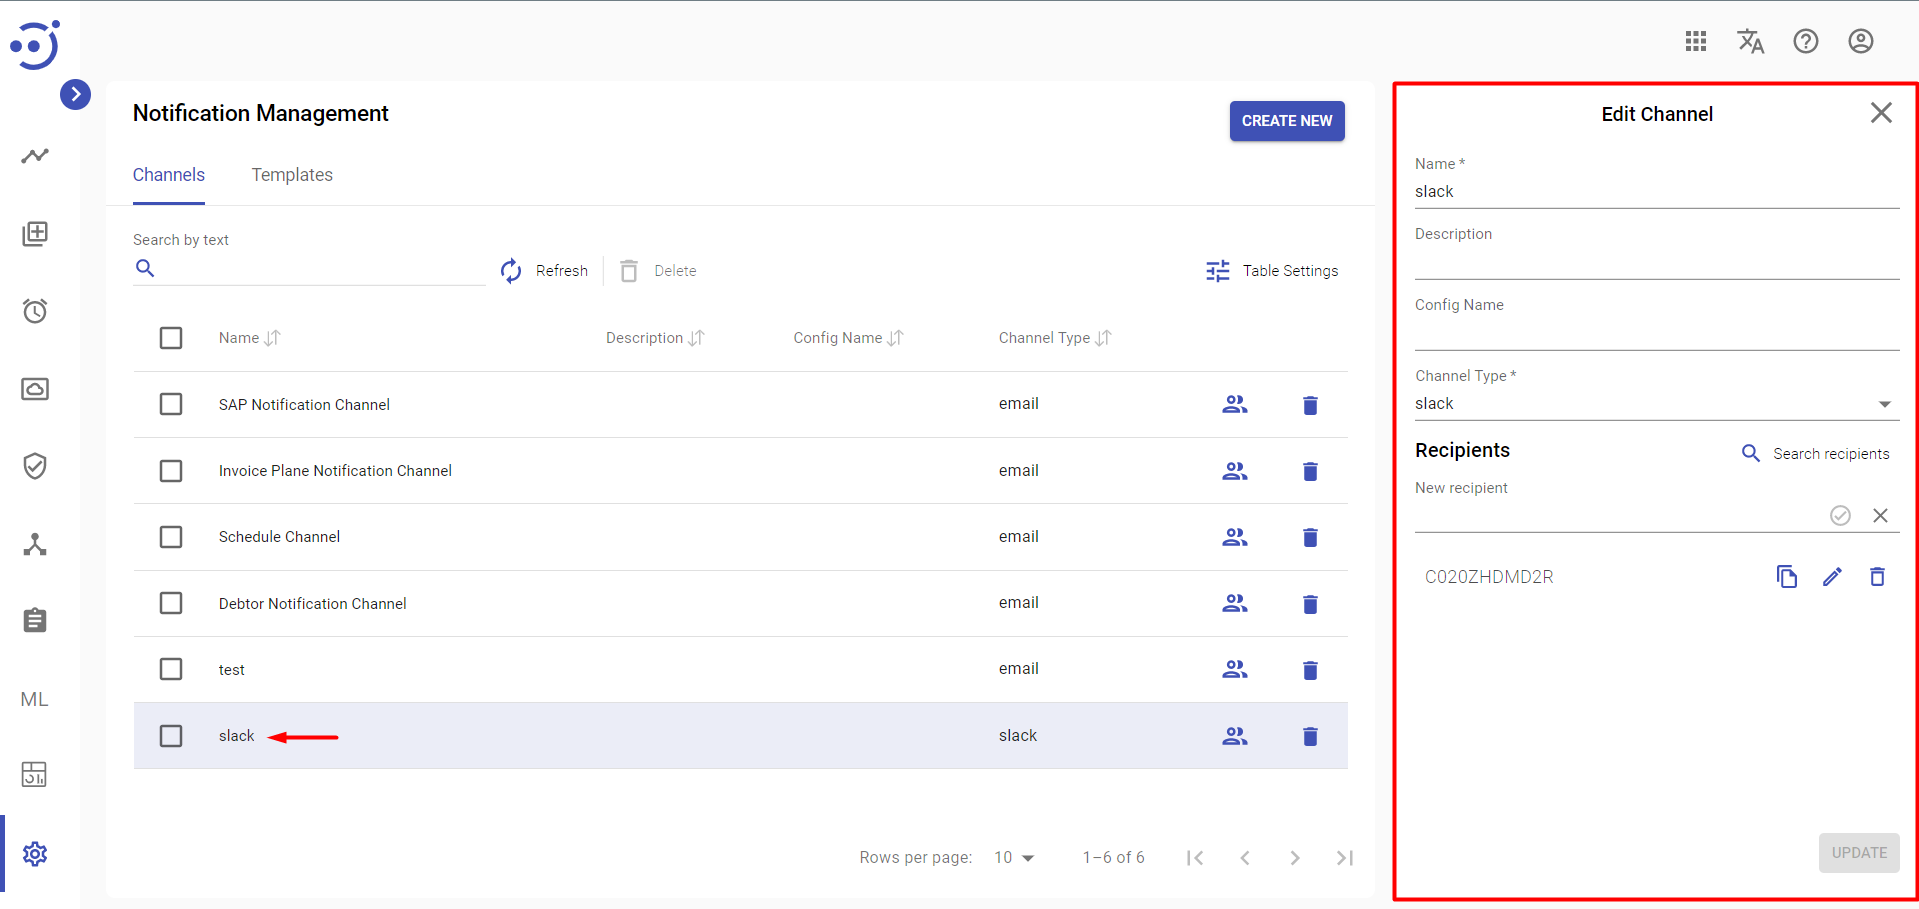
Templates
User is able to design and validate a template containing the information that will be received in the notification. It is currently possible to receive a notification about the Automation Process, Node, Document Type, or Schedule.

Columns Description:
- Name - the template name.
- Description - a short description of the template.
- Template Type - a template writing format.
Table Settings
Table settings allow you to manage the table view. Click the icon ![]() to start working with the table settings. The table settings can be managed with the following buttons:
to start working with the table settings. The table settings can be managed with the following buttons:
- Advanced filter - to switch the advanced filters for the columns.
- Columns Display - to select the columns that will be displayed in the table.
- Apply - to apply the changes made to the table settings.
- Сancel - to cancel the last actions with the table settings.
Filter by text
Filtering allows you to search the template by the columns: Name, Description, Template Type.
Advanced filters by columns
Advanced Filter allows you to extract a list from a table with predefined criteria. Click the icon ![]() to start working with the advanced filter. The advanced filters can be managed with the following buttons:
to start working with the advanced filter. The advanced filters can be managed with the following buttons:
- Clear filter - to reset all the proposed advanced filter criteria for the column.
- Сancel - to cancel the last actions with the proposed criteria for the column.
Apply - to filter the table according to the proposed criteria for the column.
Sorting
Ascending/descending sorting is allowed for the columns: Name, Description, Template Type.
Control icons
- Refresh - to refresh the page.
- Delete an existing template via the recycle bin control icon in the table row or Delete icon above the table. Required Permission: Template-DELETE. See Role Permissions.
- Open template details of a current template via icon in the table row.
- Security Access - to manage a group for a specific entity, click Security Access icon in the table row.

Create a new template
To create a template:
- Go to the Administration → Notification Management module Templates tab and click CREATE NEW. Required Permission: Template-CREATE. See Role Permissions.

- On the New Template page:
- Enter Name, Description (optionally)
- Choose Template Type - ThymeleafText, FreeMarker, or ThymeleafHtml

- Create Template according to selected Template Type:
- ThymeleafHtml - allows to make a template using HTML standard, including HTML5, HTML 4, and XHTML. Validation is not performed, and the code/structure of the original template will be followed to the maximum extent possible. Note, that for slack channel better to use the other 2 template types.
- ThymeleafText - allows using a special syntax for templates without markup. Examples of such templates can be text messages or template documents. Note, that HTML or XML templates can also be processed as TEXT, in which case the markup is not parsed, and each tag, DOCTYPE, comment, and so on will be treated as plain text. Read more about template modes here. Also, useful documentation about the Thymeleaf dialect can be found here.
- FreeMarker - template engine: a Java library for generating text output (HTML pages, XML, configuration files, source code, etc.). The input is a template, for example, HTML, which contains special expressions, prepares data corresponding to this expression, where Freemarker dynamically inserts this data and a dynamically filled document is obtained. Getting started manual is here.
To check what information will be taken for your notification see the Validate template section below. At the end of the page are examples in ThymeleafText format.
4. Click CREATE.
Edit an existing template
To edit a template:
- Go to the Administration → Notification Management module Templates tab and click the Open Template Details icon in the row. Required Permission: Template-UPDATE. See Role Permissions.
- In the Edit Template page:
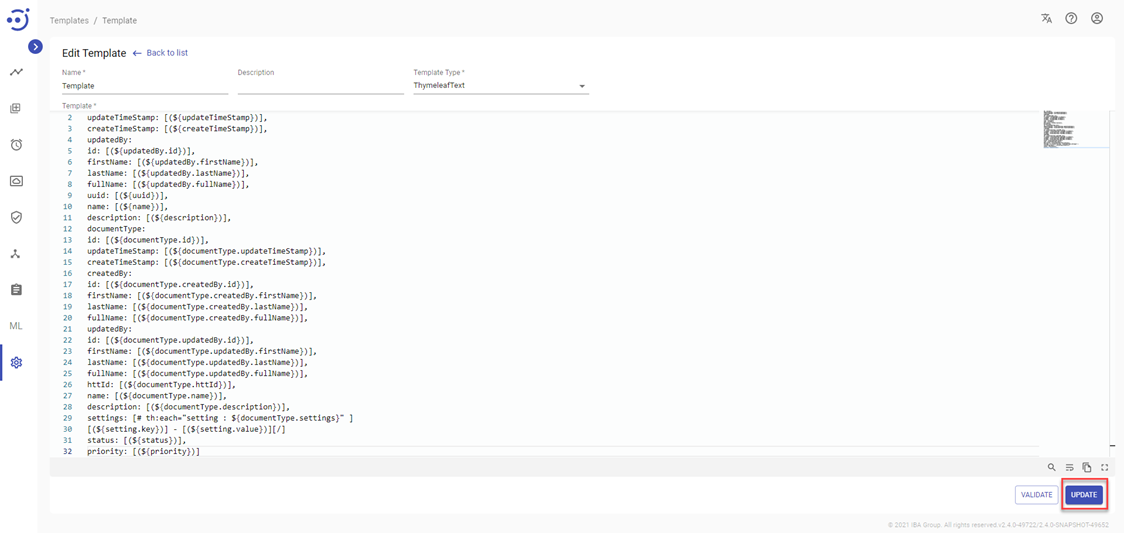
- Edit Name, Template Type and Template, Description (optionally). See more details about Template Type and Template in the Create a new template section.
3. Click UPDATE.
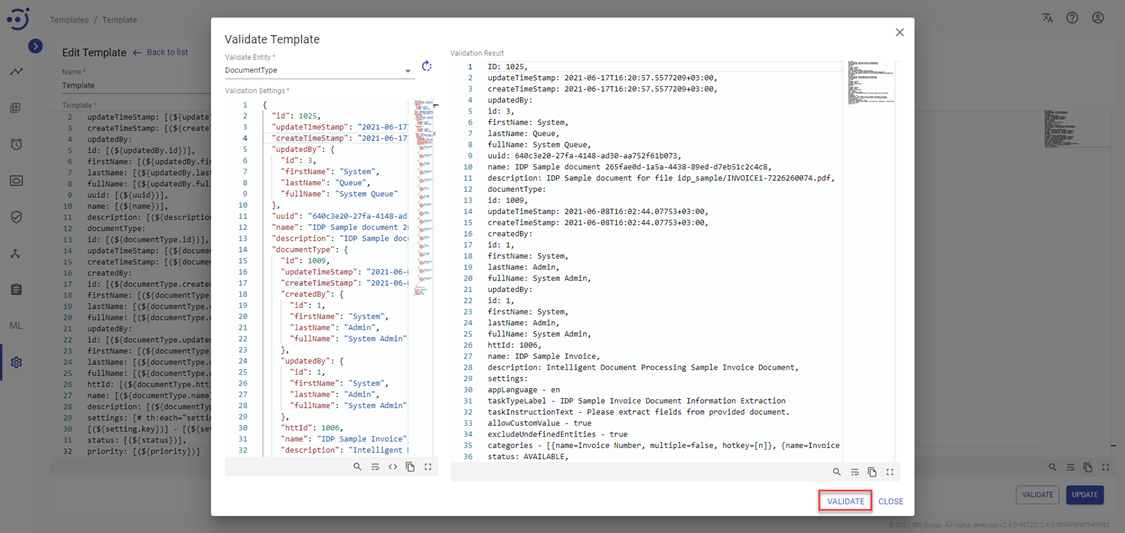
Validate template
This functionality allows users to validate created template, its format, see what information will be taken if you use special expressions. User can validate templates during developing or editing a template.
To validate template during creating or editing:
- Go to the Administration → Notification Management module Templates tab and click CREATE NEW button or open an existing template via the Open Template Details icon in the row. Required Permission: Template-CREATE. See Role Permissions.
- Click Validate. Validate template modal opens.

- In the Validate Entity field select a module: Automation Process, Node, Document Type, or Schedule.
- Validation Settings section contains the response to the GET request in JSON format with information about the selected Validate Entity. Note, real request and response can be different, required for check format and results created template according to information in the validate settings. If necessary, the user can change Validation Settings. The changes made are saved, when you click CLOSE.
- Click VALIDATE.