Tagging Overview
Tagging Overview
The tagging is a business process allowing users to label the original document to prepare data sets for the Information Extraction ML model.
When tagging, it's highly recommended to stick to the following order of steps:
- Navigate to the Workspace module.
- Find the required Document type and expand the list.
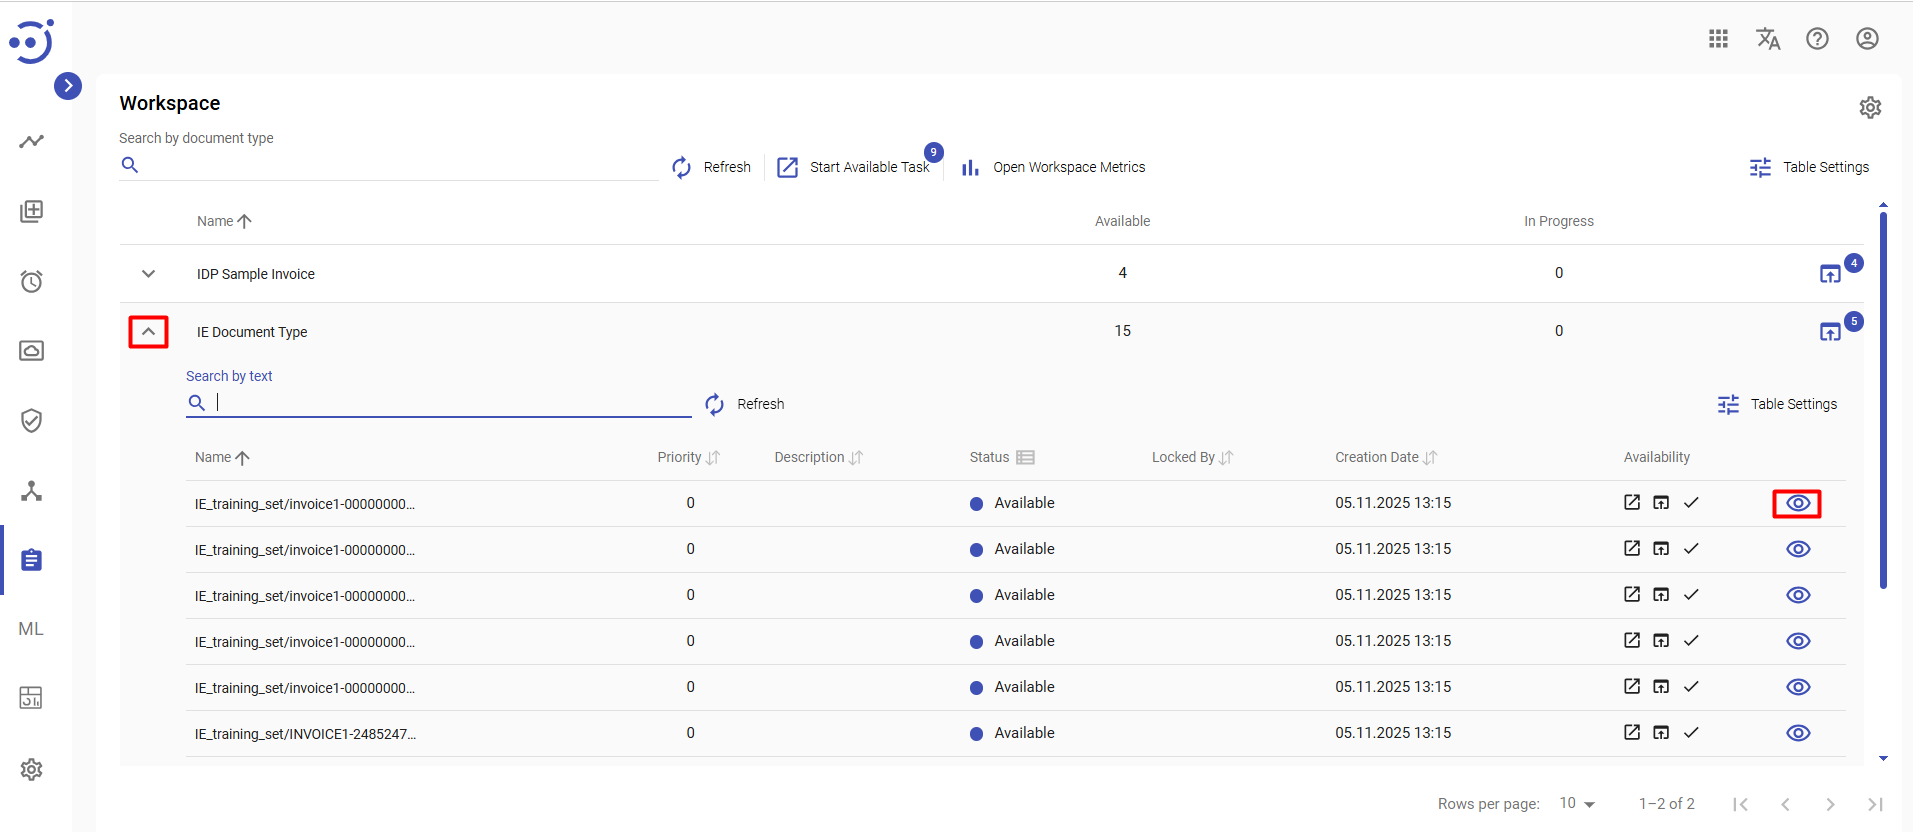
- Click Preview
 at the required task row to open the Human task.
 - Click Accept Task to start tagging.
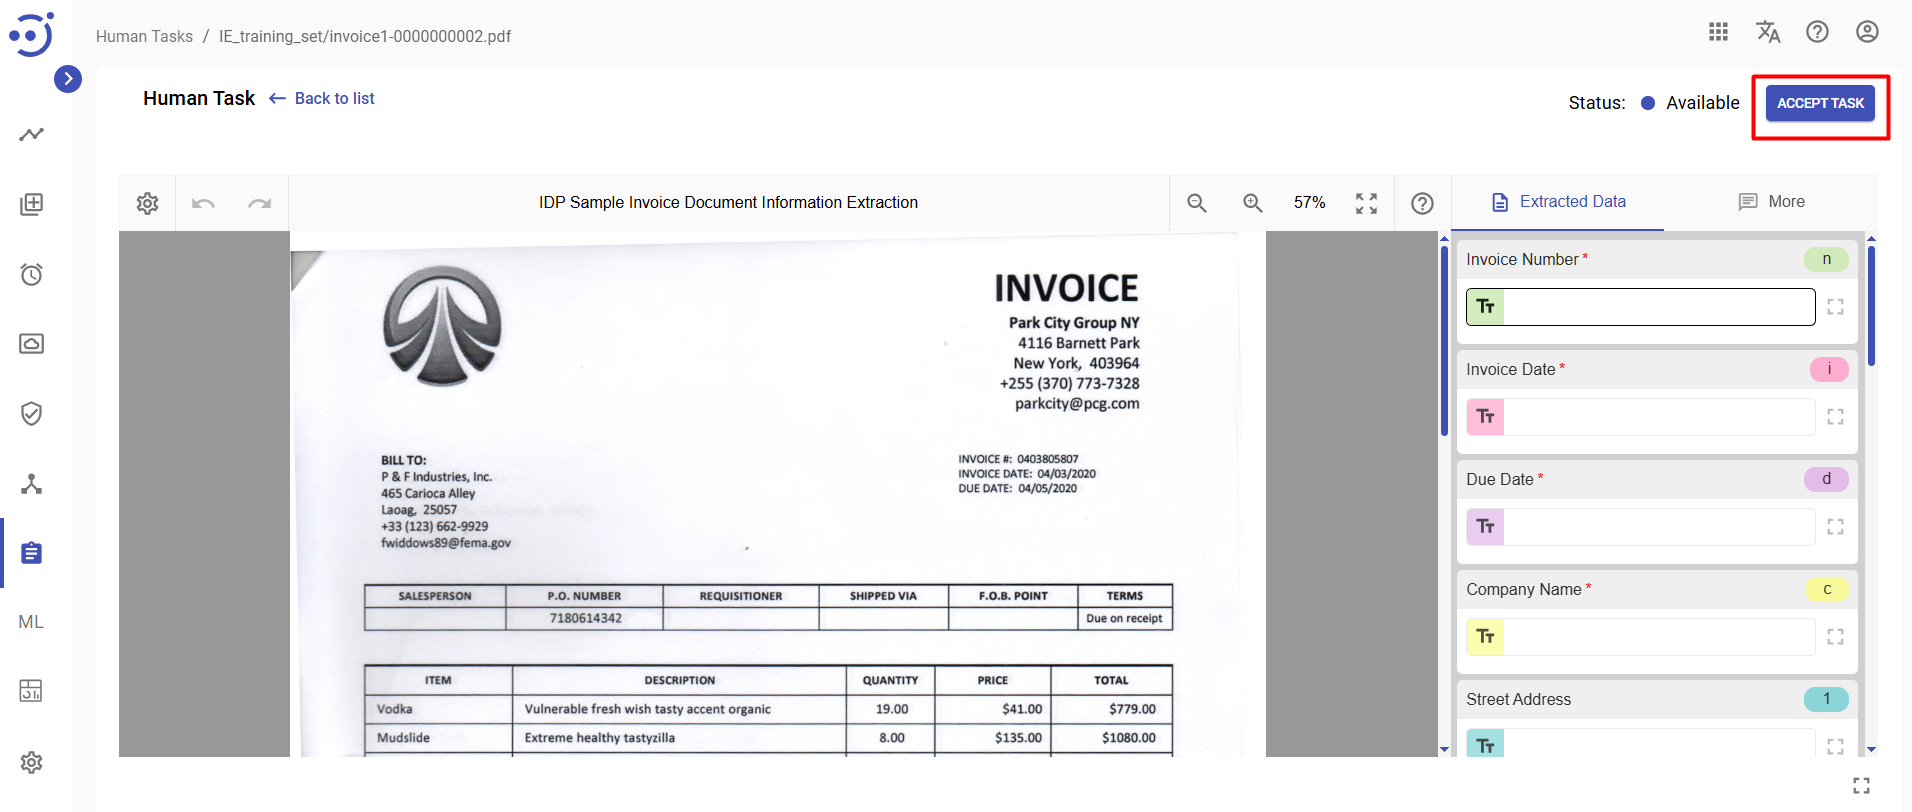
- Review the original document.
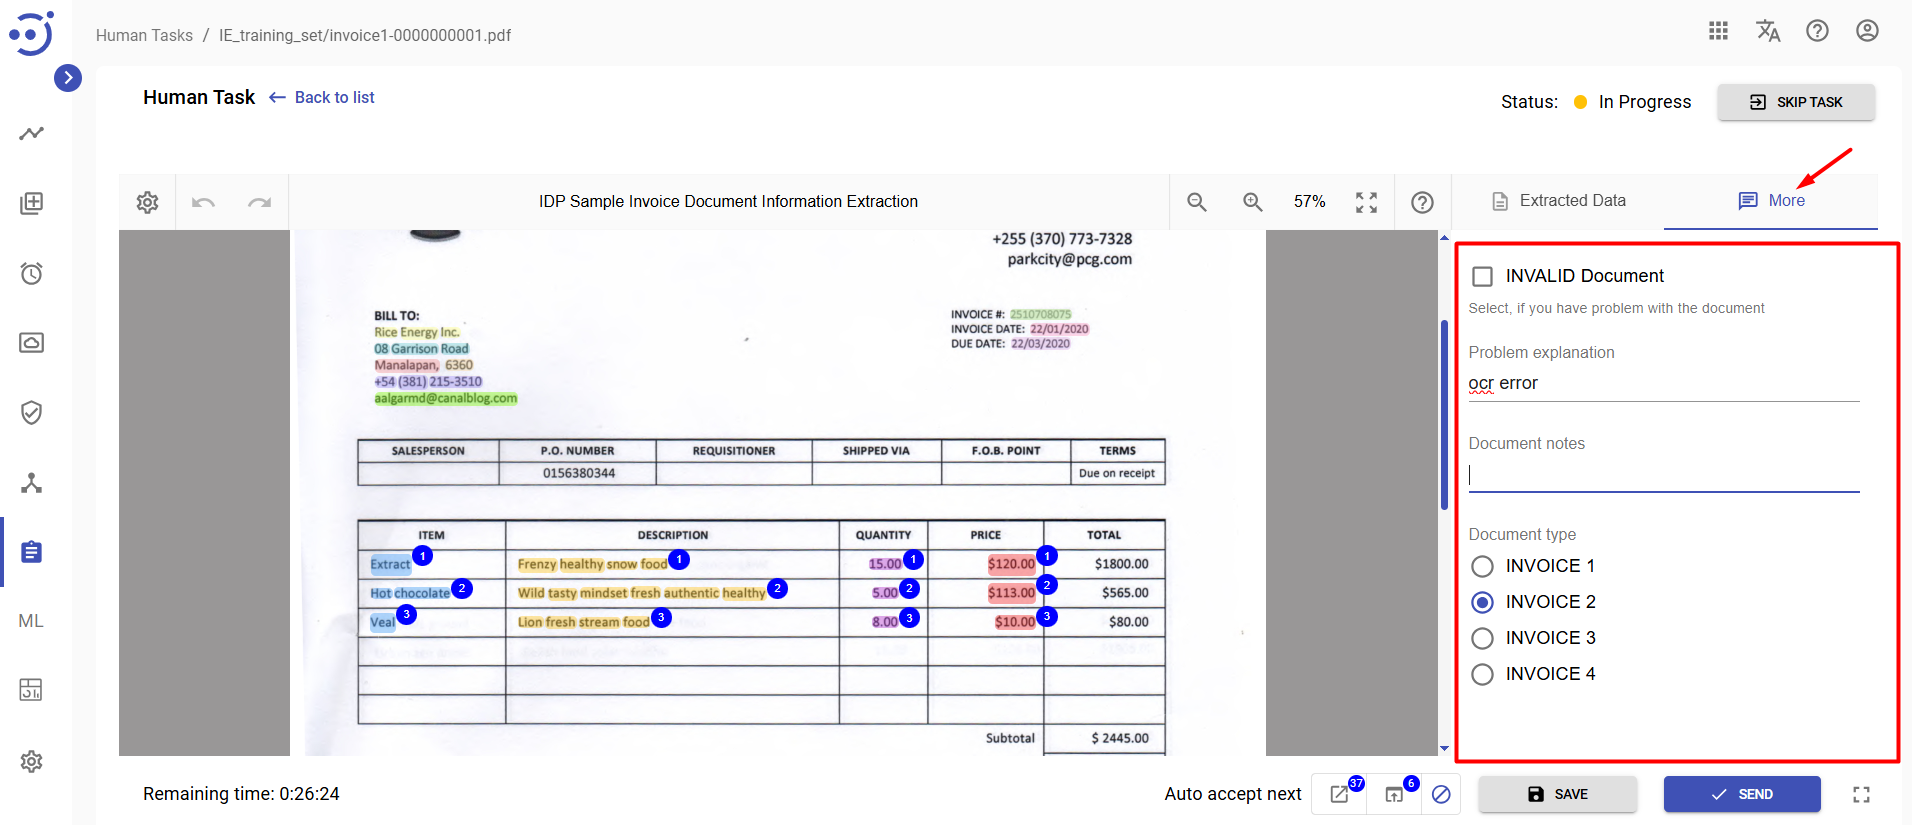
 If the document is corrupted, not recognized properly, or shouldn't be sent to machine learning for some other reason → Navigate to tab More and check the Invalid Document checkbox. Then click Send.
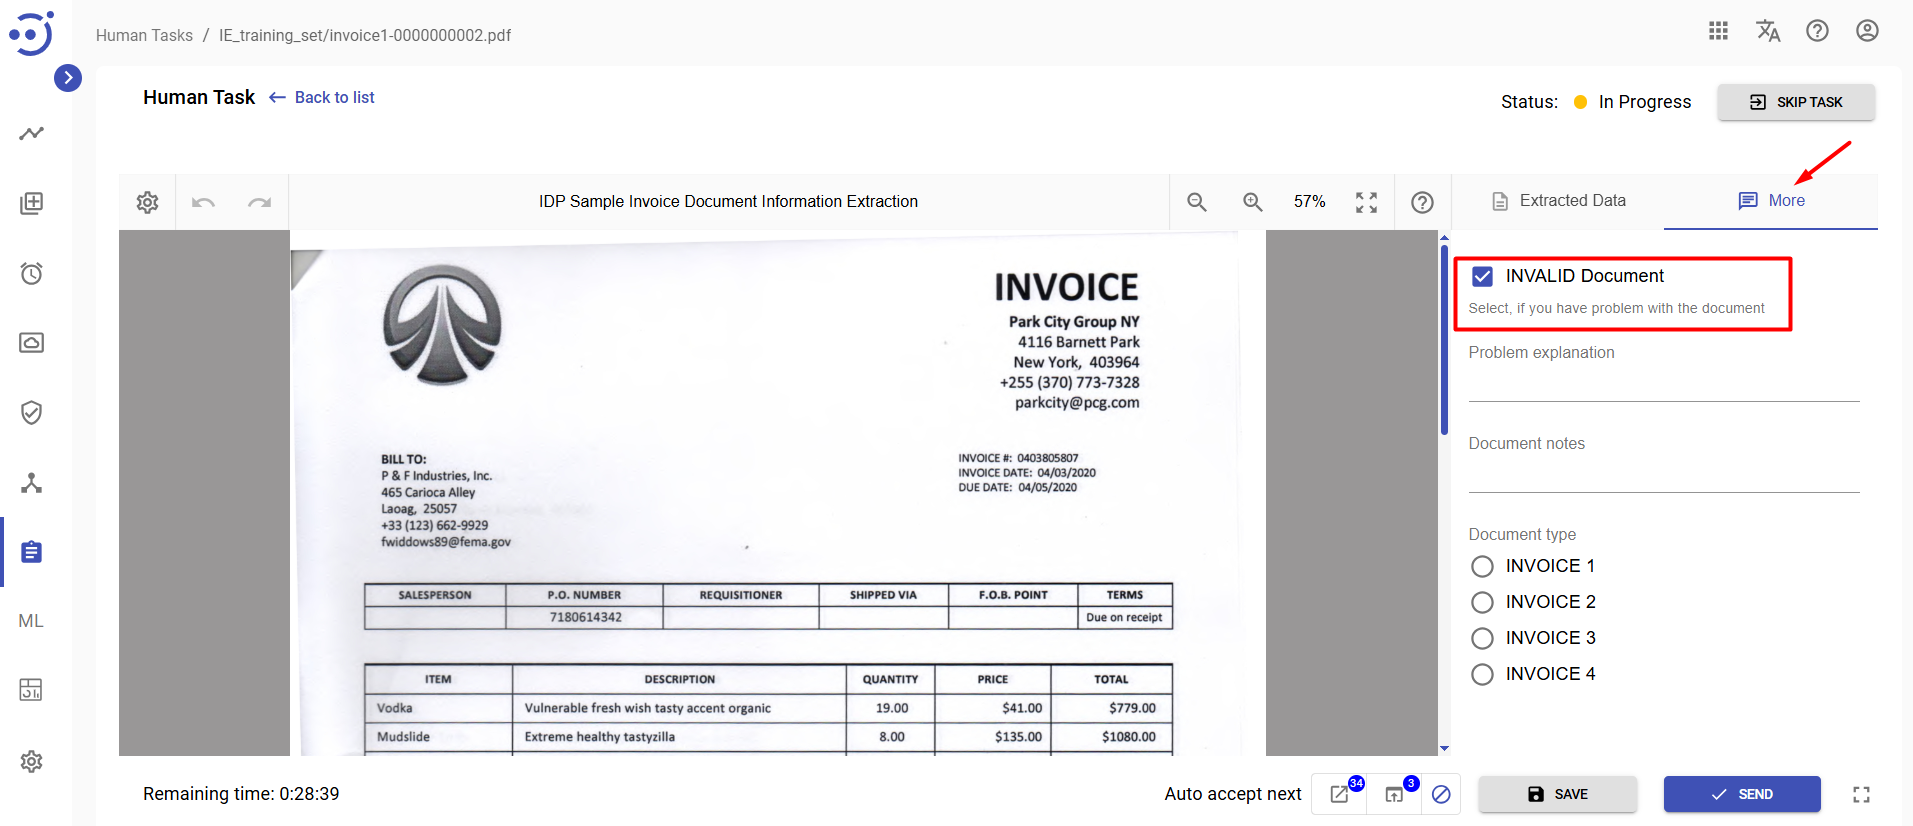
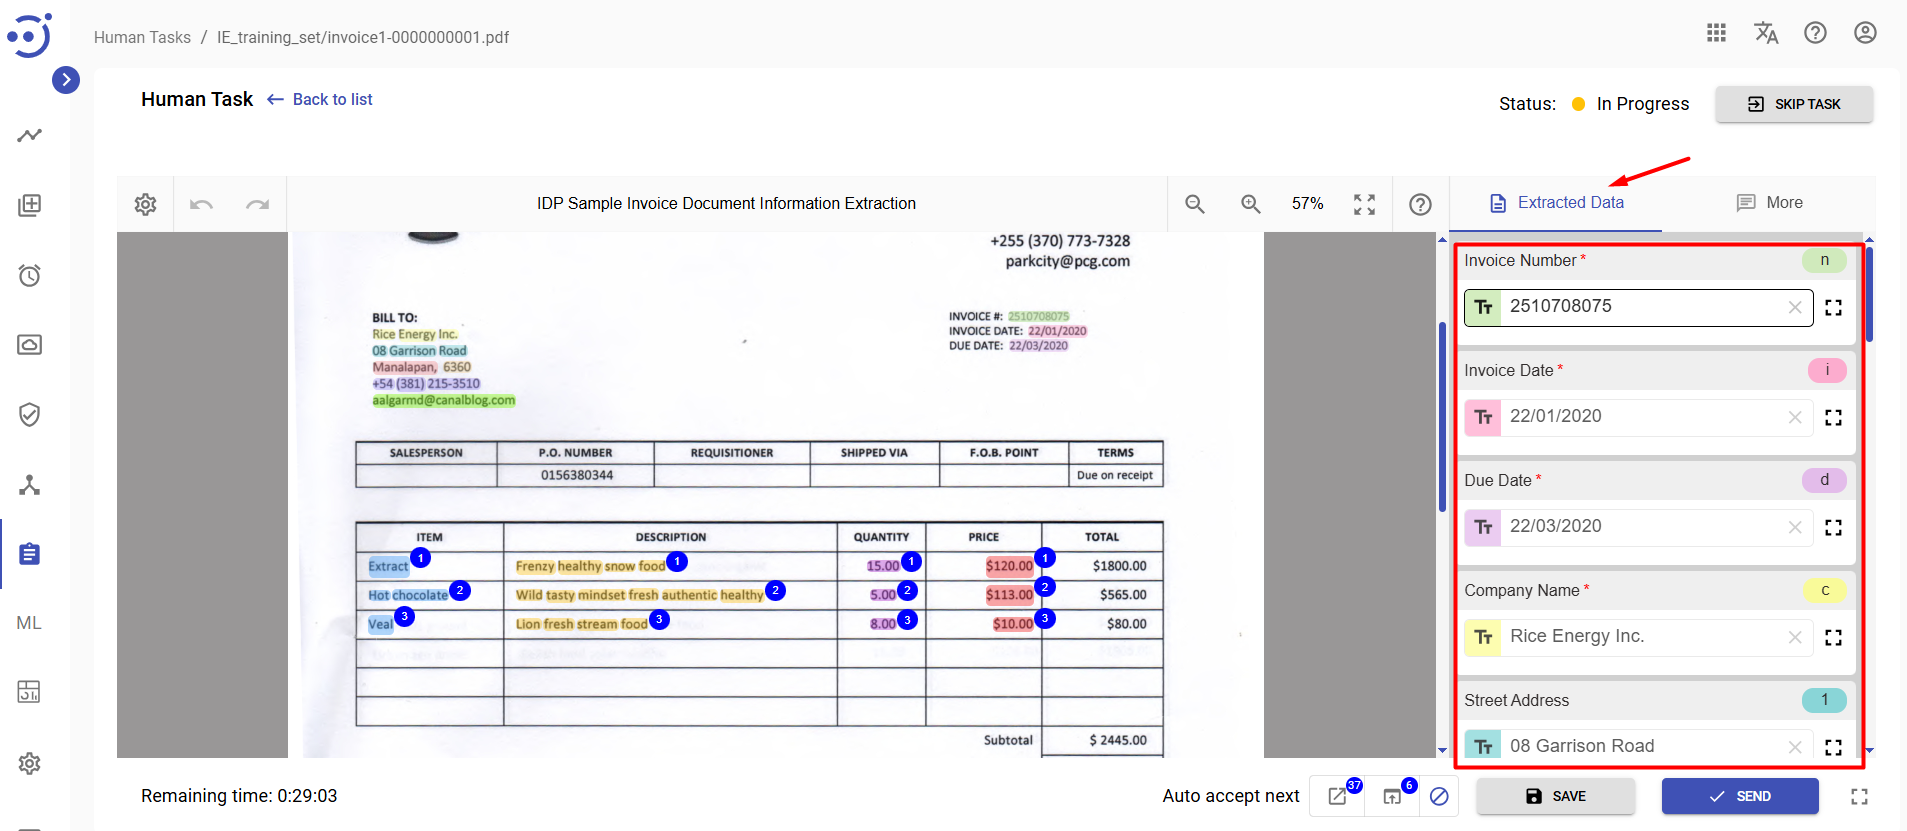
- Review the list of fields on the right panel.
- Find all the available fields in the document and tag them.
- Verify the extracted values on the right panel (Extracted Data tab) match the values in the original document. Edit the fields on the right panel if necessary.
- Fill in all the required fields on the right panel (More tab).
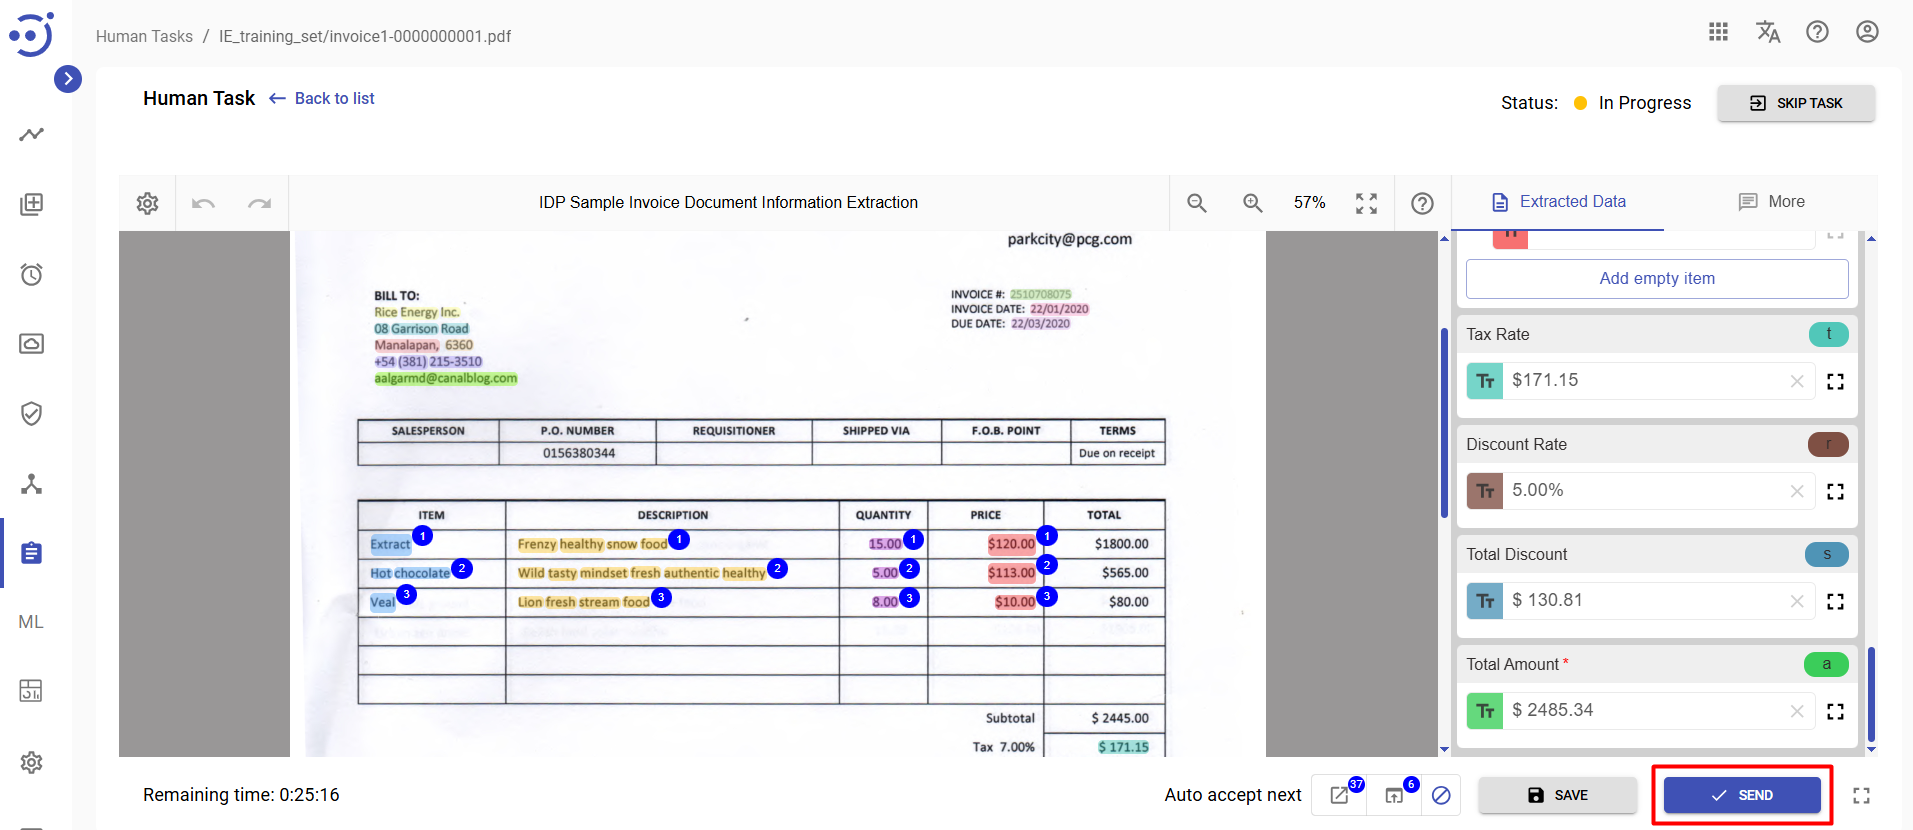
- Review the tagged document, making sure there are no fields omitted.
- Click Send.
![]() Note the highlighted text chunk is what the model will see, and the data value is what the user will receive as an output.
Note the highlighted text chunk is what the model will see, and the data value is what the user will receive as an output.
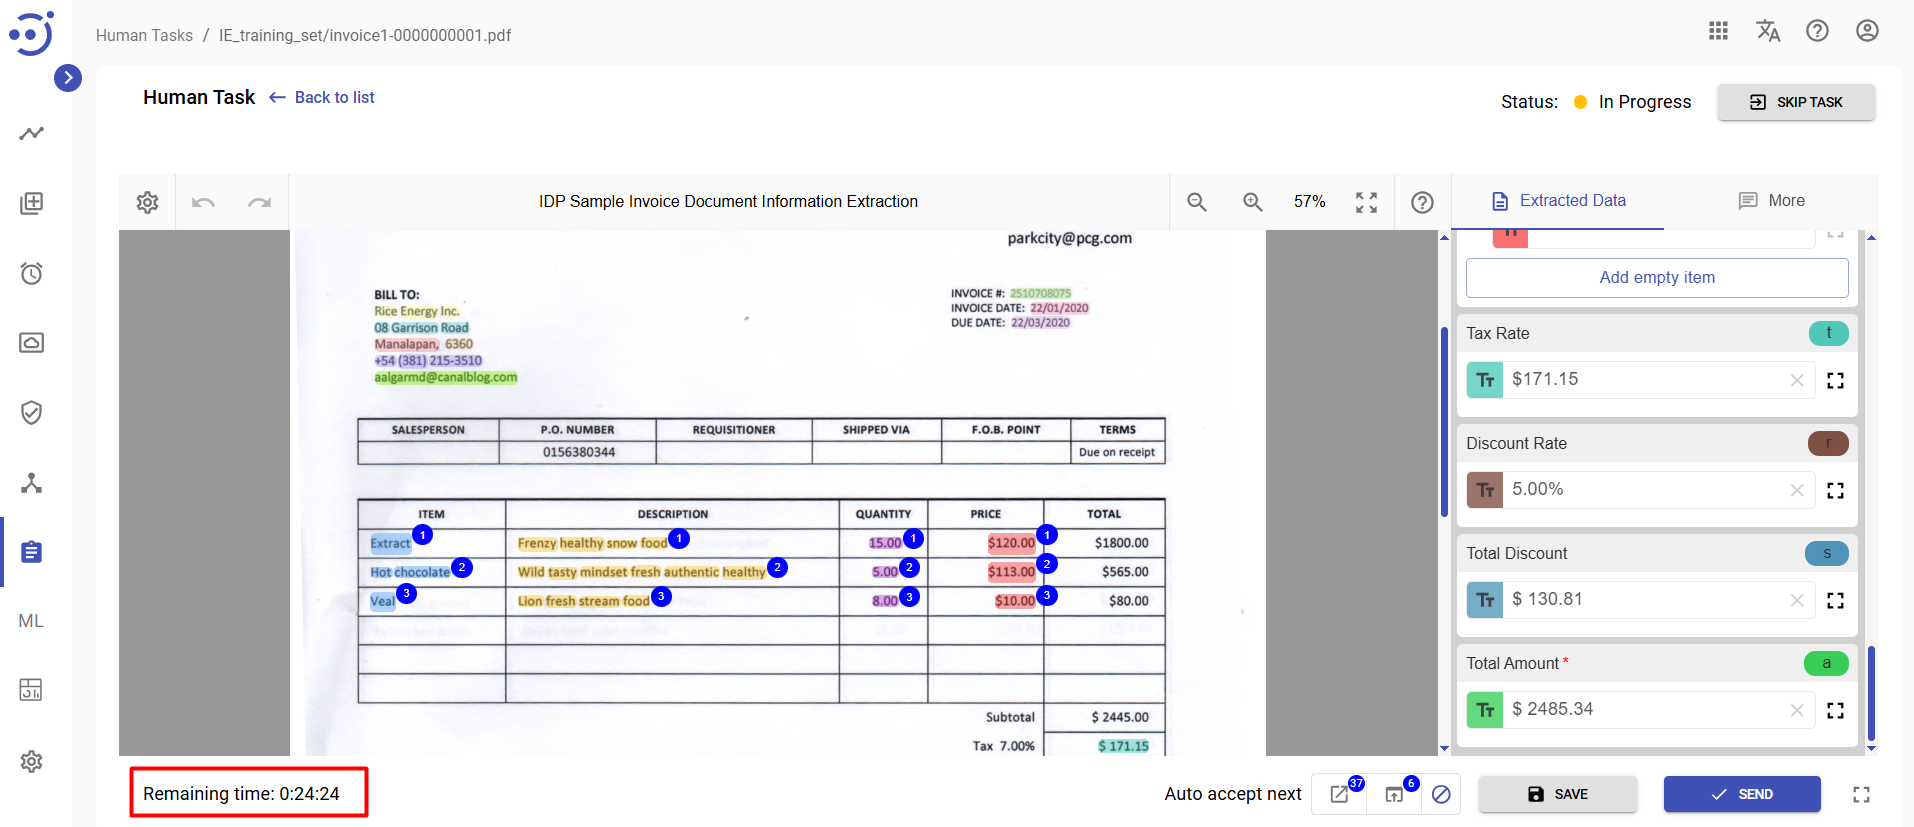
![]() When the time for completing the Human Task expires, the status of the Human Task will change from In Progress to Available and the Send button will no longer be available.
When the time for completing the Human Task expires, the status of the Human Task will change from In Progress to Available and the Send button will no longer be available.

Tagging Interface
The interface is simple, but you need to know every part of it to make the tagging process effortless. The Workspace interface has three main areas:
- the window where the document after OCR is displayed.
- the panel with the list of fields for extraction.
- the control panel where the main task control icons are located. See Process Human Task
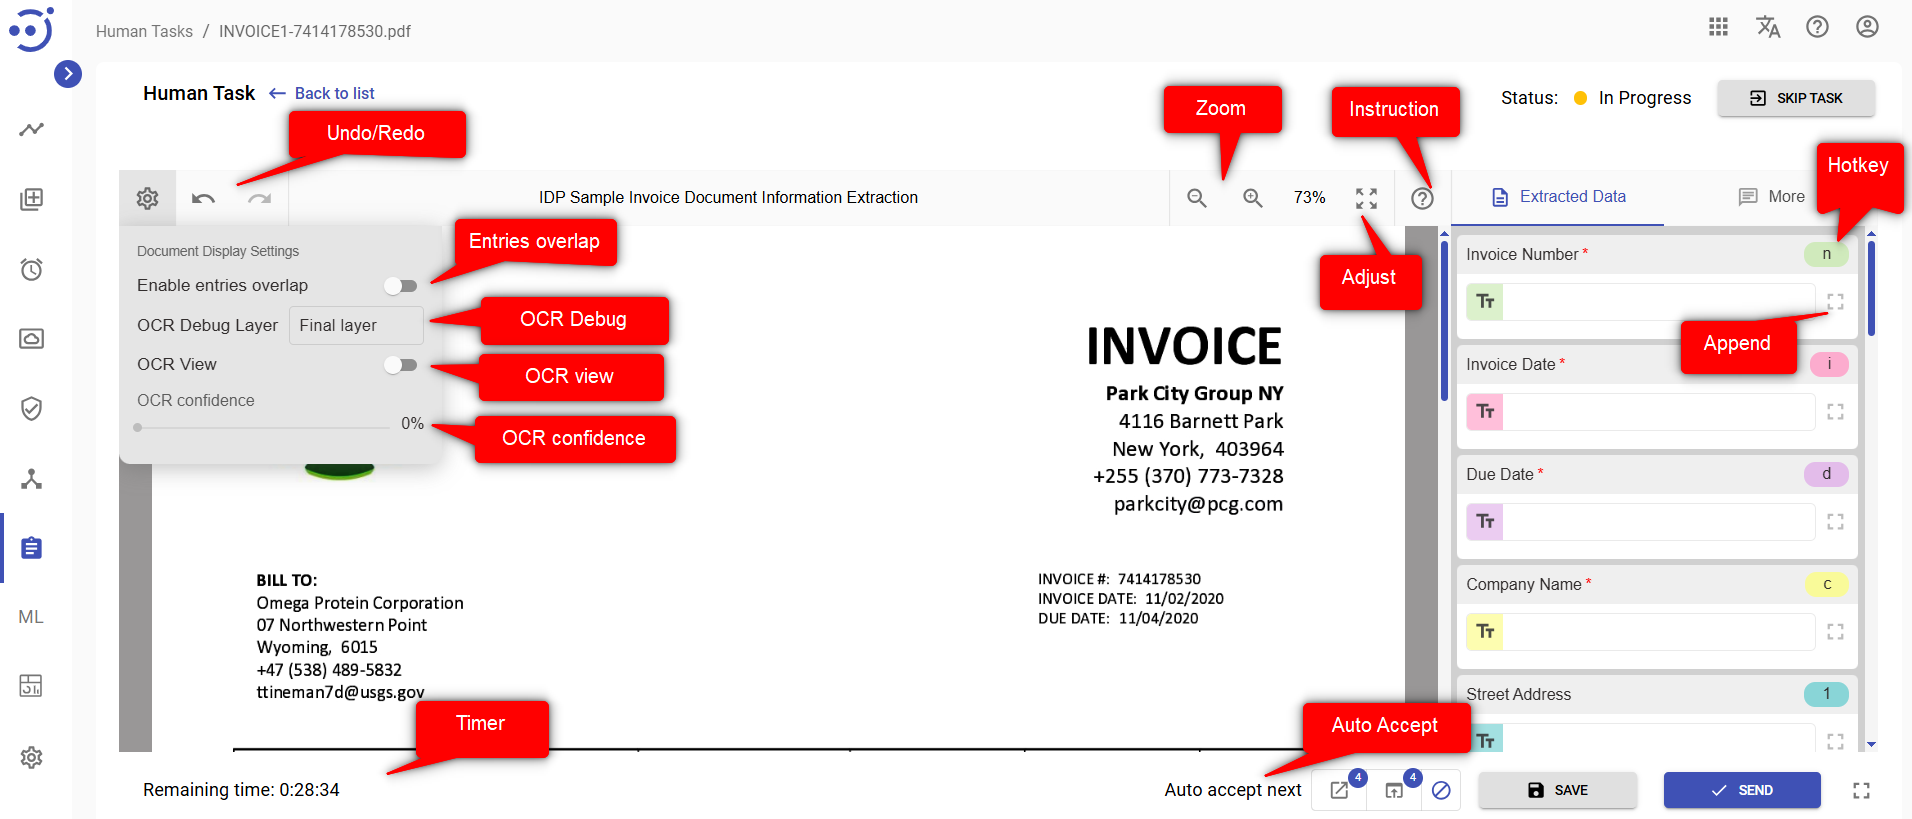
Tagging Tools
To tag the document, you may use the following tagging tools.
| Tool | Displayed | Description |
|---|---|---|
I. Data Extraction Tools | ||
| Open Append Mode |
| Switch to append mode to add a tag to the data value. |
| Close Append Mode |
| Exit the append mode to proceed with tagging the other fields. |
| Remove |
| Remove the data value and the corresponding tag in the document. |
| Hotkey |
| Using the hotkey it is possible to switch to the corresponding field. |
| Field Type |
| Reflects the type of the corresponding field data value. |
| Multiple Field |
| Indicator of the field where multiple values selection is available. |
| Actions Menu |
| Additional actions with multiple fields. |
| Open Drag-and-Drop Mode |
| Switch to drag-and-drop mode to change data values order. |
| Remove all values |
| Remove the data values of the multiple fields. |
| II. Document View Tools | ||
| Document Display Settings Menu |
| In the menu, it is possible to switch to 'Tesseract processed input image' and 'OCR View', and set the desired OCR confidence. |
| Undo / Redo |
| Functions like Ctrl+Z to undo/redo the previous action. |
| Zoom in / Zoom out |
| Change the viewable scale. |
| Adjust document size |
| Adjust the document to the window size |
| Instruction |
| Read the instructions for the human task |

On the following screenshot, you can see the location o the tagging tools in the interface:
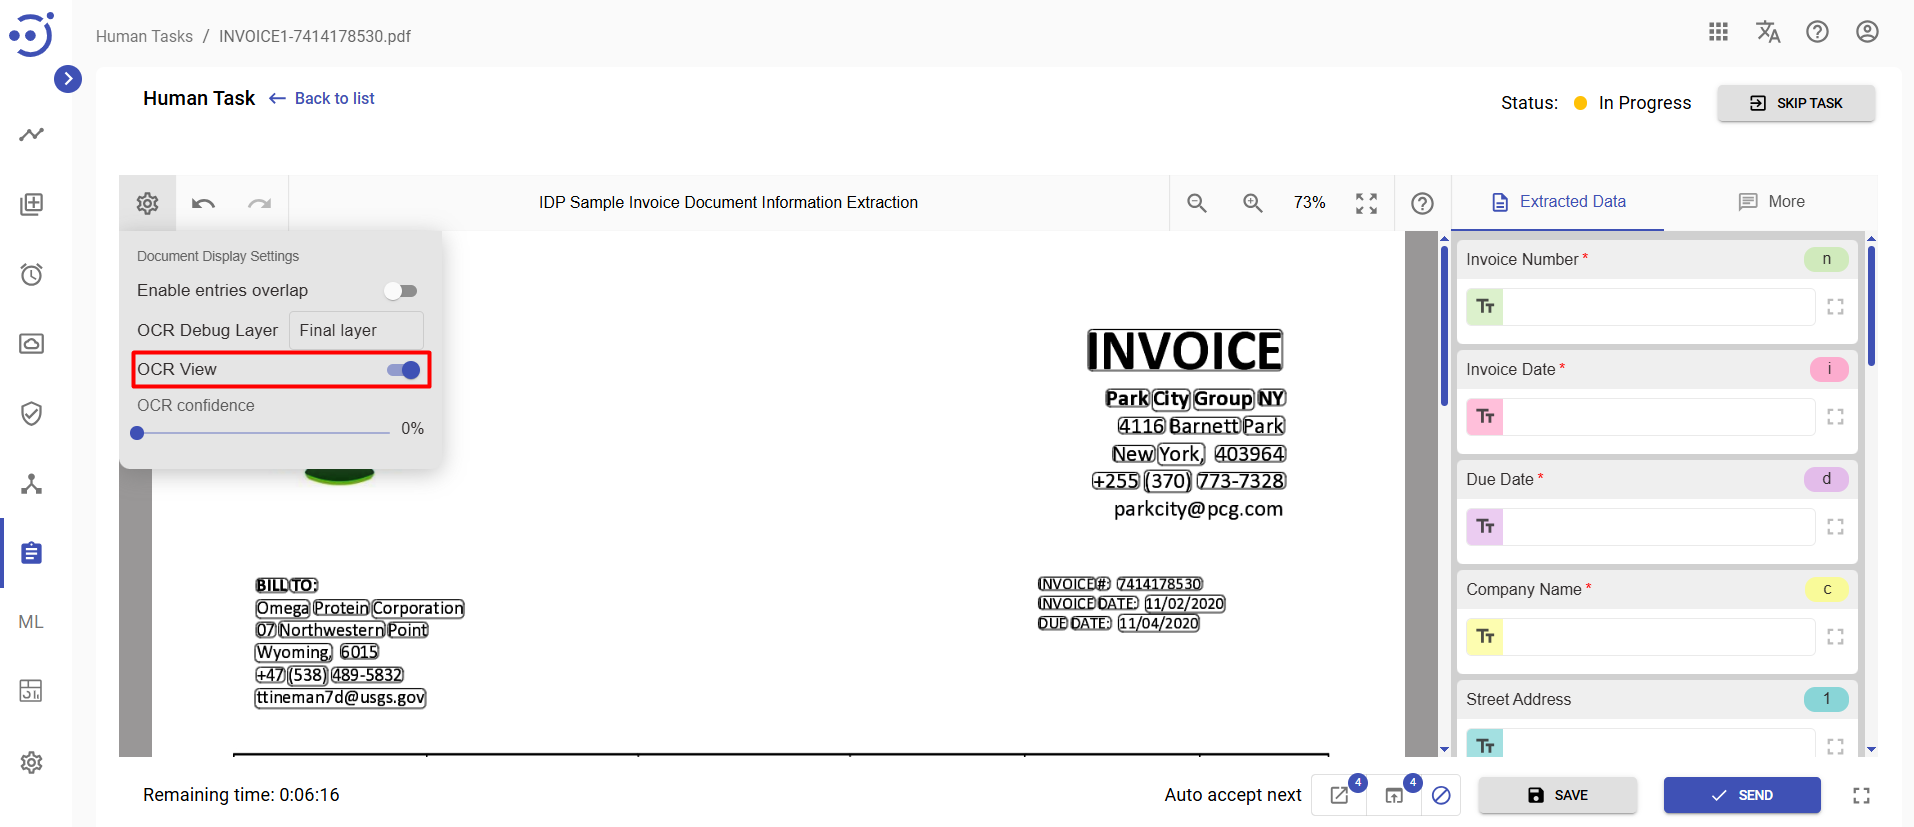
Document Display Settings
The Document Display Settings are available by clicking the wheel icon above the original document window.
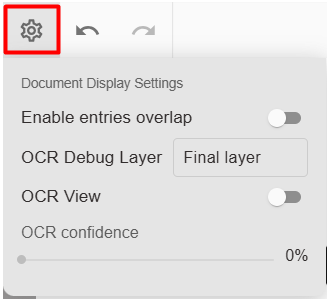
Here you can switch to 'OCR Debug Layer' and 'OCR View', and set the desired 'OCR confidence', set 'Enable entries overlap'.
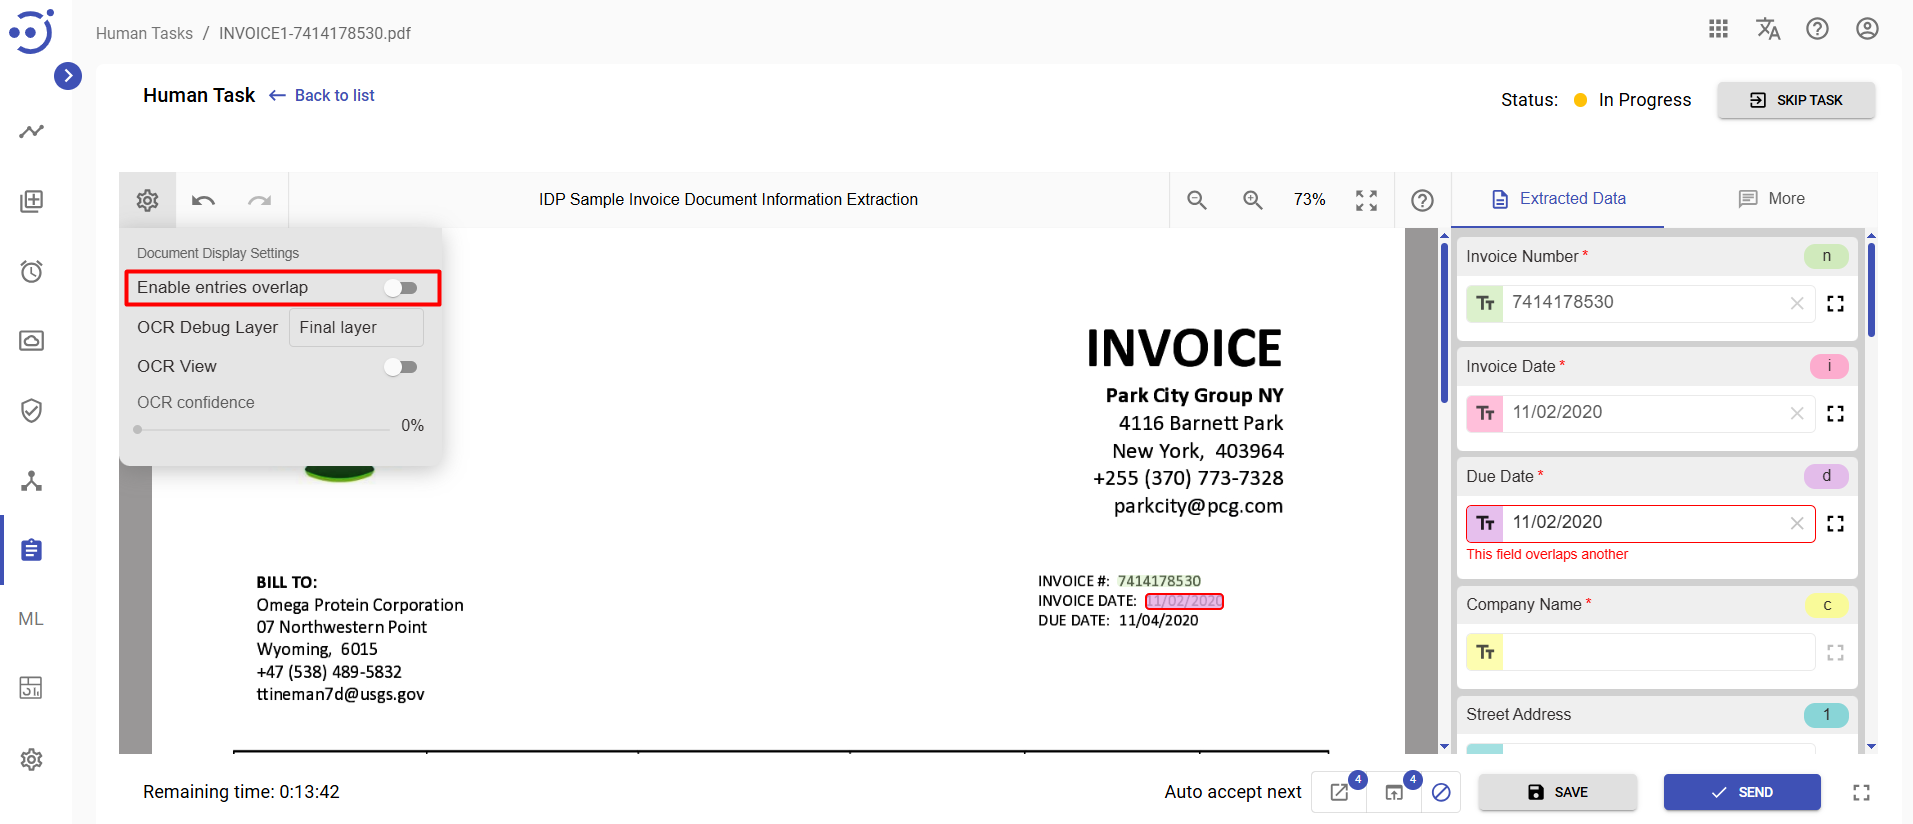
Enable entries overlap
“Enable entries overlap” toggle is turned off by default, disallowing any overlaps between tagged entities. When an overlap occurs, the conflicting value is highlighted within a red frame accompanied by an error message stating, "This field overlaps another." Additionally, an error message, "This task cannot be submitted. Please ensure all data is valid," is displayed if a Human task with overlaps is attempted to be saved, preventing the task from being saved successfully. However, when the switch is turned on, tagged entities are allowed to overlap, enabling the saving of Human tasks with overlaps.
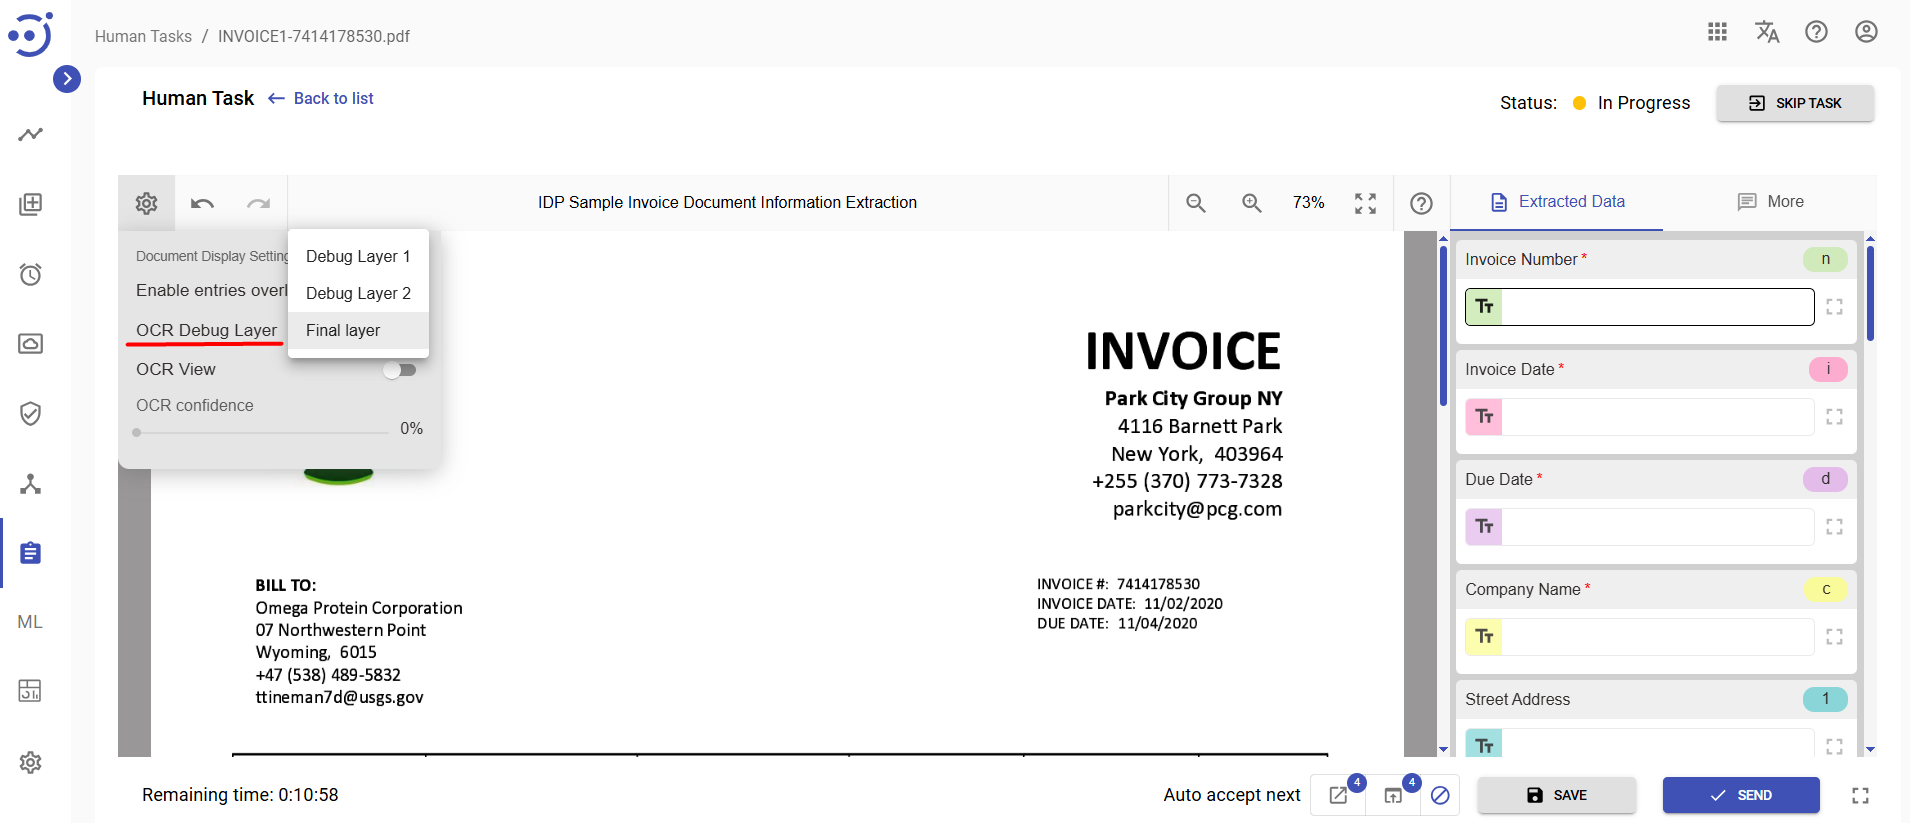
OCR Debug Layer
OCR Debug Layers allows you to see images received after the ImageMagick/Ghostscript and Tesseract OCR/Paddle OCR engine preprocessing.
OCR View
Enabling the 'OCR View' toggle allows you to see the image after the OCR where the text of the original document is split into separate regions called bboxes.
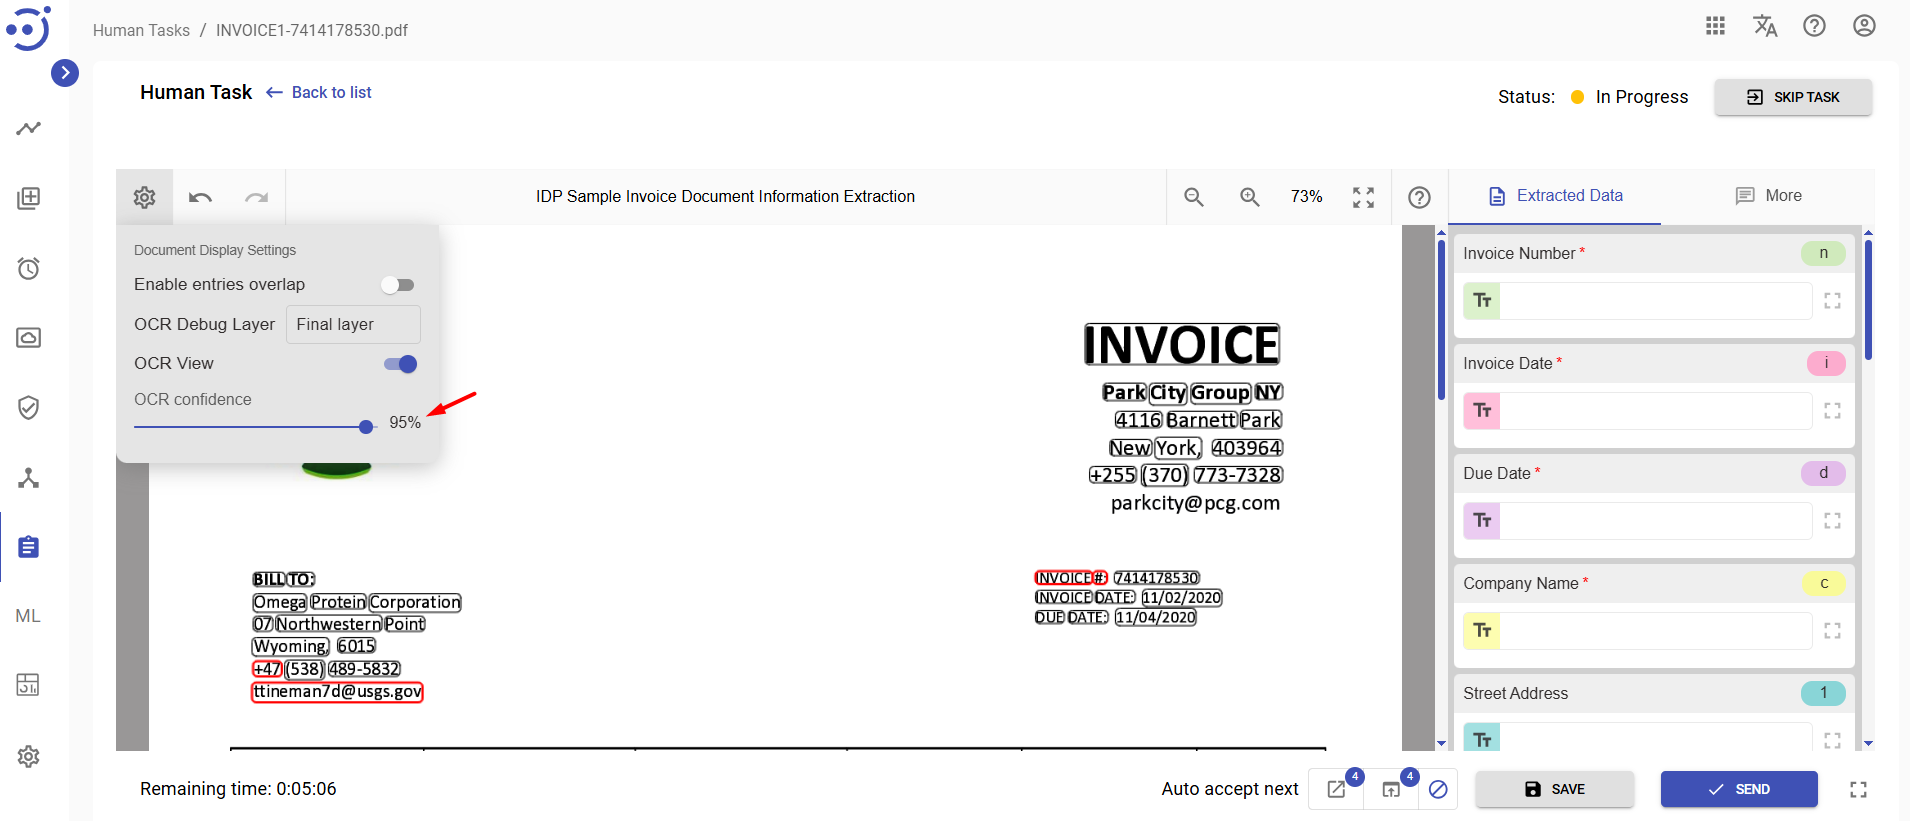
OCR Confidence
The OCR View allows you to see the confidence of recognition of bboxes. By setting the OCR confidence threshold, it is possible to check what bboxes are poorly recognized, or not recognized at all.
In the following screenshot, you can see an example of the OCR confidence set to 95%. Bboxes which are recognized with less confidence are highlighted in red.
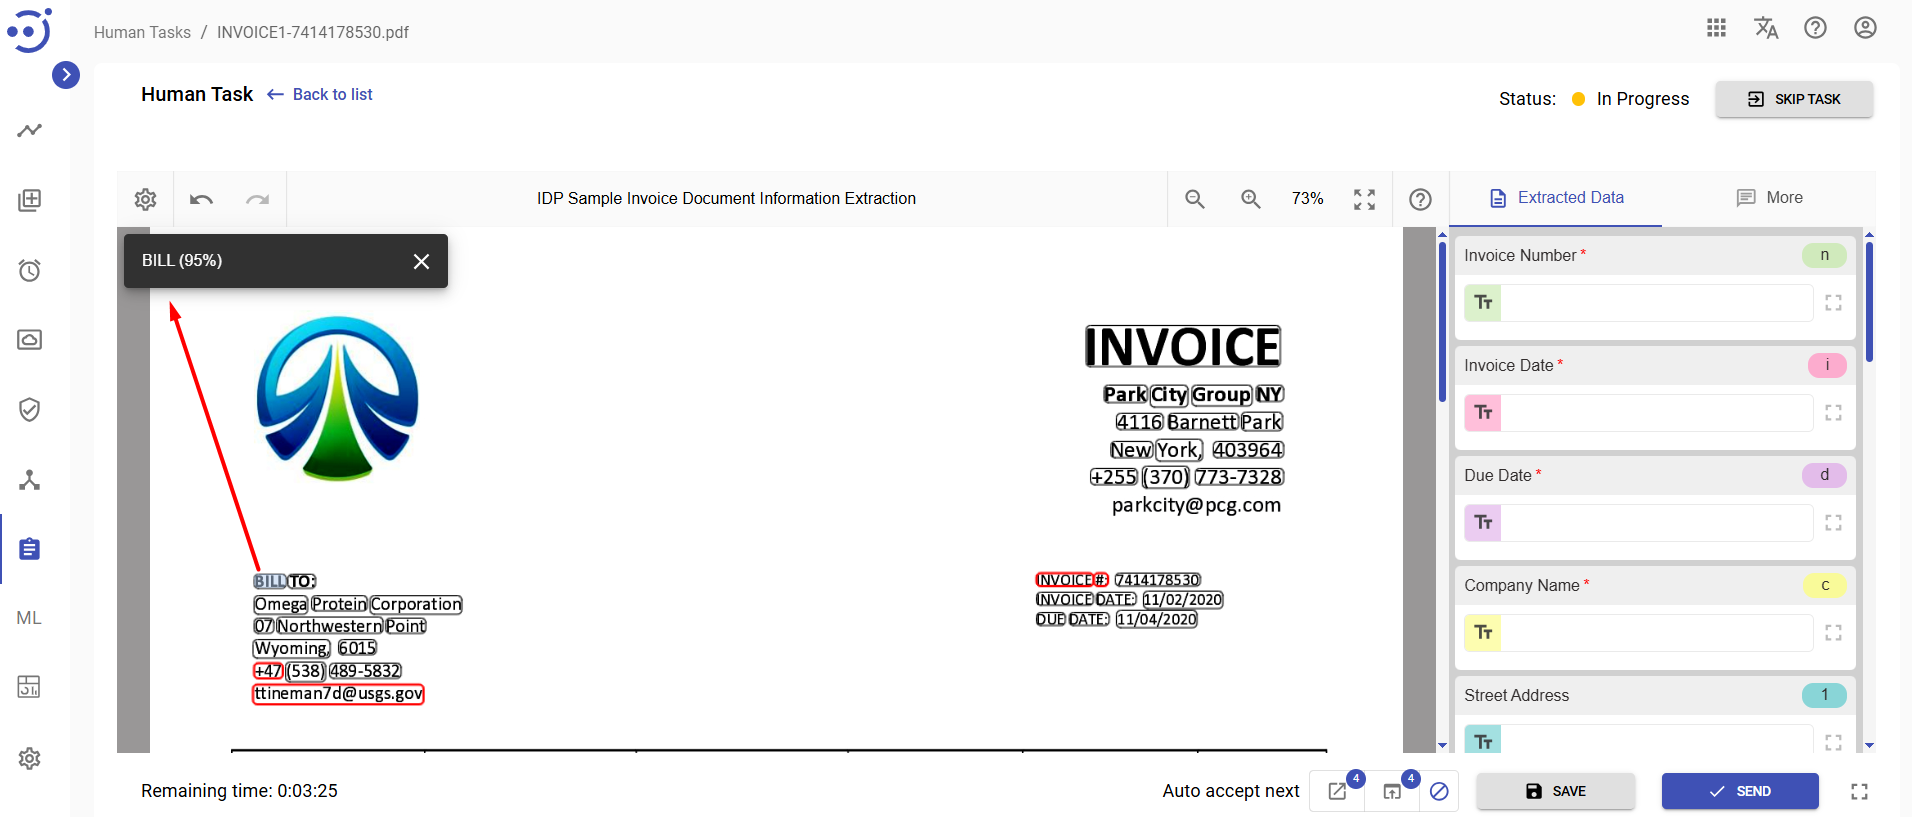
By clicking on the particular bbox, you can see the recognized text and the confidence with which it was recognized.
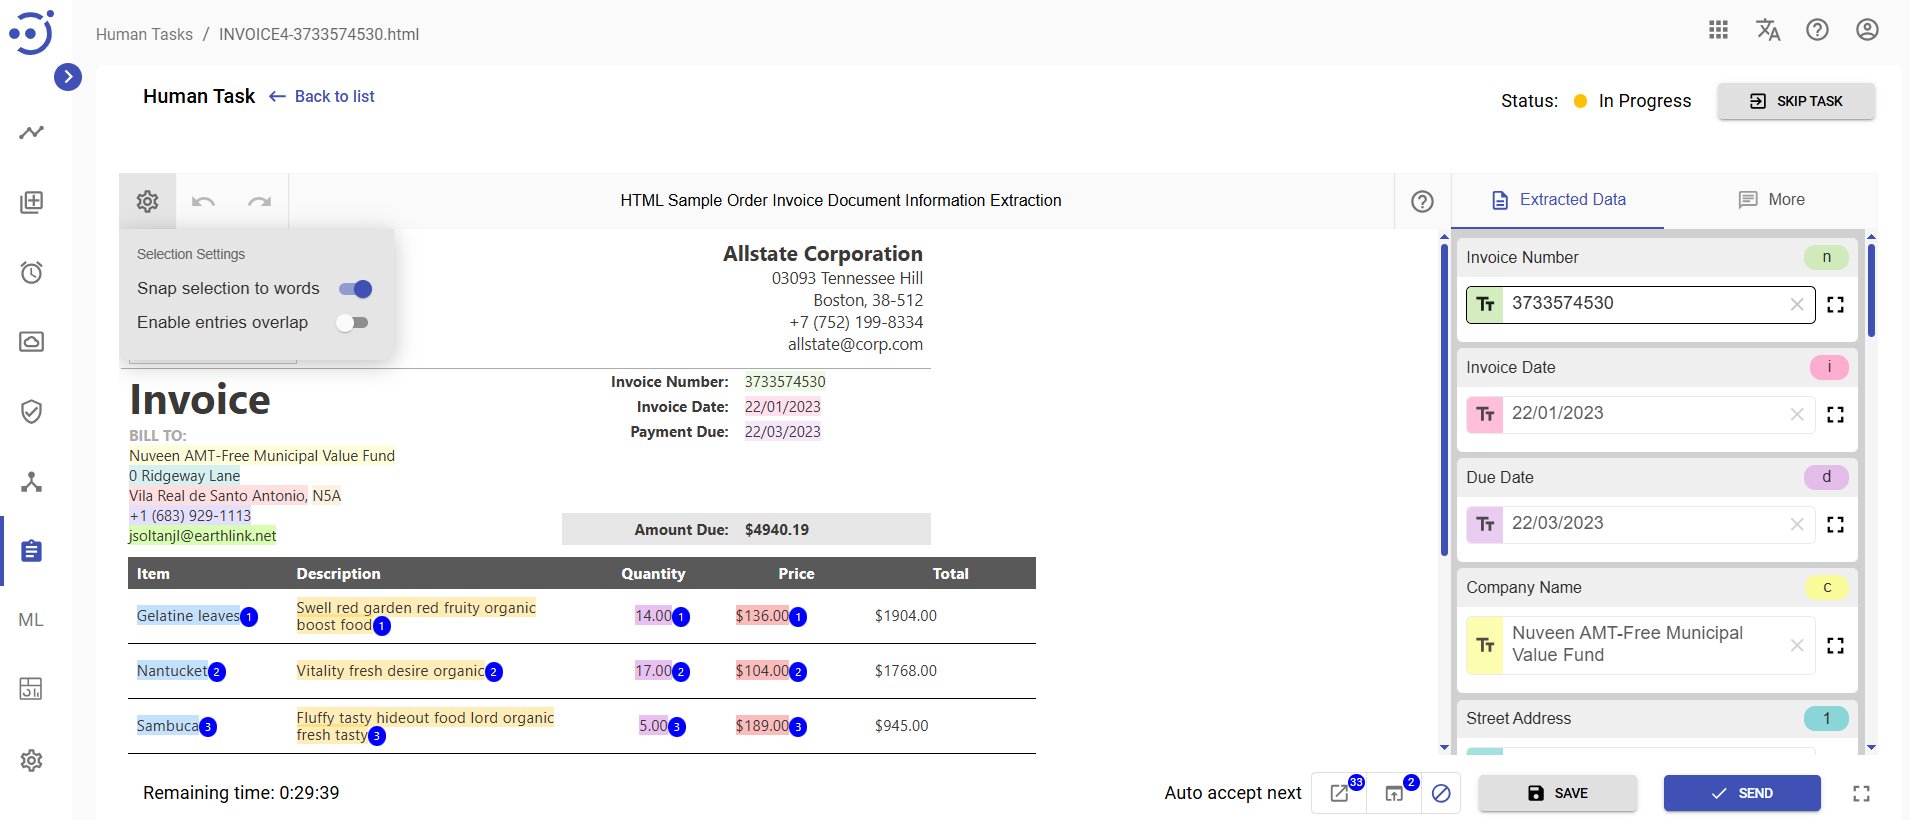
Snap selection to words
Document Display Settings for HTML documents include two toggles: 'Snap selection to words' and 'Enable entries overlap'.
The 'Snap selection to words' toggle is enabled by default, providing the capability to apply tagging to whole words. When this toggle is turned off, free selections of text is allowed. Please note the following guidelines for toggling the 'Snap selection to words':
- Switching the toggle: To switch the 'Snap selection to words' toggle, ensure that all tags have been cleared from the document. If any tags exist, attempting to switch the toggle will prompt the message 'Toggle this mode is only possible when all current selections are reset,' and the toggle cannot be switched.
- Tagging modes: Tagging is only allowed in one of the modes. Both modes cannot be used simultaneously within a single document.
Start Tagging Process
The process of tagging a field is simple. You need to select the necessary field at the right panel and then highlight the required value in the OCRed document.
When you find a text chunk that corresponds to one of the required fields:
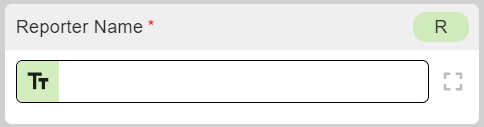
- Select the required field on the right panel.
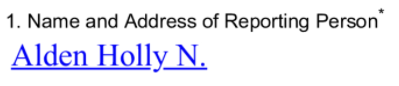
- Find the corresponding value in the original document.
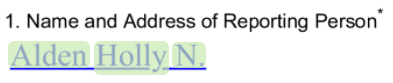
- Drag the mouse over the text chunk.
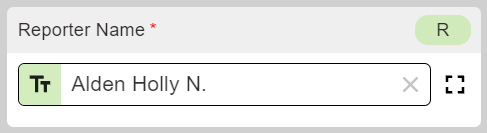
- Once the field is tagged, the text chunk will be highlighted in that field's color, and the corresponding value will appear on the right panel.
 →
→  →
→  →
→ 
Useful Tagging Tips
During the tagging process, you may find it convenient to use the following key combinations:
- Tab - to switch to the next field on the right panel.
- Shift + Tab - to switch to the previous field on the right panel.
- Shift + area selection in the document - to append selected words to the end of the current field.+
- Shift + Enter - to add a line break in the edit mode.
- Double click on bbox in the document - to apply the tag to the current field.
- Ctrl + Z - to cancel last action.
- Ctrl + Shift + Z - to return the last canceled action back.
- Ctrl + Mouse Wheel - to zoom in/zoom out the document.