Trimming Text Area of Image
Trimming Text Area of Image
There are cases where text occupies only a small portion of the image, its lines and letter height are too small for good OCR with Tesseract. Simply resizing the whole image and increasing the dpi is not always sufficient. While resizing through such ImageMagick options like -resample and -density can make text larger, it can also intruduce broken pixels, noise and artifacts. It will also increase the size of the image that needs to be processed. In scenarios where the text is too small for OCR and occupies a small part of an image, it's generally better to crop the text region, reduce the background area and resize it rather than magnifying the whole original image. OCR algorithms perform better when the image contains only the relevant text or content without unnecessary background noise or distractions. By trimming the image around the region of highest detail, you can eliminate irrelevant parts of the image, such as borders, margins, or empty spaces.
Trimming Text Area with ImageMagick Options
-shave
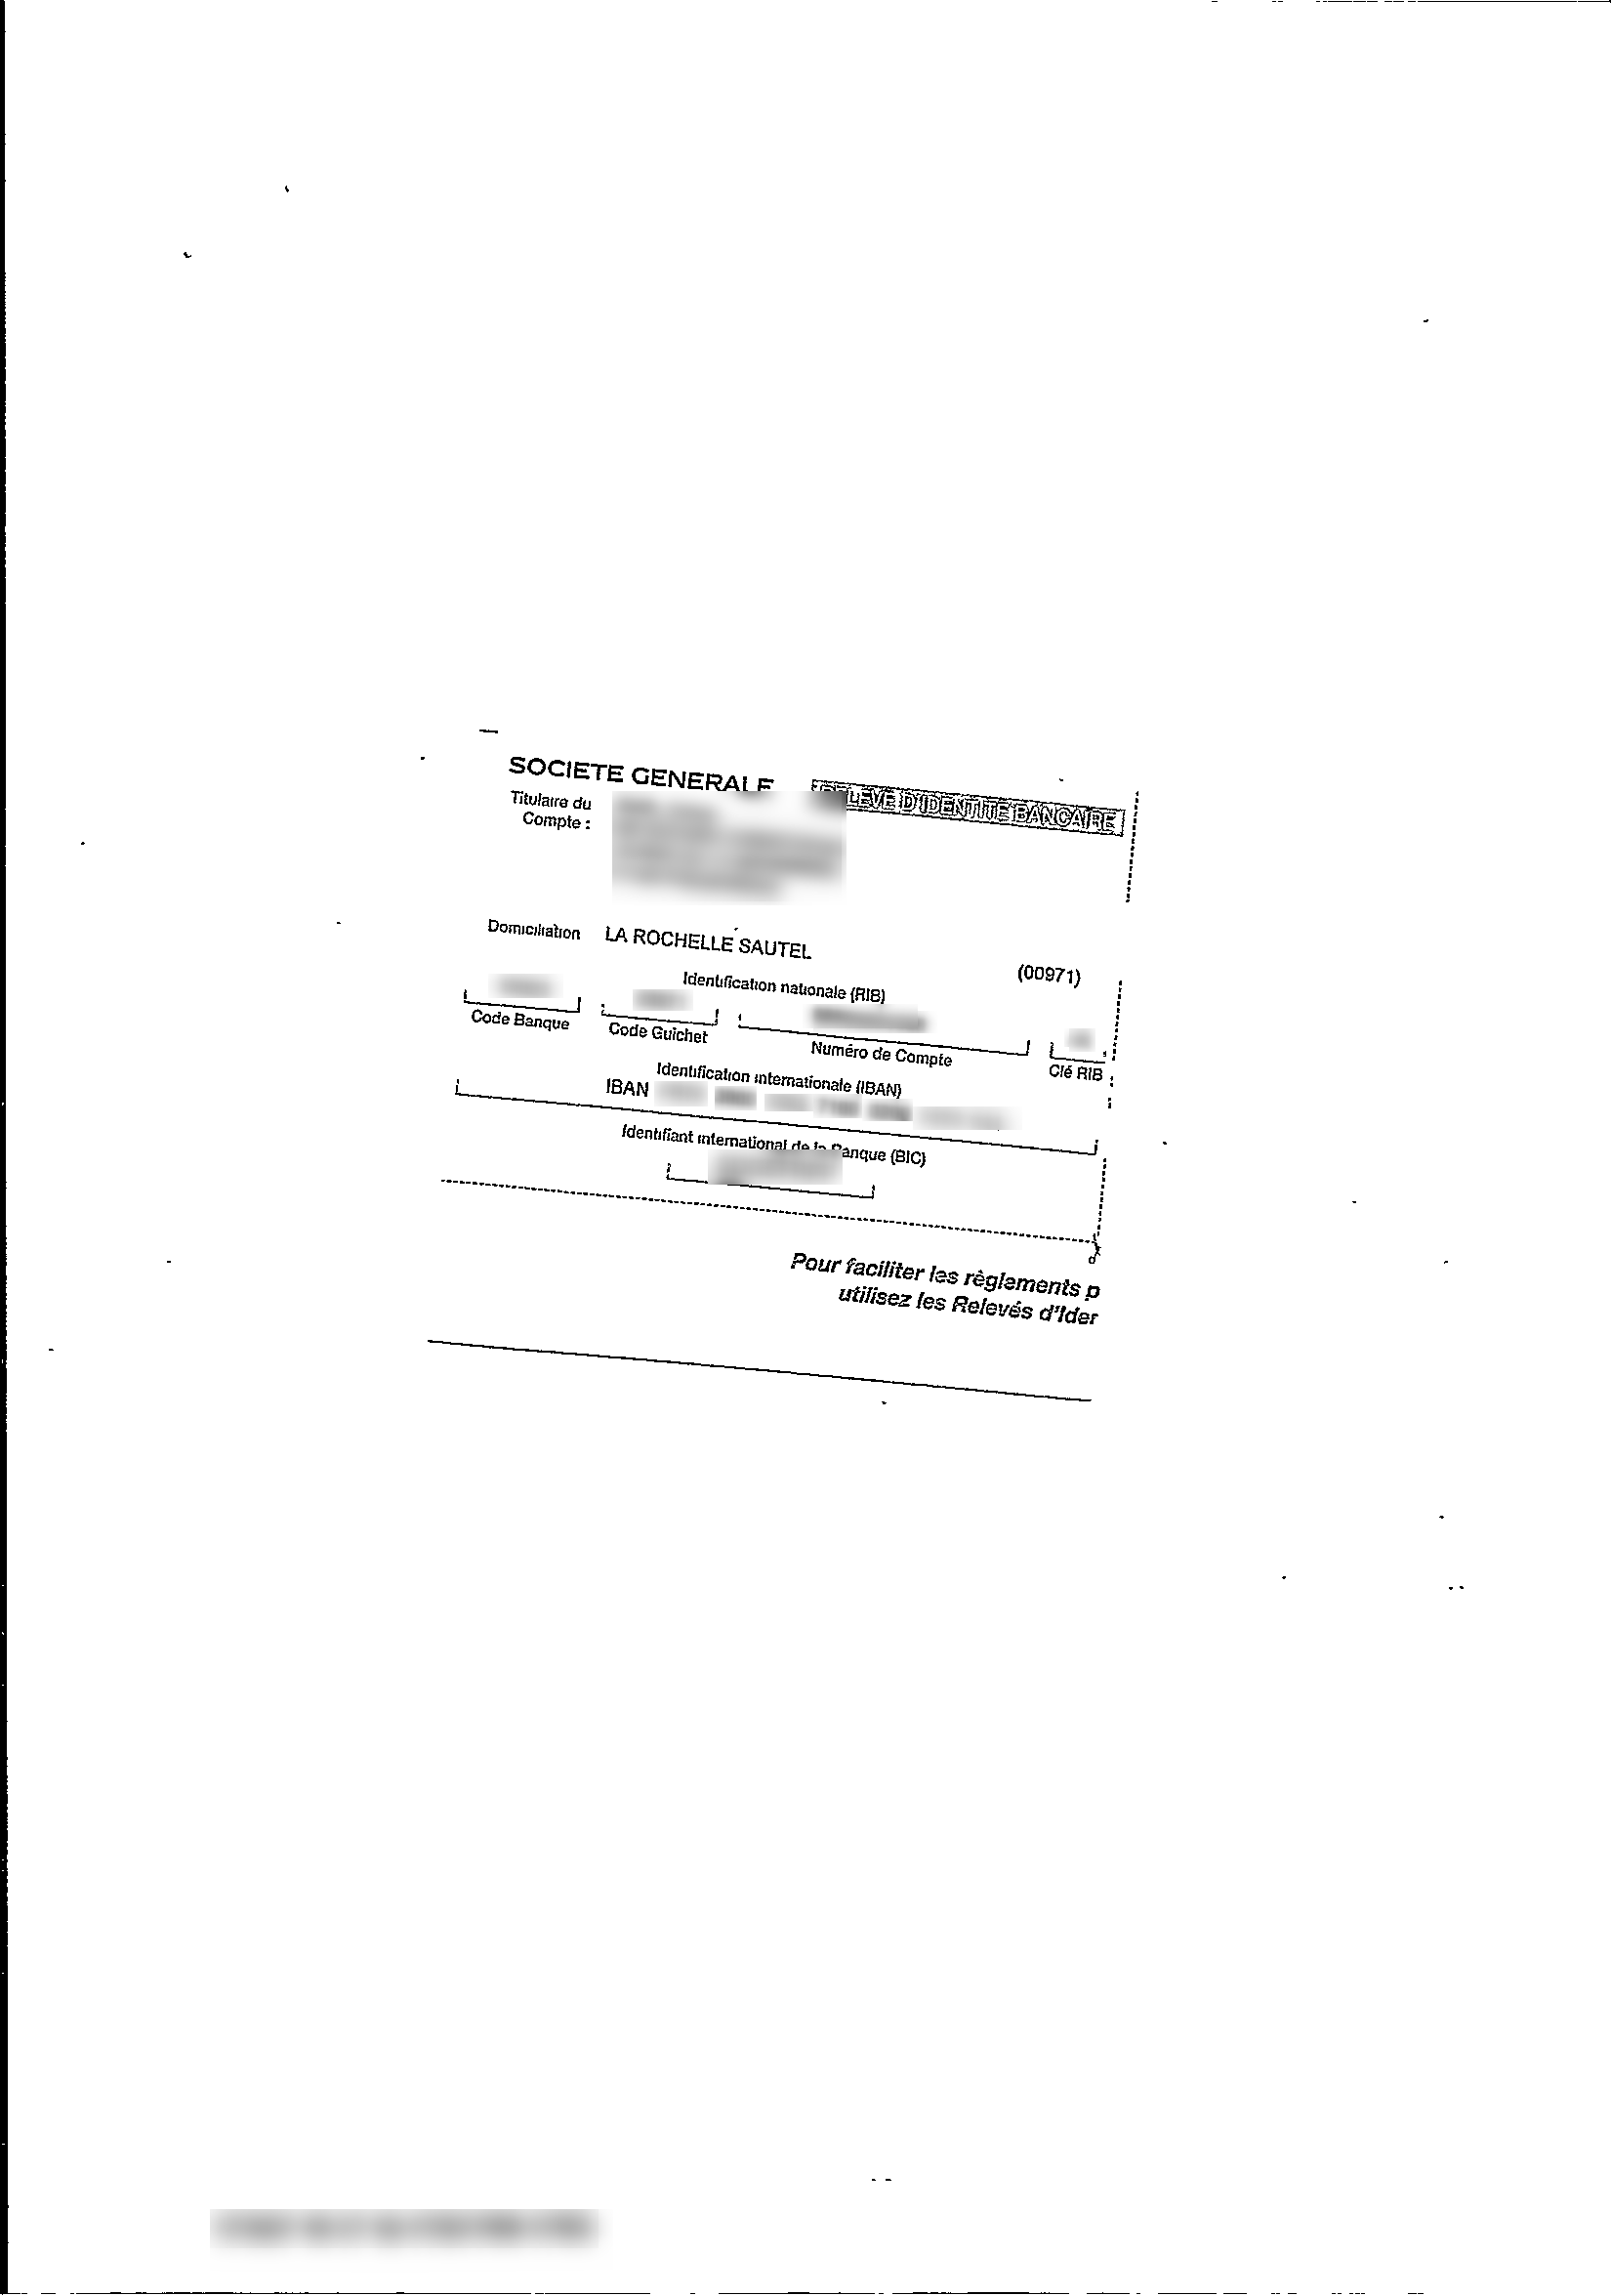
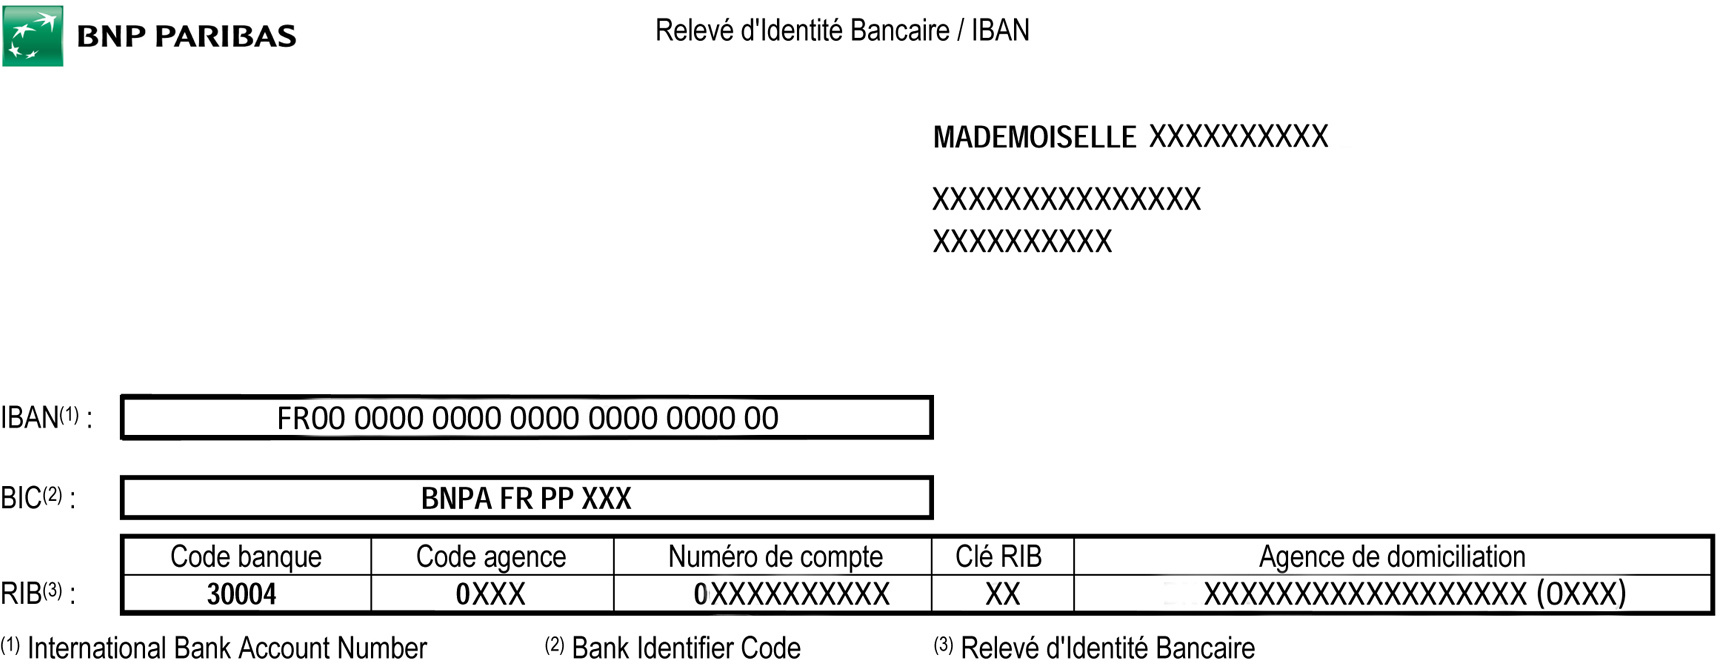
Let's look at the image below. It's 1648x2353 200dpi, binary, quite suitable for OCR. But the line height and letter size are 10pt or less, that it is ImageMagick can't define the correct skew, Tesseract has low confidence about orientation and script and OCR quality is not very good.
Here is our approach: 1. crop the text area, 2. resize the output image to the original dimensions 3. deskew.
There can be several ways how we can crop the text area.
- A good option for our image might be to use ImageMagick "-shave". It removes a specified number of pixels from the edges of an image. It is suitable in our case since we do not need to crop the text area by its exact dimensions we only need to shave off some white background around our image. Our text is in the centre of the image so we use the following command to remove equal number of pixels from each side:
convert /path/to/input/image/input.jpg -shave 250 path/to/output/image/output.jpg
- Next we resize the image to keep the original dimensions. +repage refits the image after resize to new dimensions.
convert /path/to/input/image/input.jpg -resize 1648x2353 +repage path/to/output/image/output.jpg
- Finally, we correct the skew of the image. The recommended "-deskew 40%" work well after we crop and resize the image.
convert /path/to/input/image/input.jpg -deskew 40% path/to/output/image/output.jpg
- All steps could have been done with one command:
convert /path/to/input/image/input.jpg -shave 250 -resize 1648x2353 +repage -deskew 40% +repage path/to/output/image/output.jpg
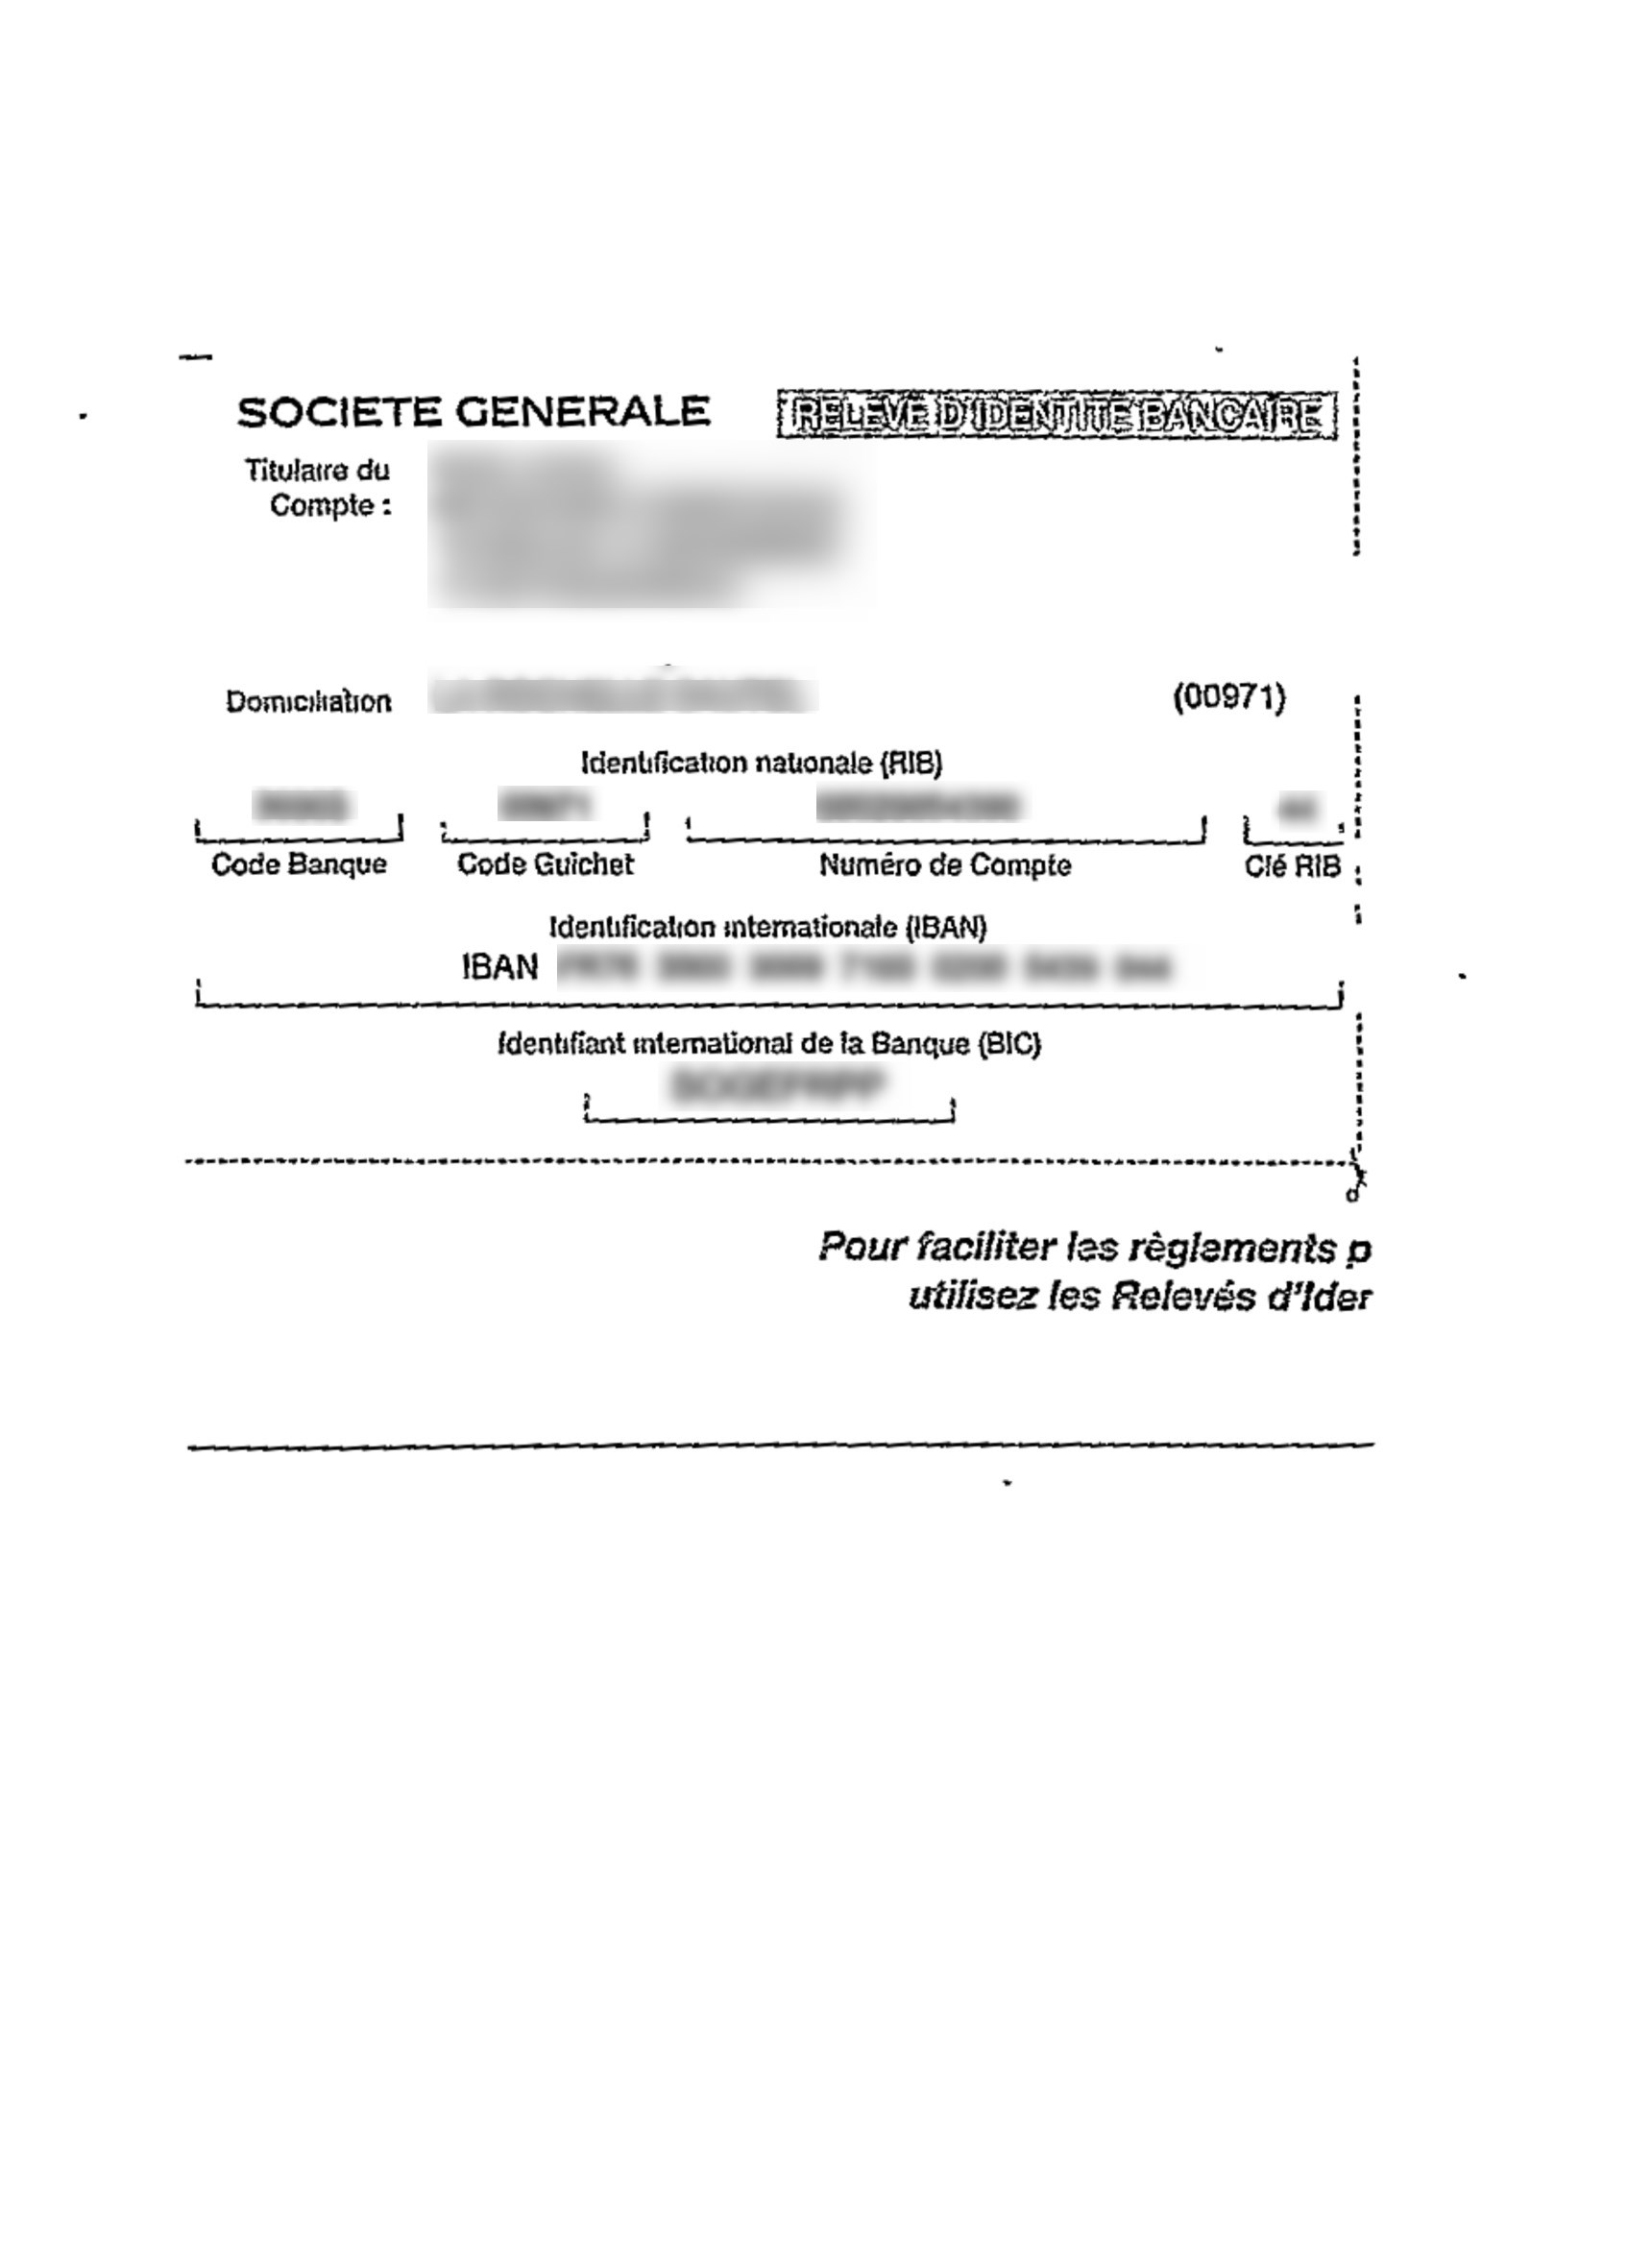
Here is the result we got:
input.jpg |
output.jpg |

Next we ran tesseract on the output image and got 100% accurate OCR result for all fields thta need to be extracted:
tesseract output.jpg stdout -l fra --psm 3 --oem 3
- If our image hasn't been centered other "-shave" commands could have been used.
To remove some number of pixels from one side (in the example below it is left side):
convert /path/to/input/image/input.jpg -shave 50x0 path/to/output/image/output.jpg
To remove different number of pixels from different sides:
convert /path/to/input/image/input.jpg -shave 20x0 -shave 0x10 -shave 30x0 -shave 0x15 path/to/output/image/output.jpg
In the last command, <left>, <top>, <right>, and <bottom> represent the number of pixels you want to shave off from the left, top, right, and bottom sides of the image.
-crop
Instead of "-shave" we could have also used ImageMagick "-crop" option. Then our full command to preprocess the image would look like this:
convert /path/to/input/image/input.jpg -gravity center -crop 1100x1500+0+0 -resize 1648x2353 +repage -deskew 40% +repage path/to/output/image/output.jpg
Here "-gravity center" sets the crop gravity/anchor point to the center, -crop 1100x1500+0+0 crops the image to 1100px wide by 1500px tall, anchored from the center, +0+0 means the crop offsets are 0 (no offset from gravity point). If we didn't use the -gravity center option then we would have to provide the offset values from the starting position of the crop from the top-left corner of the image:
convert /path/to/input/image/input.jpg -crop 1100x1500+250+350 -resize 1648x2353 +repage -deskew 40% +repage path/to/output/image/output.jpg
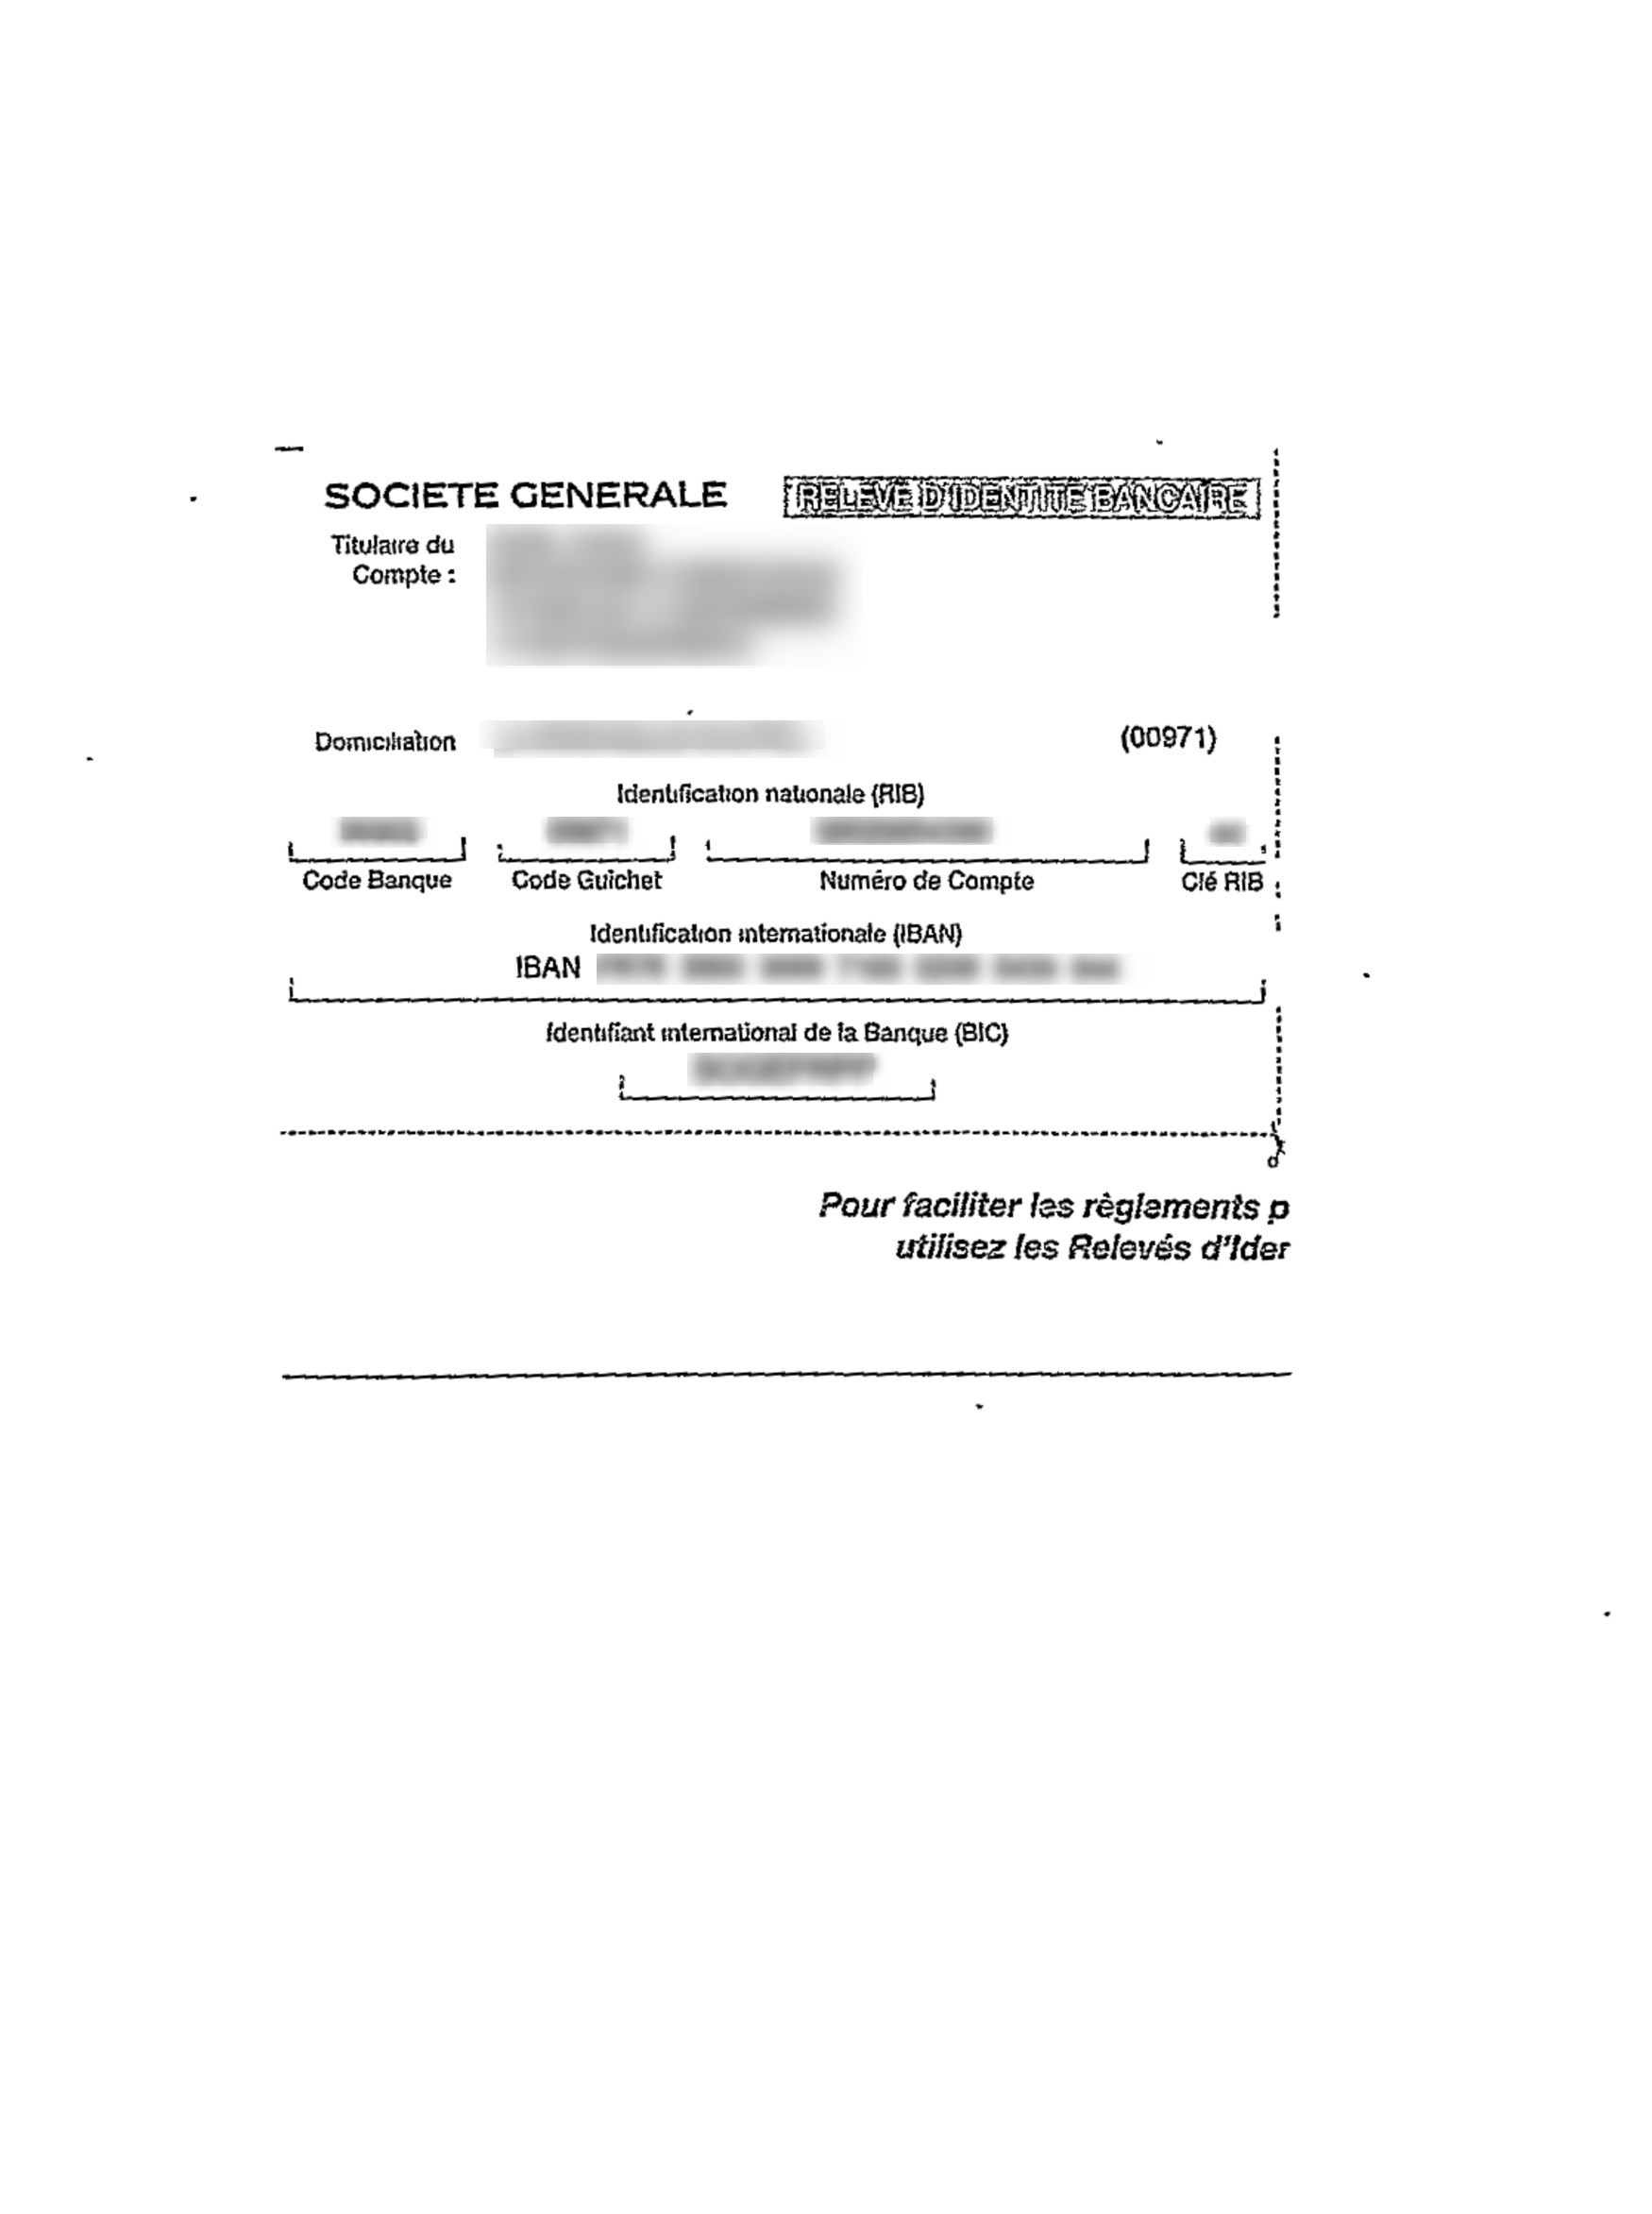
input.jpg |
output.jpg |
"-crop" operator also understands percent. So we could crop to the percentage of the original image and then resized to enlarge:
convert /path/to/input/image/input.jpg -gravity center -crop 60%x+0+50 -resize 1648x2353 +repage -deskew 40% +repage path/to/output/image/output.jpg
input.jpg |
output.jpg |
-trim
If our image had a spotless white background we could use ImageMagick "-trim". It would cut off all the white pixels around the black text like on the image below where we used this simple command:
convert /path/to/input/image/input.jpg -trim path/to/output/image/output.jpg
Here is the result:
input.jpg |
output.jpg |
It worked well in this case where background is all white. But this option was not suitable for our image since it was a scanned fax image and had back stripes on some edges and scattered little black spots on the white background. So "-trim" didn't do much for our image because of the black pixels close to the edges.
Smarttrim script
Smarttrim script overview
"Smarttrim" script is designed to automatically identify and trim an image around the region of highest detail or significance. The script removes unnecessary background, noise, or irrelevant portions of an image, while retaining the essential text area. It can be critical when preprocessing bulk images with similar problems where text areas have different sizes and different positions in the image.
Within EasyRPA platform, the "smarttrim" script is integrated into the image preprocessing pipeline. It can be called after ImageMagick options before performing OCR.
To apply the "smarttrim" script on a document image:
- provide the relevant settings in JSON format in the Document Set Details.
- initiate the Preprocess action of an IE Document Processor.
Smarttrim script options
Here are the optional parameters available in "smarttrim" for additional customization and control over the trimming process:
-m metric to use to process the image for detail; choices are std (for standard_deviation), sobel (for sobel type grayscale edges), canny (for canny type binary edges) and corners (for morphologic corner detection); default=sobel
-f fuzz value for trim expressed as percent; 0<=float<=100; default=10
-b blur the detail image before normalizing; integer>=0; zero means no blur; default=20
-s optional size for output; trimming will be performed, then the centroid located and the image cropped by the size about the centroid; default is no cropping, only trimming
-l lower threshold for canny edges (percent); smaller is more edges; 0<=integer<=100; default=10
-u upper threshold for canny edges (percent); smaller is more edges; 0<=integer<=100; default=30
-g mode of converting to grayscale; grayscale or maximum; default=grayscale
-r restrict to only largest thresholded region using connected components labeling (ccl); yes or no; default=no
-a area threshold for connected components labeling (ccl) filtering; integer>=0; only used when keep=yes; default automatically computed
-p pad crop area; allows up to 4 comma separate values to represent top,right,bottom,left amount of increase in crop area; all values are integers>=0; default=no padding
Recommended settings for smarttrim script
Below you can find an example of JSON settings for "smarttrim" script.
Here is an example of a document image, showcasing the effects of applying the "smarttrim" script with the settings provided above:
To test and play with "smarttrim" script, download Optical Character Recognition Sample Process (OCR Sample).
To find out about other ImageMagick scripts, see OCR Analysis and Built-in OCR.
Resources:
https://pyimagesearch.com/2021/10/27/automatically-ocring-receipts-and-scans/
ImageMagick cropping techniques:
https://legacy.imagemagick.org/Usage/crop/
https://imagemagick.org/Usage/crop/#advanced
Smarttrim script: