OCR Analysis
OCR Analysis
OCR stands for Optical Character Recognition, which is the process of turning an image of text into a machine-readable document. EasyRPA uses open source text recognition (OCR) engine Tesseract.
A project's success depends directly on the quality of OCR. In both training and testing, the quality of OCR (i.e. missing and corrupted fields, corrupted structures, etc.) can play a significant role in the outcome of a machine learning model. It is important to keep in mind that every document differs and that many factors can affect the quality of character recognition, for example:
- Resolution of the document;
- Noise in the document;
- Handwritten text;
- Additional marks like stamps and logos;
- Position of the pages;
It is recommended to use documents with a high degree of readability and free of visible defects and noise. These requirements must be met for the OCR results to be acceptable and to allow for ML processing.
The built-in OCR Flow of the EasyRPA Platform includes 3 main steps:
ImageMagick Pre-processor
ImageMagick Pre-processor is used for displaying, creating, converting, modifying, and editing digital images. ImageMagick mainly consists of a number of options for manipulating images.
The list of ImageMagick options recommended for use:
- -resample. This option resizes the image so that its rendered size remains the same as the original at the specified target resolution. Recommended value: at least 300 DPI. For more details about DPI refer to Tesseract documentation - Rescaling.
- -density. This option specifies the image resolution to store while encoding a raster image. The default unit of measure is in dots per inch (DPI). The recommended value should be equal to the -resample option.
- -units. This option specifies the units of image resolution and is normally used in conjunction with the -density option. Recommended value: "PixelsPerInch."
- -quality. This option specifies the JPEG/MIFF/PNG compression level. Recommended value: "100".
- -deskew. This option straightens an image. A threshold of 40% works for most images. Recommended value: "40%".
- -contrast. Use this option to enhance the image contrast.
- +contrast. Use this option to reduce the image contrast.
- -alpha. This option helps to fix the layers in the readable PDFs. Recommended value: "flatten".
-quality. It controls the quality of compression of the output file. The quality of an output file decreases as the file size decreases.
-background. This parameter controls the image's background color. By using OCR, we can detect skew in an image as the deskew algorithm rotates the image based on objects other than the background. The available colors can be found here.
Below you can see the output result of the readable PDF recognition with and without "-alpha", "flatten" correspondingly:
1) with: 
2) without: 
For an extended list of ImageMagick options, refer to the Full List of ImageMagick Options.
ImageMagick Scripts
In addition, OCR image processing pipeline offers a range of scripts based on ImageMagick's functions. The following are some of the recommended scripts:
- textcleaner: enhances image quality and text legibility by applying grayscale filters, text enhancement, contrast stretching, unsharp masking, skew correction and trimming. For additional information, see Text Cleaning.
- otsuthresh: performs Otsu thresholding, which automatically determines the optimal threshold value to convert a color or grayscale image into a binary image, improving the clarity of text and reducing noise. For additional information, see Image Binarization.
- unperspective: corrects perspective distortion in images, particularly useful for documents captured at an angle or with perspective effects. It straightens the image based on specified parameters. For additional information, see Perspective Distortion Correction.
- smarttrim: automatically trims the excess edges or borders of an image, improving its composition and focusing on the main content.
These scripts, along with other custom scripts, can be uploaded and utilized in the image preprocessing pipeline to address specific requirements and enhance the quality of scanned document images for better OCR results.
Tesseract OCR Engine
Tesseract is an OCR engine with support for unicode and the ability to recognize more than 100 languages out of the box.
The list of Tesseract options recommended for use:
- -l. This option specifies the language or script to use. If none is specified, 'eng' (English) is assumed. More than one language or script may be specified by using
+. Example: "eng+deu+fra". For more information, you can refer to the Full List of Tesseract Languages. - --psm. Page Segmentation Method sets Tesseract to only run a subset of layout analysis and assume a certain form of an image. Recommended value: 12 (Sparse text with OSD).
- -psm 0 оrientation and script detection only. This parameter determines the text orientation and alphabet type (Latin, Cyrillic, etc.) without performing OCR.
- -psm 1 automatic page segmentation with OSD. Using this parameter, you can determine the page boundaries or type of alphabet from the list.
- -psm 2 automatic page segmentation, but no OSD, or OCR. Parameter not implemented, works as -psm 0.
- -psm 3 fully automatic page segmentation, but no OSD.
- -psm 4 assume a single column of text of variable sizes. This parameter is used if all text is supposed to be one column and it has been rotated properly.
- -psm 5 assume a single uniform block of vertically aligned text. This option works the same as -psm 4, but for rotated images.
- -psm 6 assume a single uniform block of text. Typically, this parameter is used if it is assumed that the entire text is of the same font throughout.
- -psm 7 treats the image as a single text line.
- -psm 8 treats the image as a single word.
- -psm 9 treats the image as a single word in a circle.
- -psm 10 treats the image as a single character.
- -psm 11 sparse text: find as much text as possible in no particular order.
- -psm 12 it works the same as -psm 11, but also determines the type of alphabet to use.
- -psm 13 raw line: treats the image as a single text line.
Here is more information on Tesseract Page Segmentation Modes: Tesseract Page Segmentation Modes (PSMs) Explained.
- --oem. This option specifies OCR Engine Mode. Recommended value: 3 (Default, based on what is available).
- --dpi. This option specifies the resolution N in DPI for the input image. The recommended value should be equal to the -resample ImageMagick option and at least 300 DPI.
![]() Without this option, the resolution is read from the metadata included in the image. If an image does not include that information, Tesseract tries to guess it, which leads to a significant increase in document processing time.
Without this option, the resolution is read from the metadata included in the image. If an image does not include that information, Tesseract tries to guess it, which leads to a significant increase in document processing time.
For more information about Tesseract options, visit Tesseract Manual Page.
HOCR Post-processor
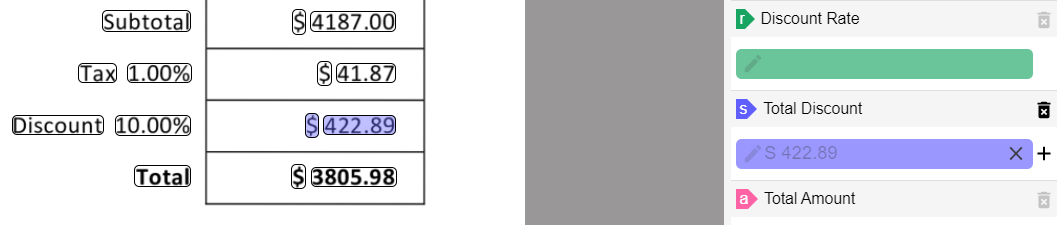
HOCR post-processor helps to fix common OCR mistakes by providing pairs of recognized and corrected words. Post-processing rules can be set either as pairs of words or as a regexp function.
In the provided example it is seen that '$' was recognized as 'S'.
It is possible to fix the OCR mistake using:
- pair of values: "^S$": "\$" - in case '$' represents a separate bbox.
- or regexp function : "S(?=[0-9]+([.,][0-9]+)?)": "\$"- in case '$' represents a part of bbox and is followed by the amount, i.e. '$422.89'.
To explore the OCR image processing pipeline and test available options, you can use Optical Character Recognition Sample Process (OCR Sample).
To read more about techniques of OCR quality analysis and improvement with the help of ImageMagick options and ImageMagick scripts, see OCR Tuning Guide.
Tesseract OCR Debug
To run Tesseract OCR in debug mode on Windows:
- Make sure that you have the jar-files piccolo-1.2.jar, piccolox-1.2.jar and ScrollView.jar located in the same directory, for example, Tesseract-OCR/java. The jar-files should come with tesseract ocr installation package. If not, they can be downloaded from tesseract debug.
- Go to your System Properties and create a system variable SCROLLVIEW_PATH environment variable to point to the directory where all the jar-files are located.
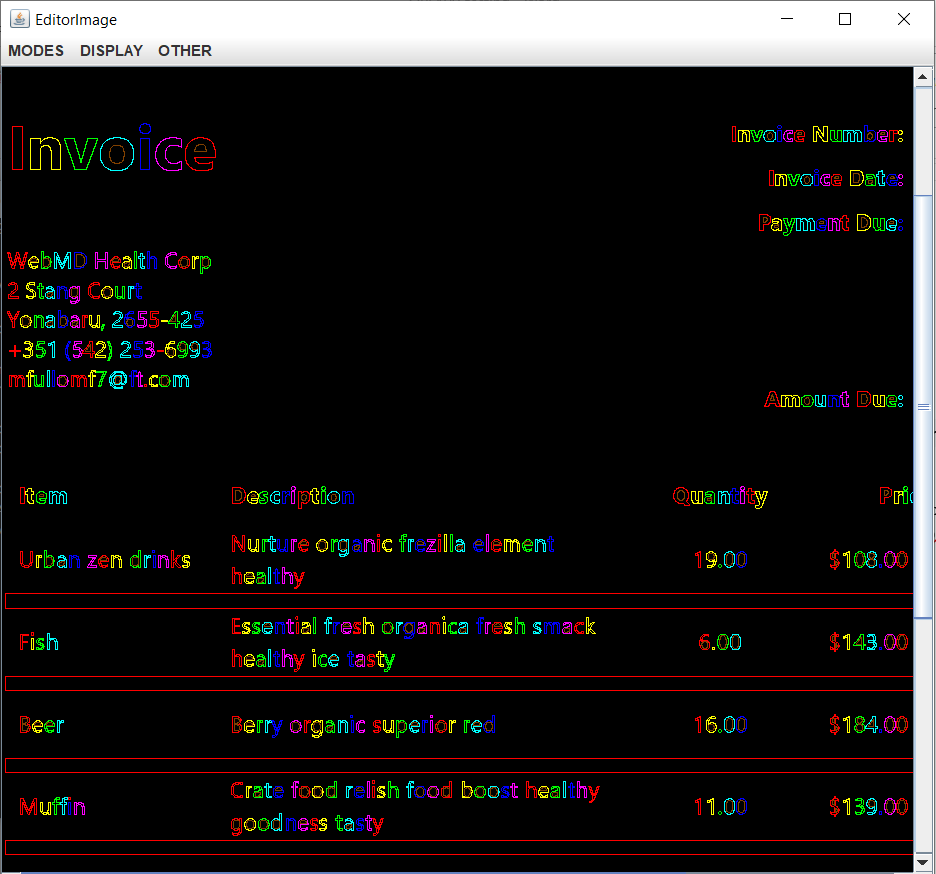
To run the Segmenter Debug Mode, run the following command in your command prompt:
tesseract input_image.jpg output1 segdemo inter
A similar window will pop up:
To see the text blocks and their sequence select DISPLAY/Polygonal Approx and then OTHER/Show BlockOutlines.
To see the bboxes select DISPLAY/Bounding Boxes and then OTHER/Uniform Display.
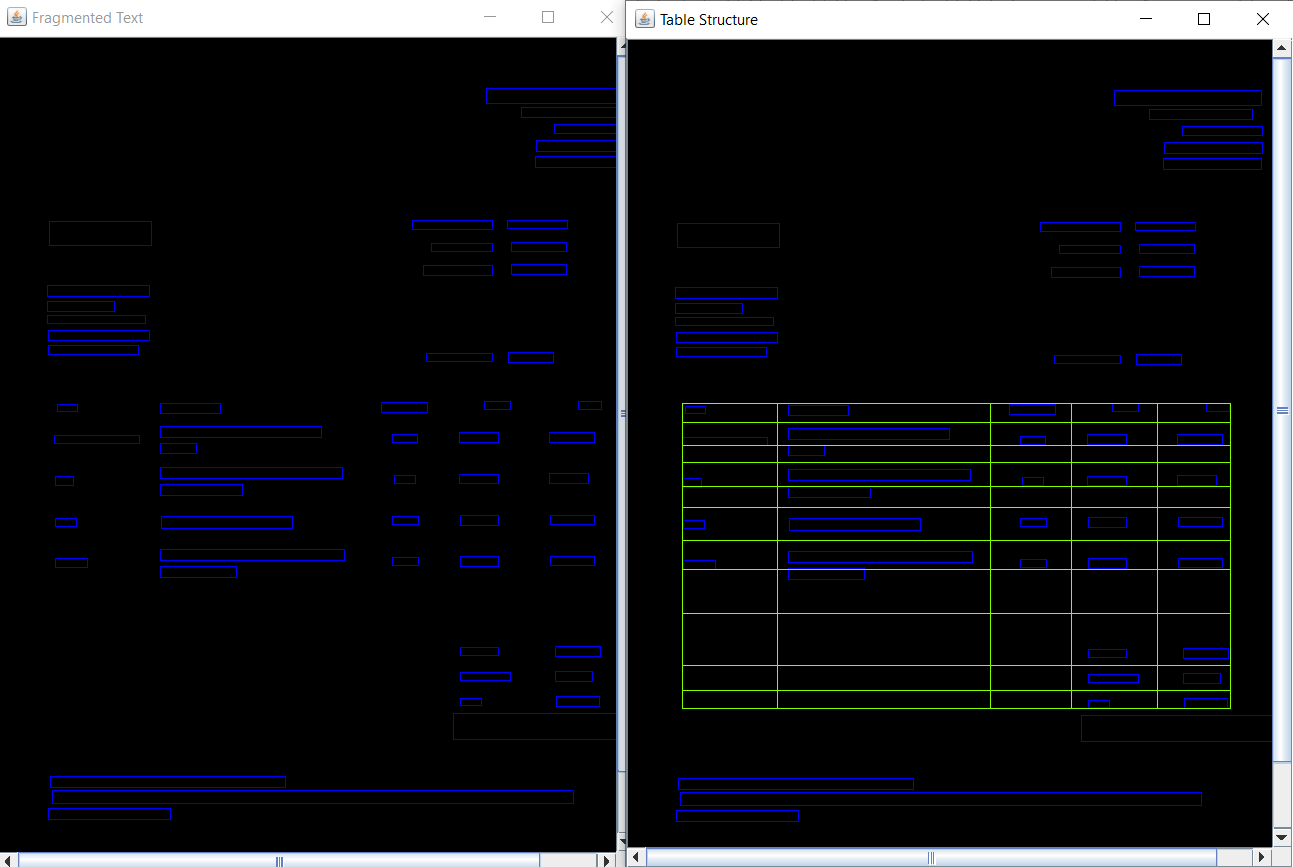
To run the Table Detection Debug run the following command in your command prompt:
tesseract input_image.jpg output -l eng --psm 3 --oem 3 -c textord_tabfind_find_tables=1 -c textord_tablefind_recognize_tables=1 -c gapmap_debug=1 -c textord_show_tables=1 inter
You can also run this command for a fuller debug version:
tesseract input_image.jpg output -l eng --psm 1 --oem 3 -c textord_debug_tabfind=1 -c textord_debug_bugs=1 -c tessedit_reject_block_percent=1 -c tessedit_reject_row_percent=1 -c debug_noise_removal=1 -c textord_debug_block=28 -c textord_tabfind_show_partitions=1 -c textord_tabfind_show_initial_partitions=1 -c textord_tabfind_show_reject_blobs=1 -c textord_tabfind_show_blocks=1 -c textord_show_final_rows=1 -c textord_show_final_blobs=1 -c textord_show_initial_rows=1 -c textord_debug_blob=1 -c textord_oldbl_debug=1 -c textord_debug_baselines=1 -c textord_show_tables=1 -c classify_debug_level=1 -c dawg_debug_level=1 -c wordrec_debug_level=1 -c segsearch_debug_level=1 -c wordrec_display_segmentations=1 -c bidi_debug=1 -c debug_noise_removal=1 -c paragraph_debug_level=1 inter