Dark Border Removal
Dark Border Removal
In Tesseract OCR, scanned or rotated pages with dark borders can cause issues during the OCR process. These dark borders can be erroneously recognized as extra characters because Tesseract treats the entire image as a potential text region. If the dark borders are included in the analysis, they may be mistakenly recognized as characters or noise, leading to inaccurate OCR results. Variations in dark border shape and gradation can confuse the OCR algorithm, making it more challenging to distinguish between actual text and the dark border. To mitigate these issues and ensure accurate OCR results, it is essential to remove or exclude the dark borders from the image before feeding it into the OCR engine. This can be done through image preprocessing techniques like cropping or border removal. By removing the borders, you provide a clear distinction between the text content and other elements in the image, aiding accurate text recognition.
Let's look at the examples below. The first one if the original scanned page we got, the second one is the same image but after deskew operation with white background applied (see Skew Correction).
input.jpg |
input_rotated.jpg |
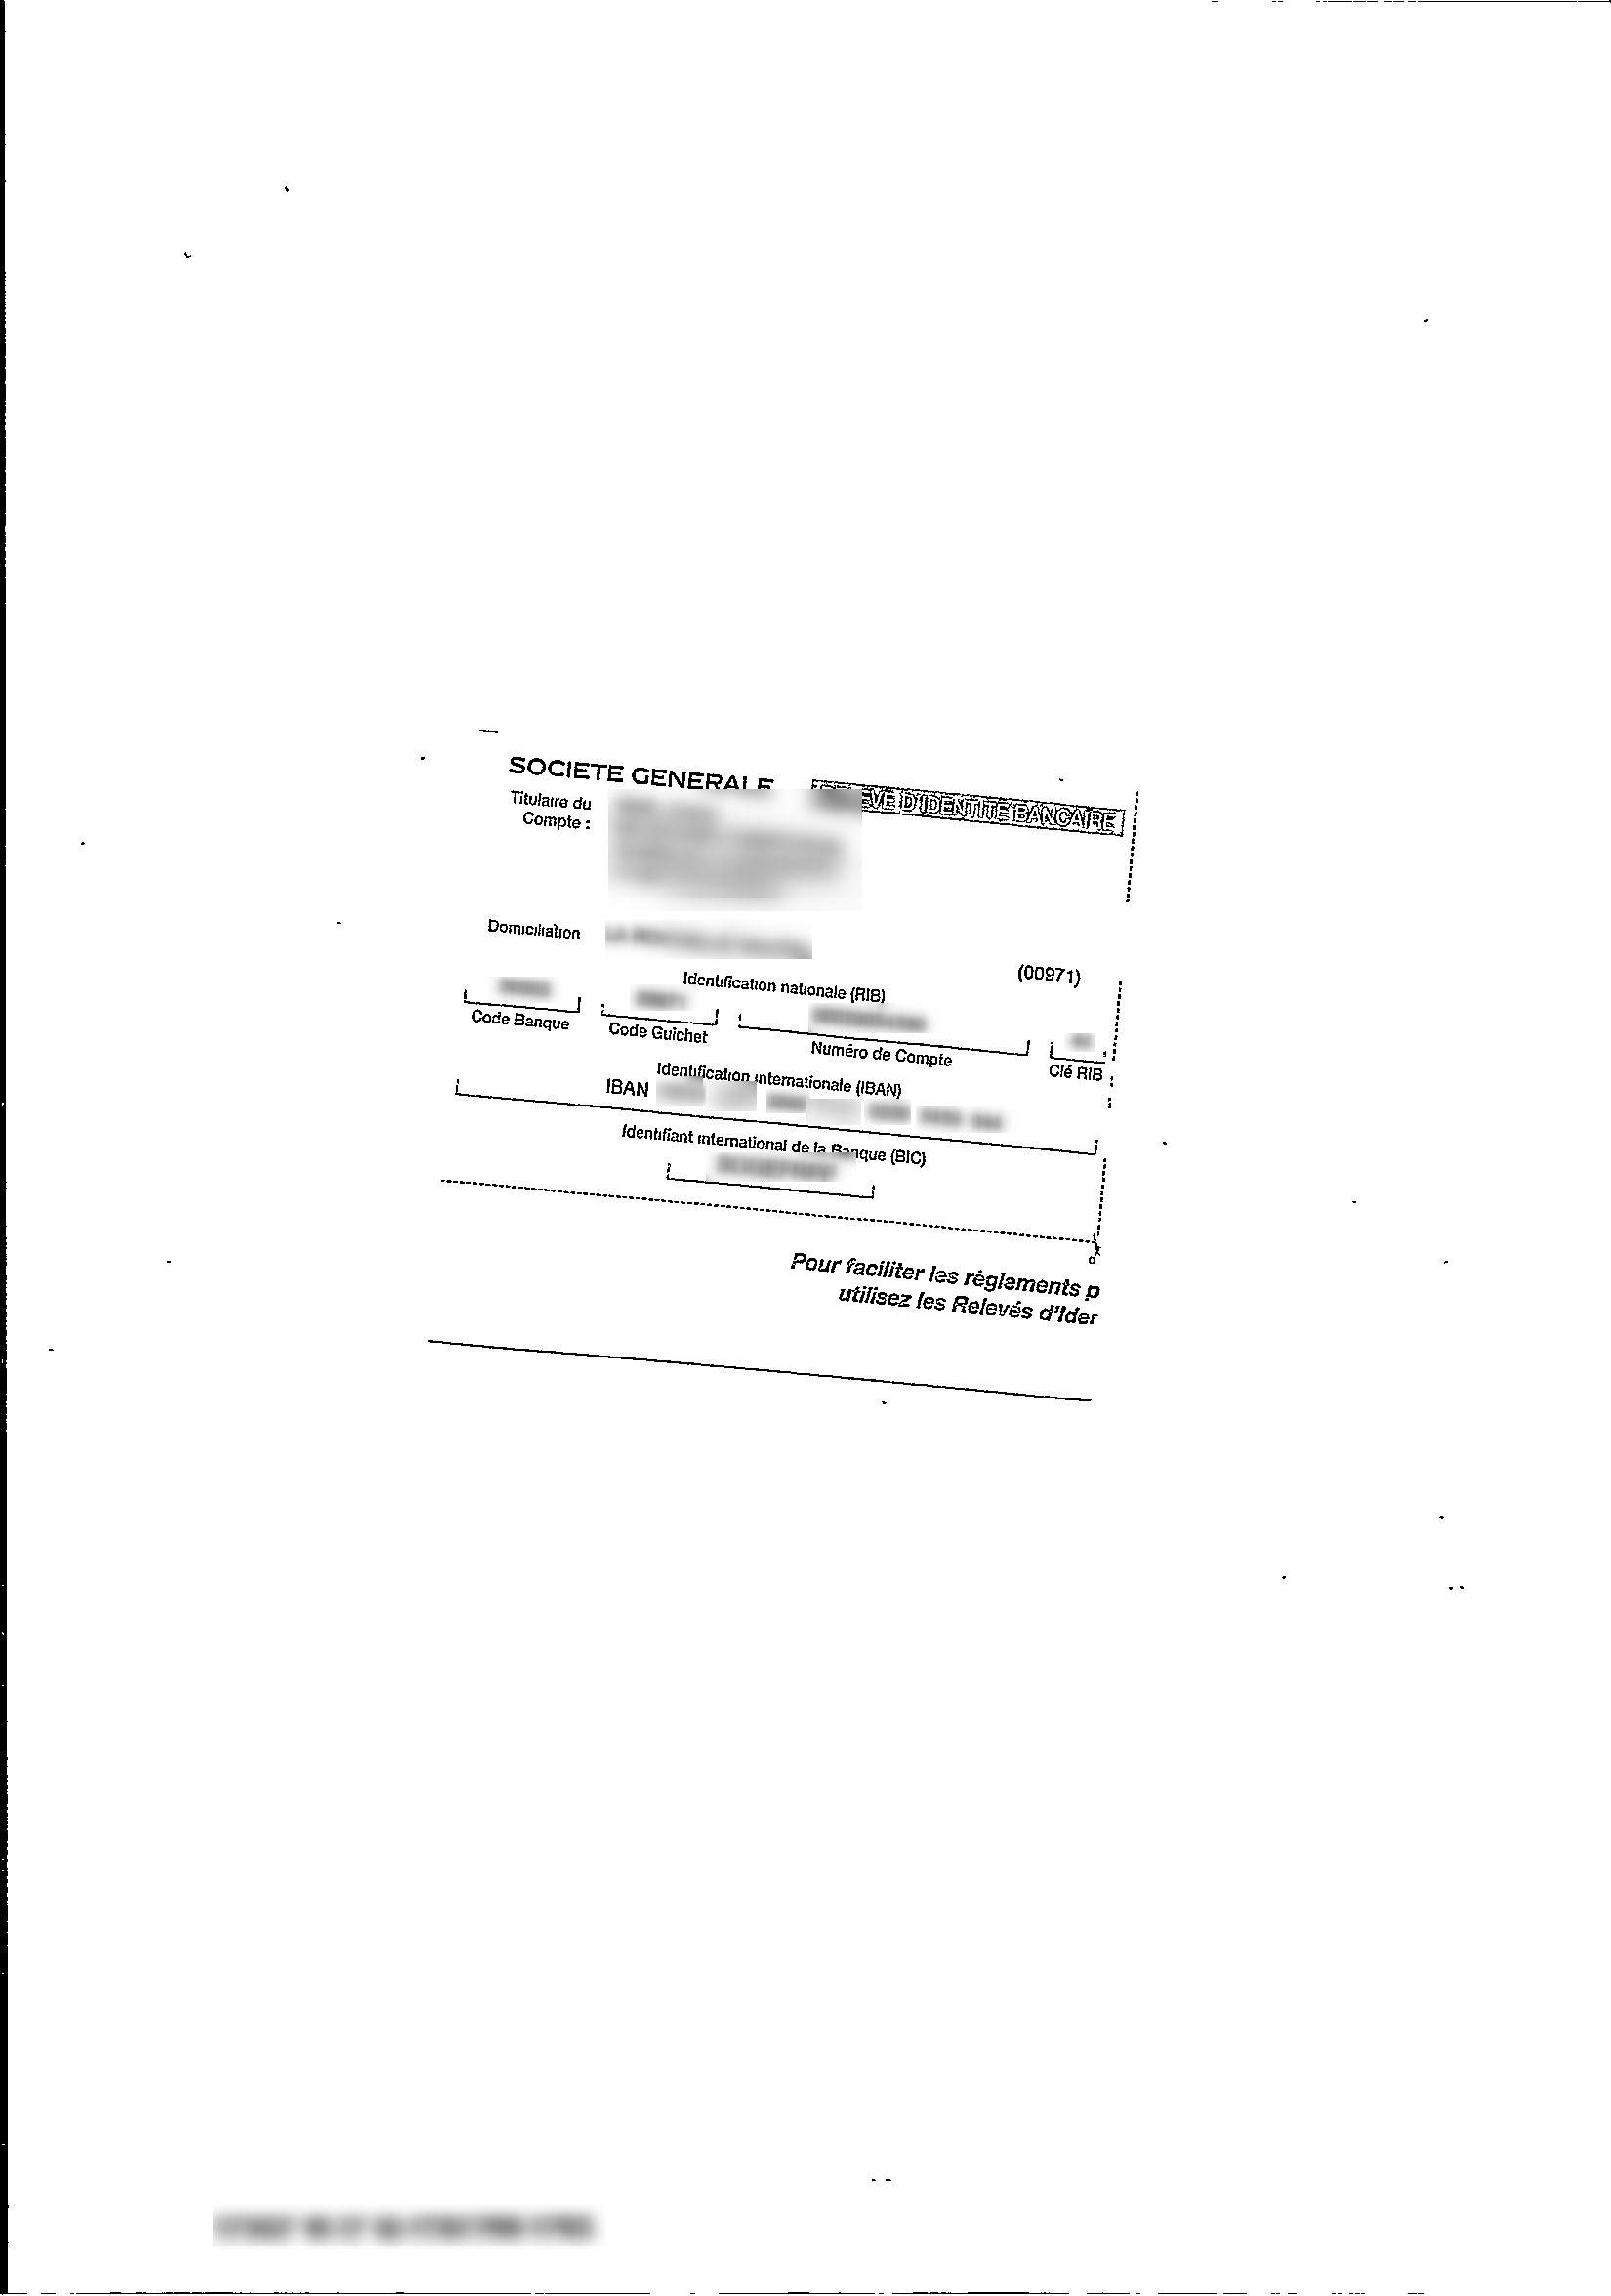
The dark borders around the edges are of different size and uneven in color. It is possible that they might be included into the OCR analysis and be mistakenly recognized as characters or noise, leading to inaccurate OCR results. We need to remove them.
To remove the dark borders we could use one of the image cropping techniques, which are described here Cropping Image into Pages.
Another technique we can use here is border removal. For our input image we will perform correct text skew, remove unnecessary dark areas and produce a clean output image:
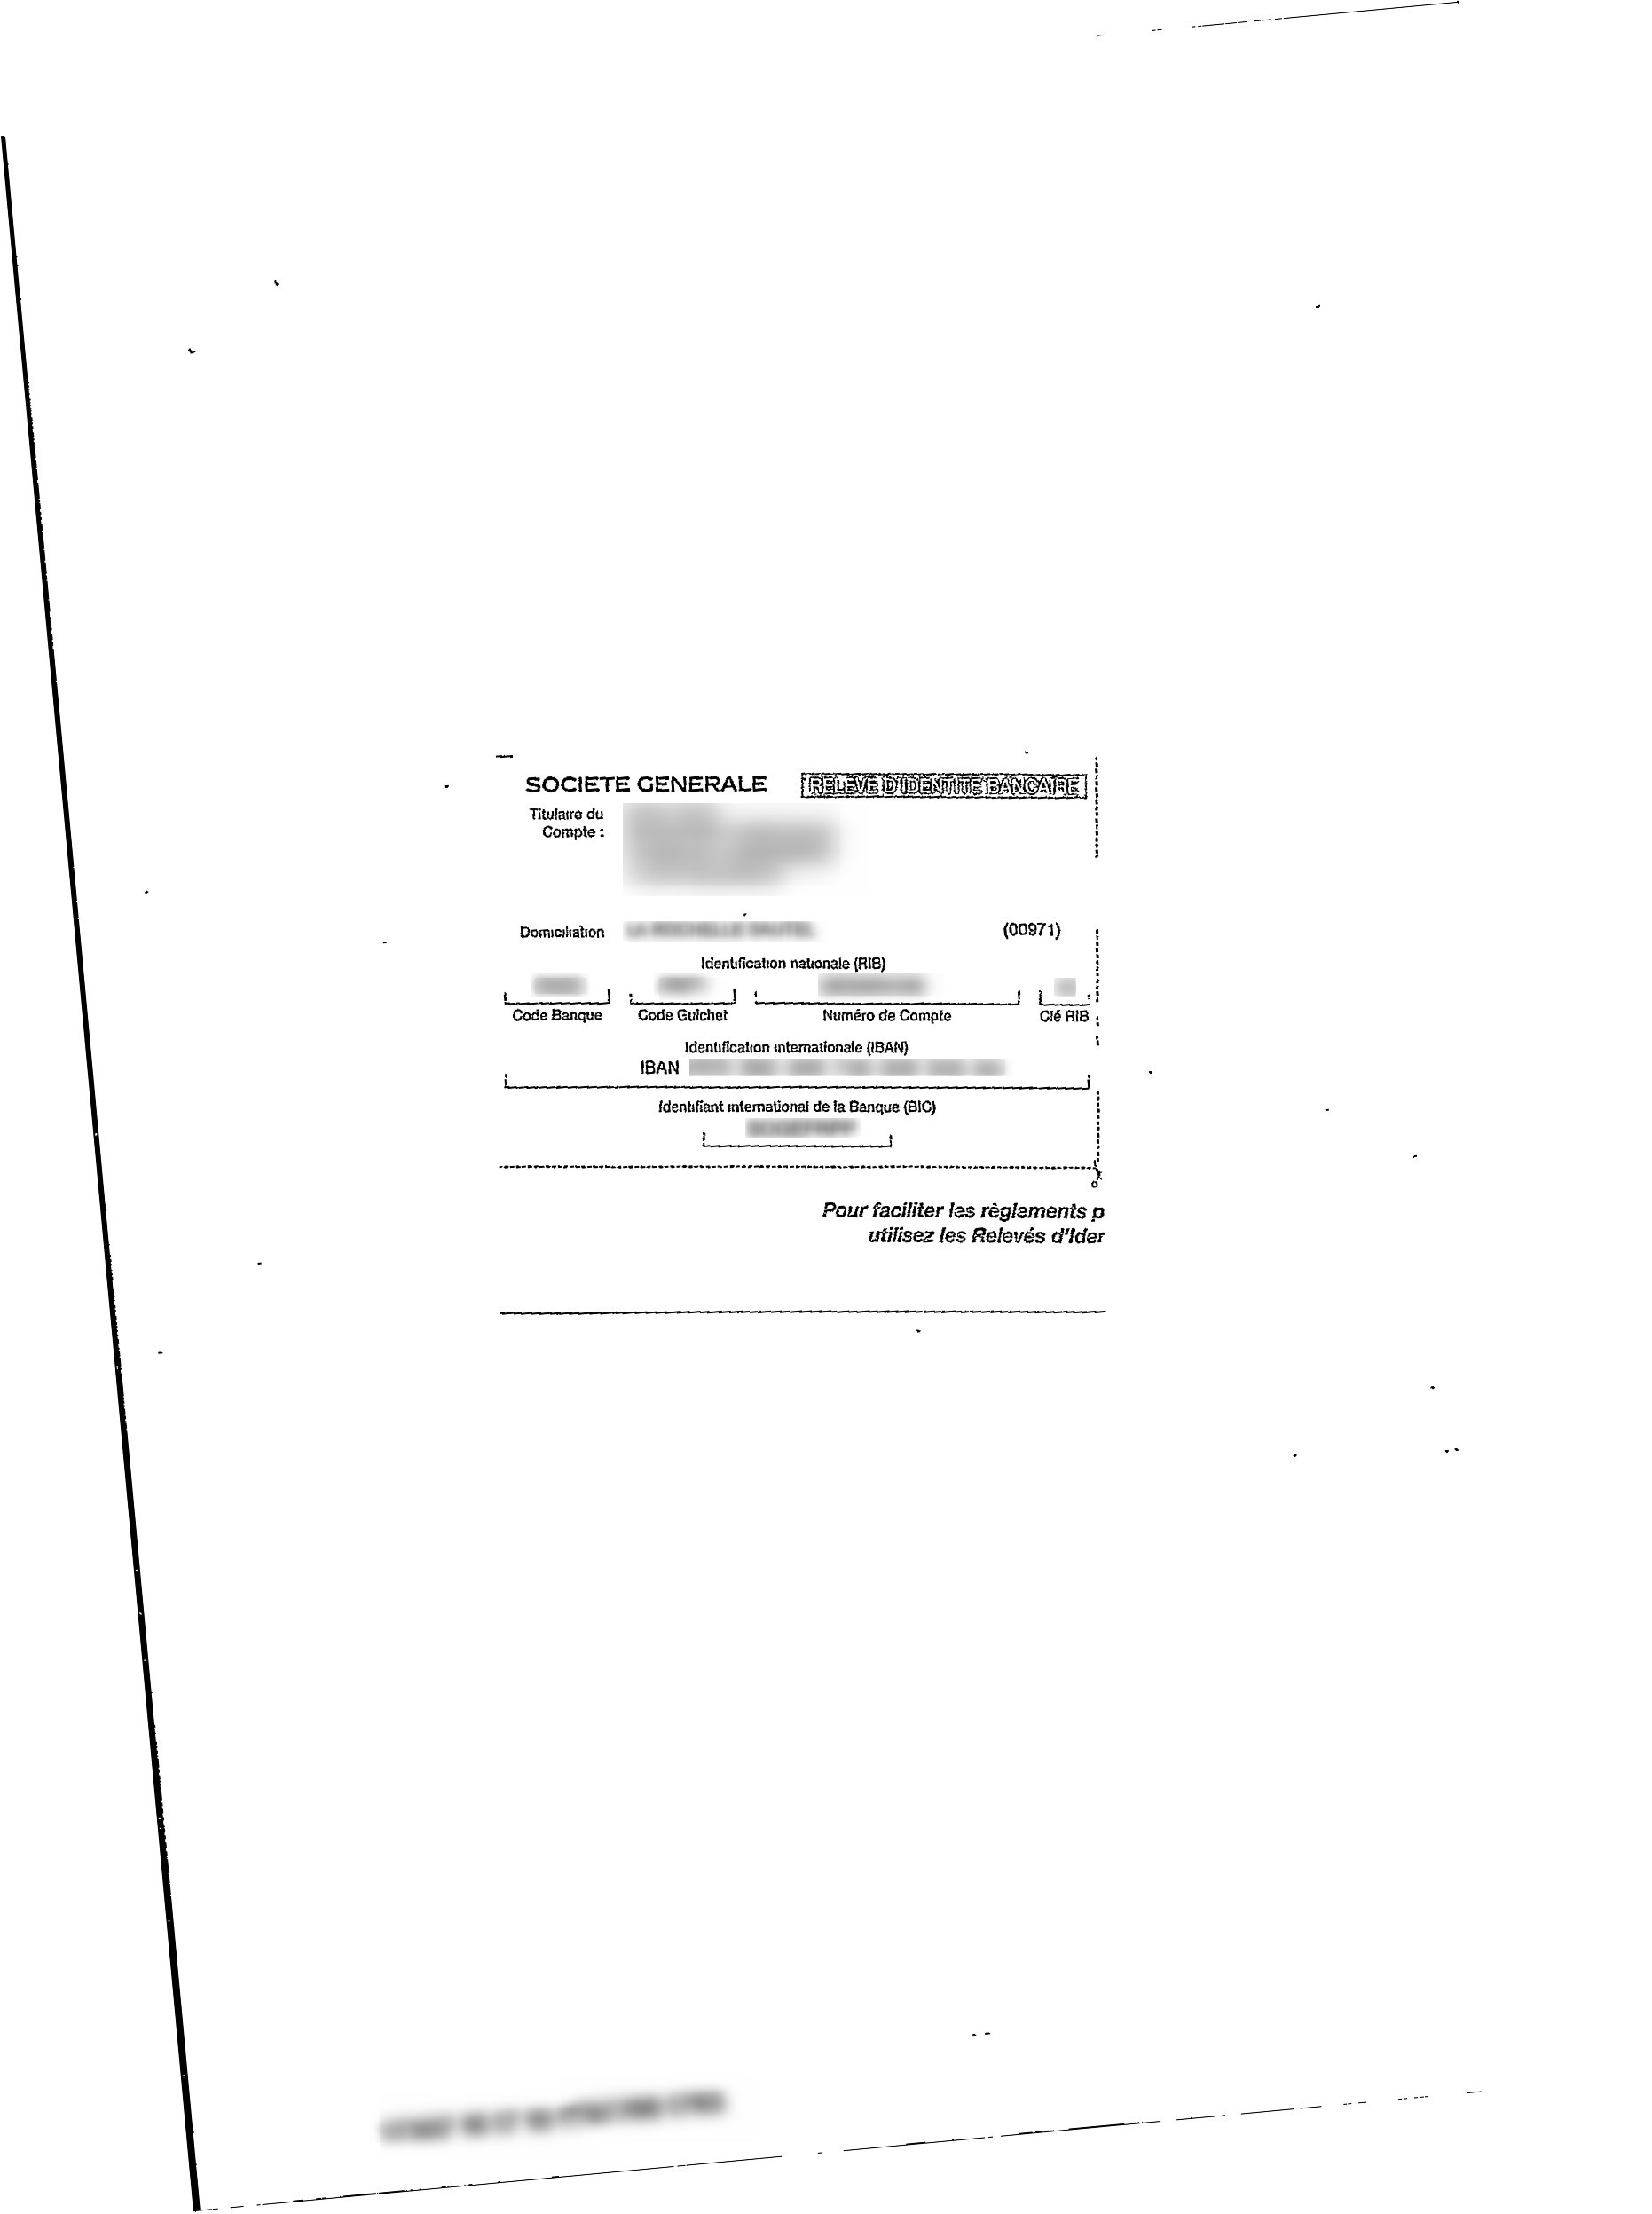
- First we will rotate the image and set background to black so rotation doesn't fill with whitespace. We need the black background to easier identify the border in a later step. We have already identified the deskew angle with the technique described in Skew Correction. The output image you can see below.
convert /path/to/input/image/input.jpg -background black -rotate -5.3 /path/to/output/image/step1.jpg
step1.jpg |
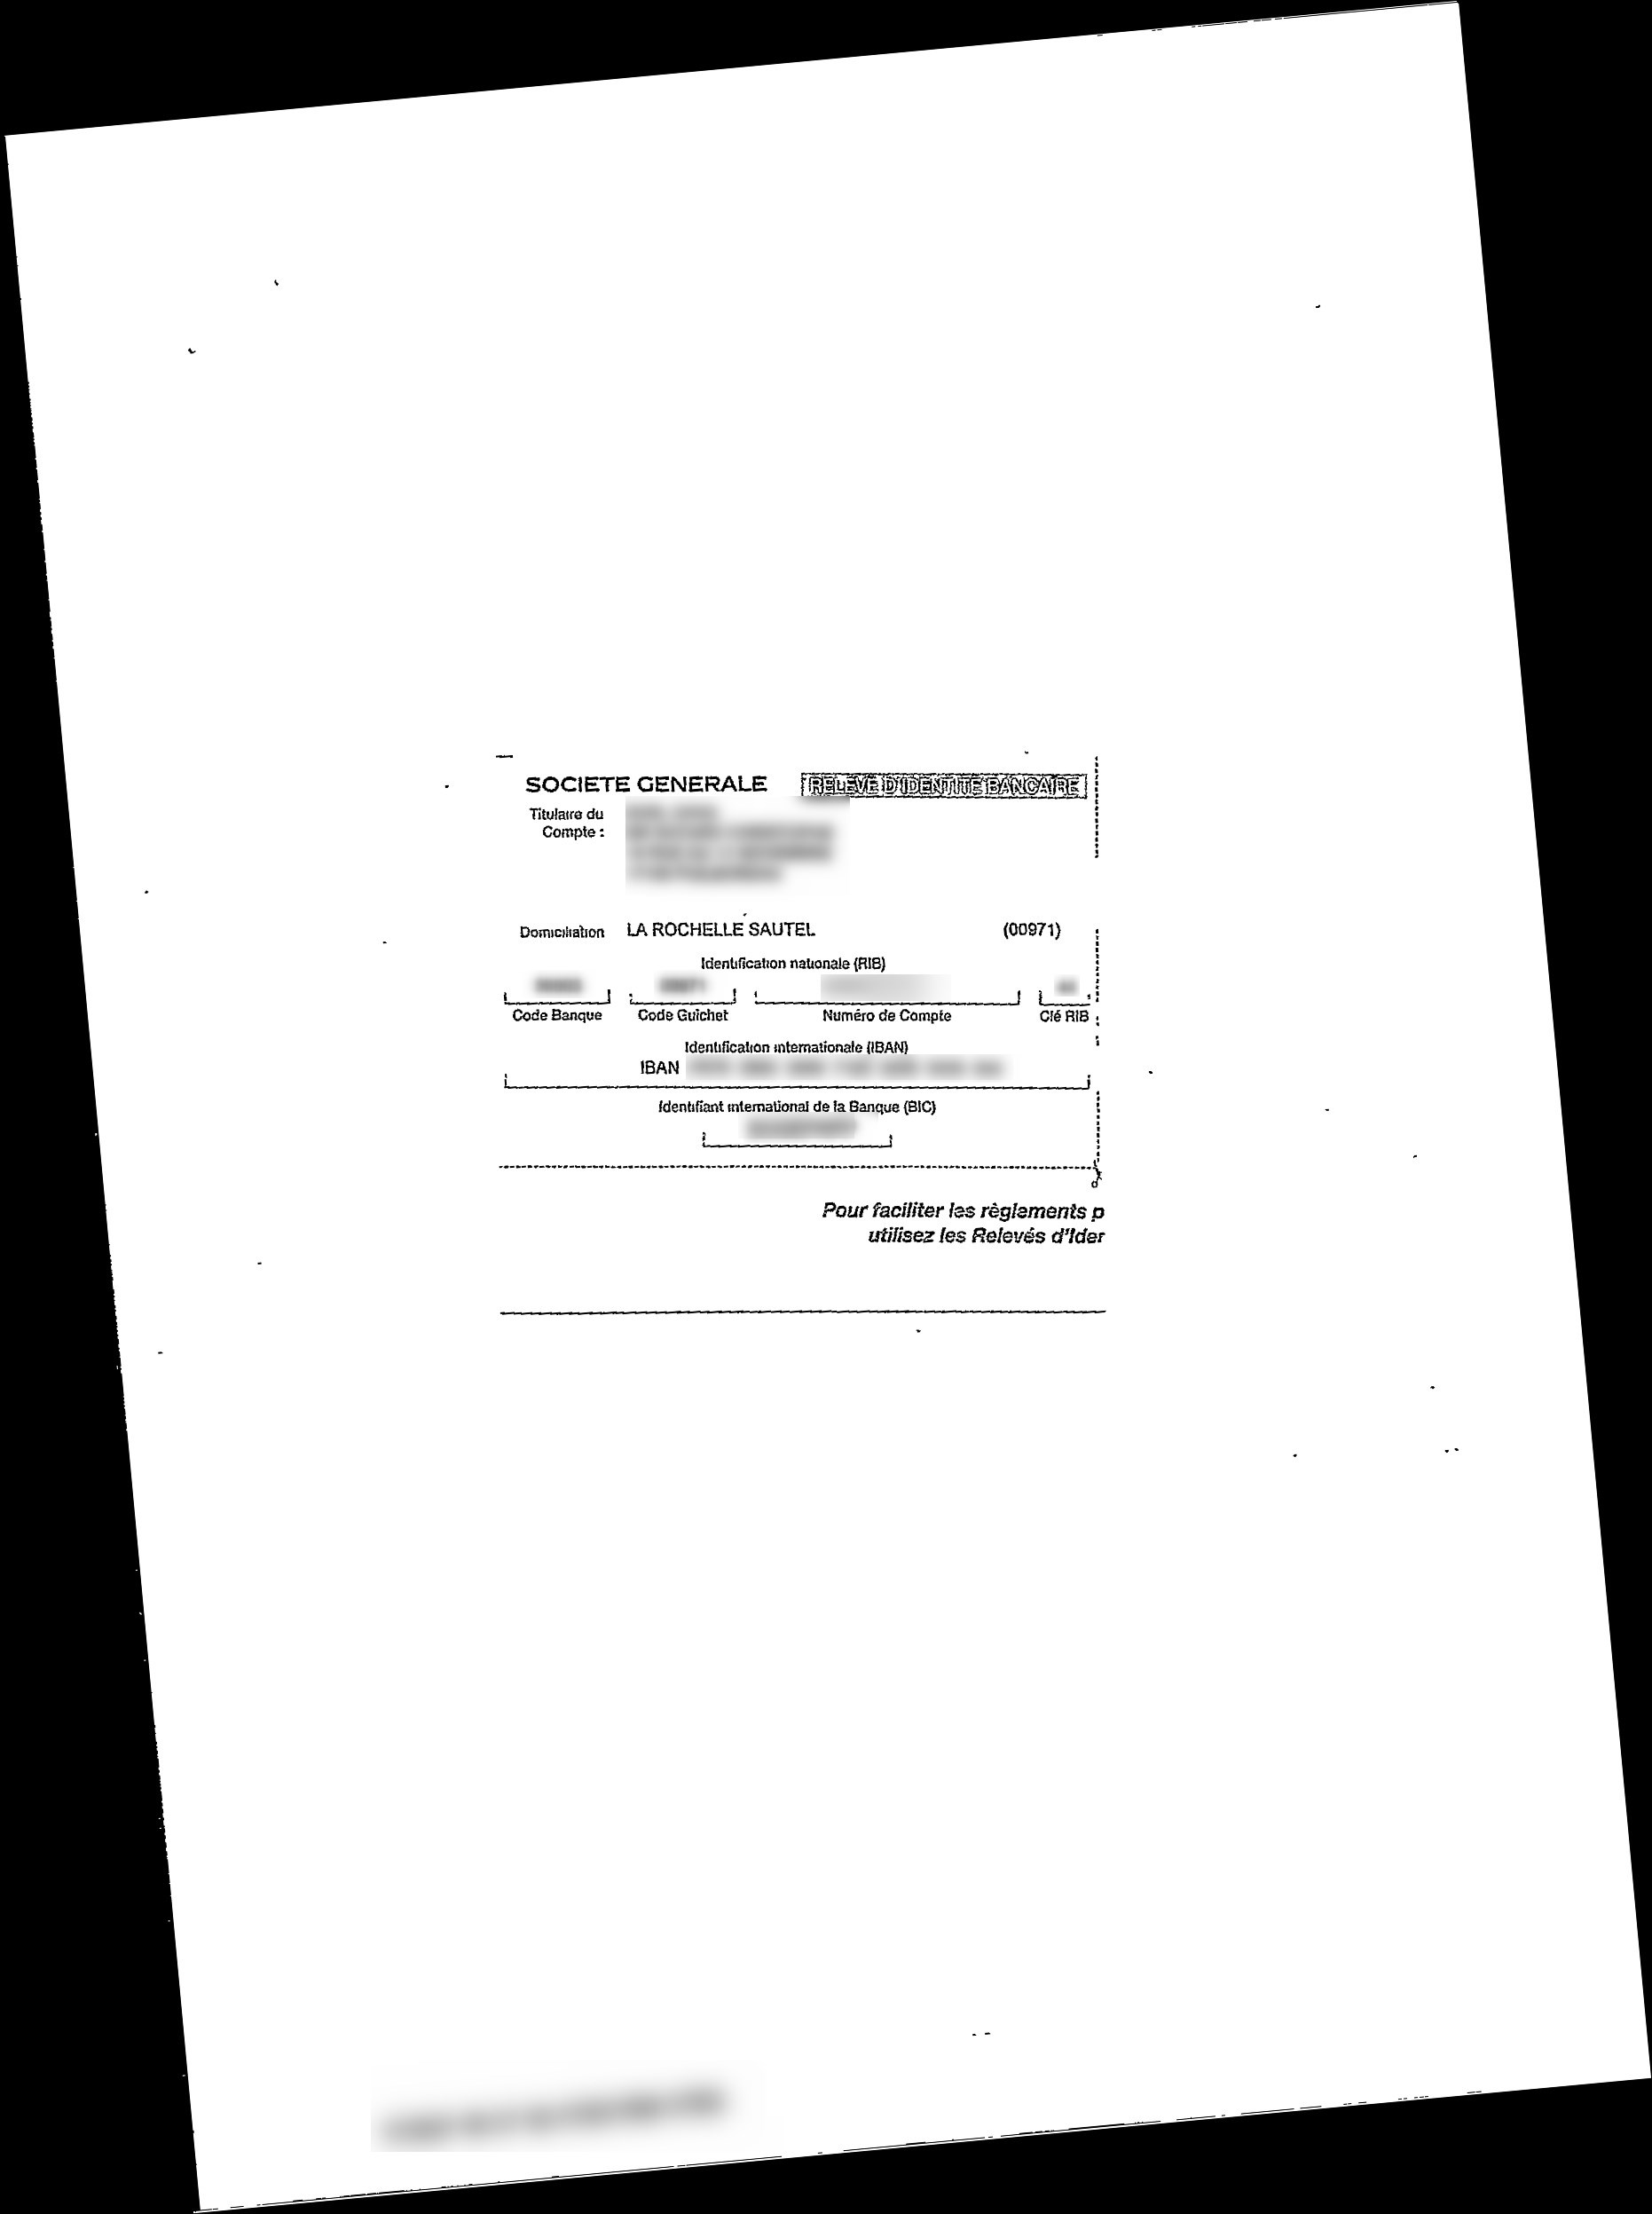
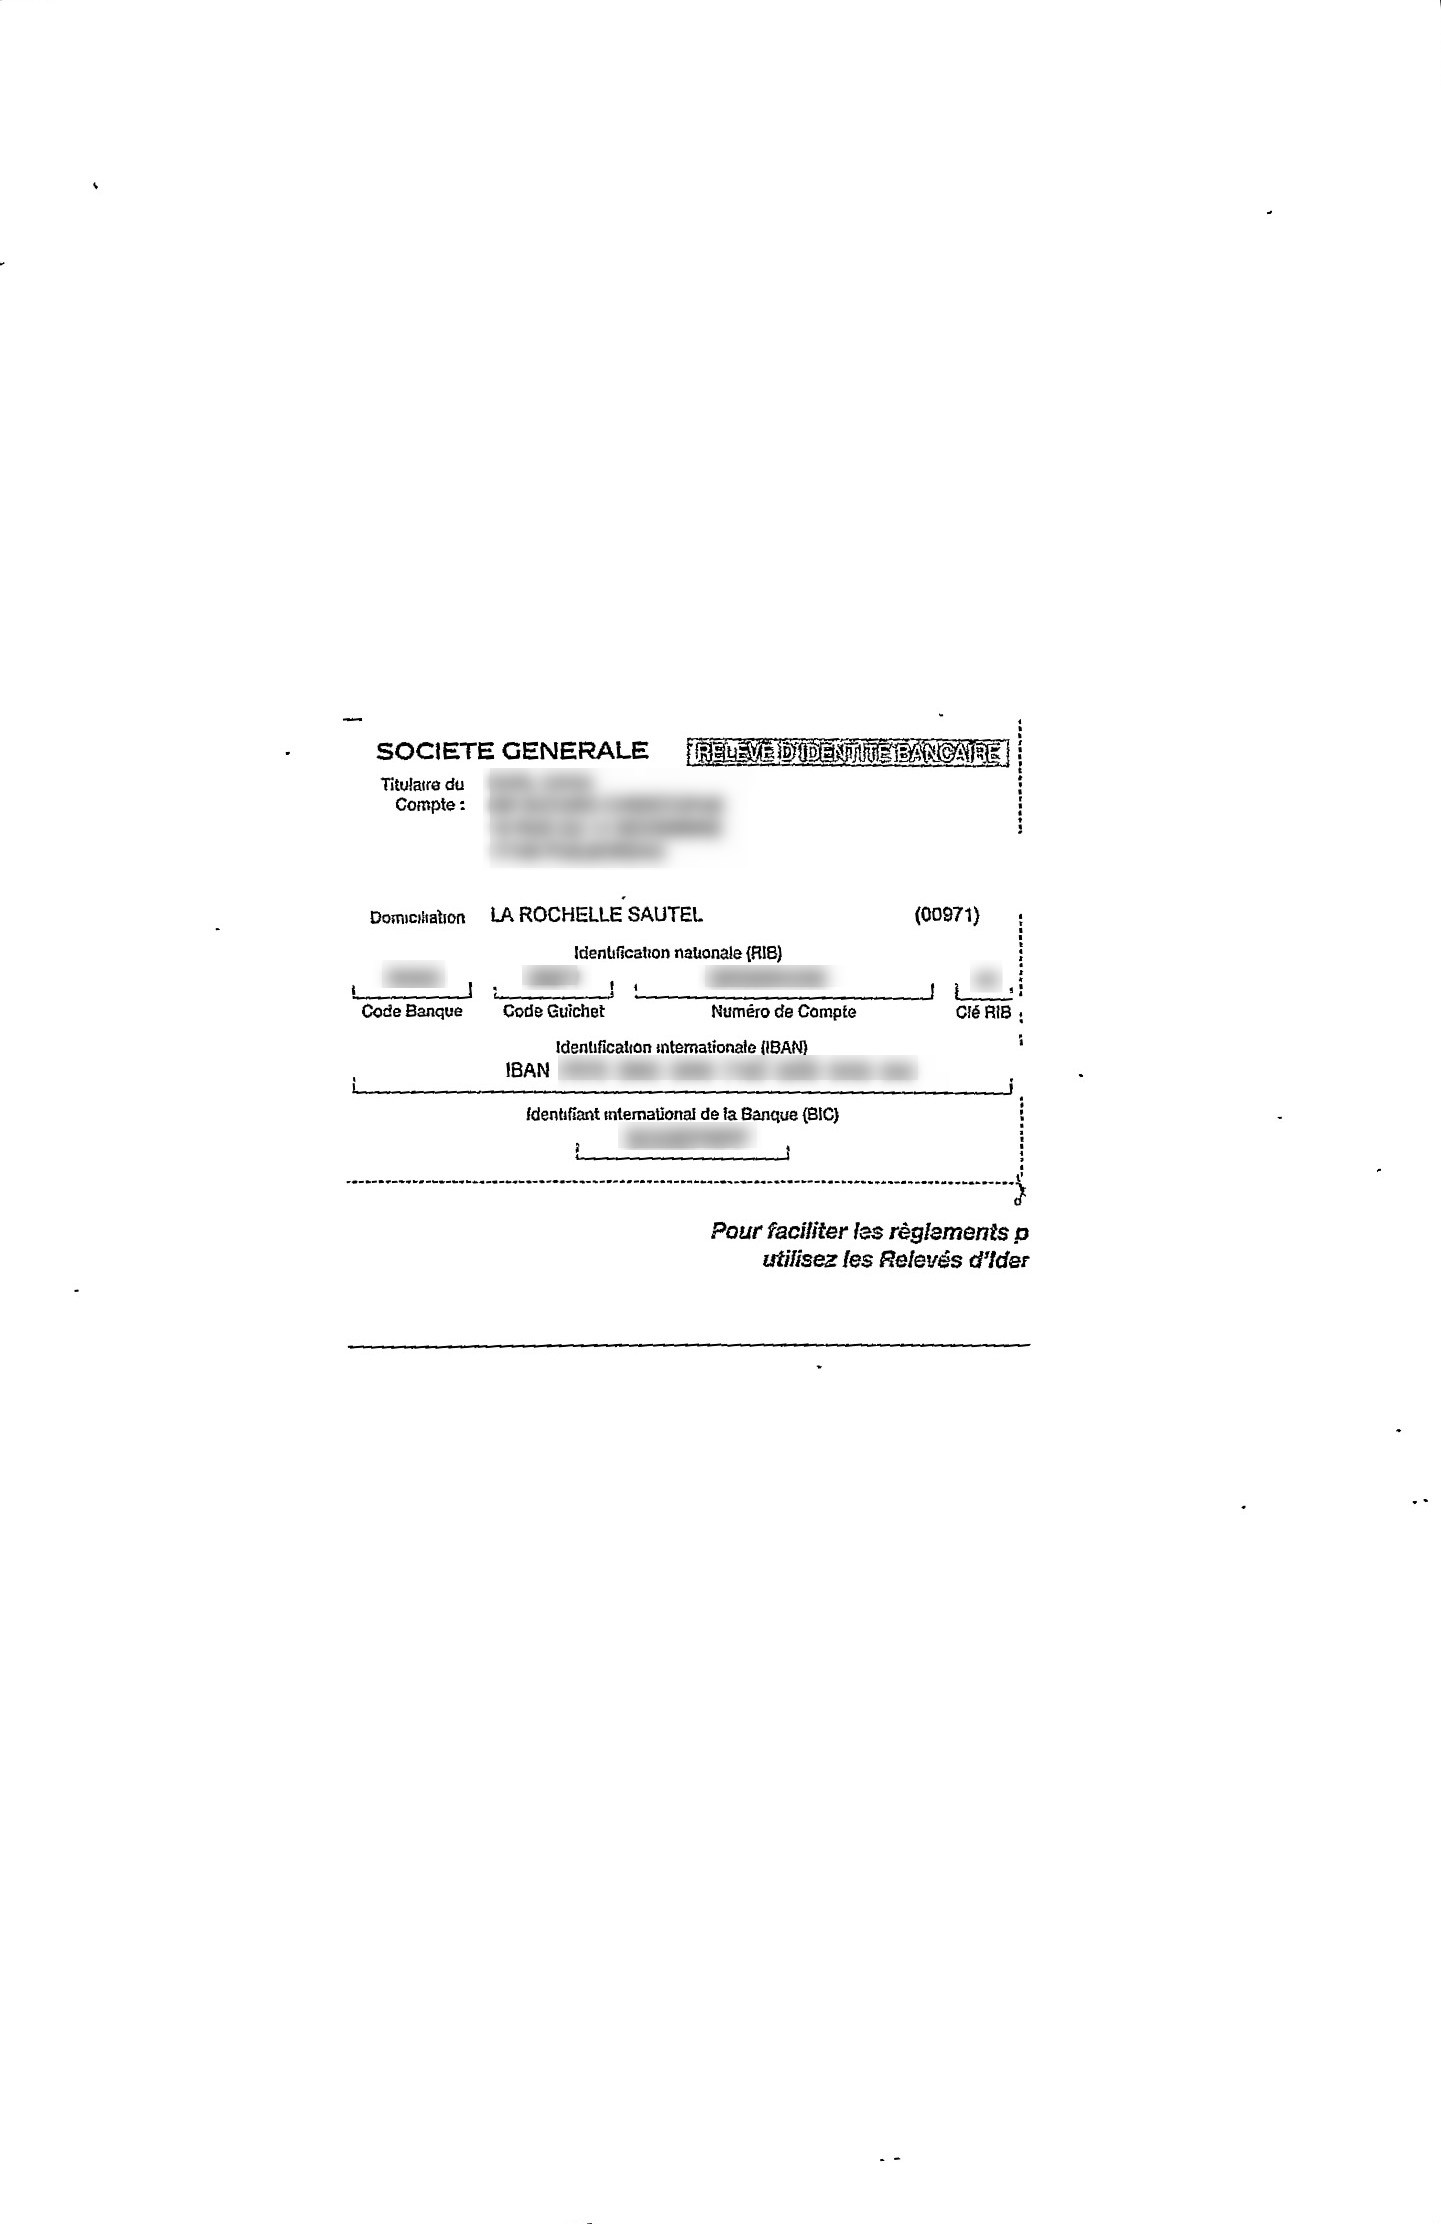
- Next we reset the background, define trim to ignore background color instead of using threshold. This prepares for precisely trimming rotated borders, lower fuzz to 1% for more accurate trim and trim the image. The image below (step2.jpg) is our final result.
convert /path/to/input/image/step1.jpg -background black -define trim:percent-background=0% -fuzz 1% -trim +repage /path/to/output/image/step2.jpg
step2.jpg |
- we could have done it all with just one command:
convert /path/to/input/image/input.jpg -background black -rotate -5.3 -background black -define trim:percent-background=0% -fuzz 1% -trim +repage /path/to/output/image/step2.jpg