Data Store Details
Data Store Details
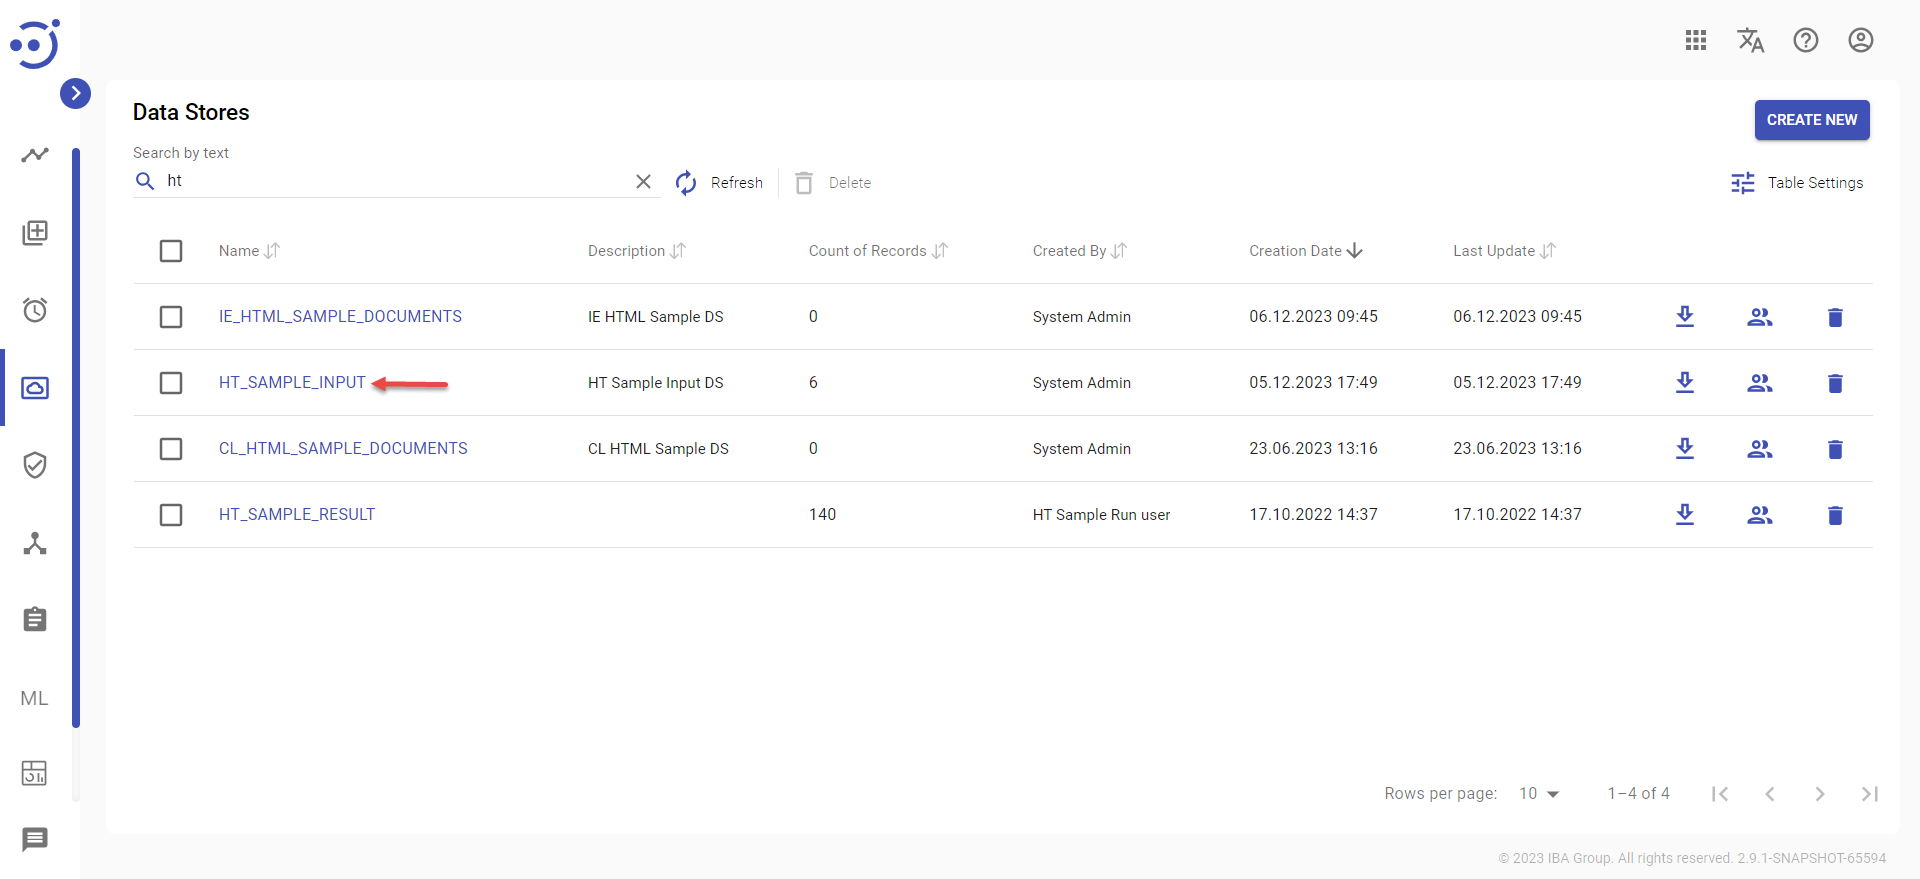
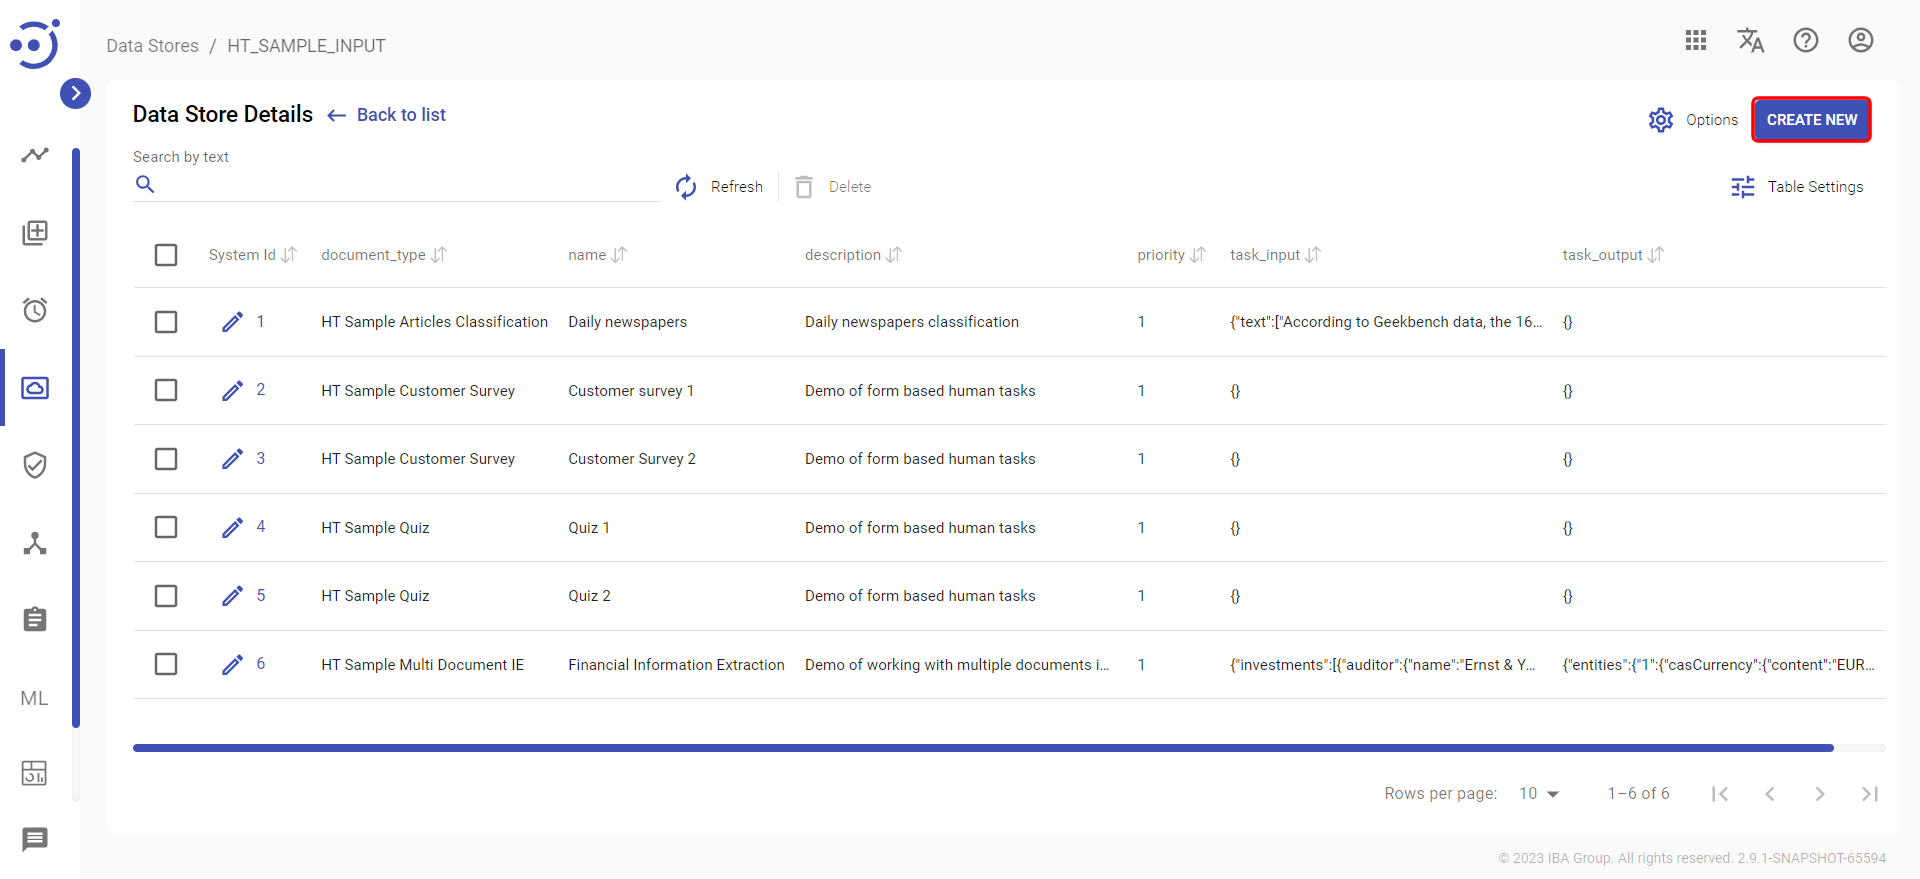
After opening the existing Data Store by clicking its name - the Data Store Details page is opened.
The page is used for the following actions:
- Add New Records to the Data Store. See Add New Records to Data Store.
- Edit Records for the Data Store.
- Delete Records from the Data Store.
Control icons
- Refresh - to refresh the page.
- Delete - to delete the selected records in the Data Store (via the recycle bin control icon in the table row or Delete icon above the table).

Table Settings
Table settings allow you to manage the table view. Click the icon ![]() to start working with the table settings. The table settings can be managed with the following buttons:
to start working with the table settings. The table settings can be managed with the following buttons:
- Advanced filter - to switch the advanced filters for the columns.
- Columns Display - to select the columns that will be displayed in the table.
- Apply - to apply the changes made to the table settings.
- Сancel - to cancel the last actions with the table settings.
Filter by text
Filtering allows you to search the record by all columns in the table except the System Id column.
Advanced filters by columns
Advanced Filter allows you to extract a list from a table with predefined criteria. Click the icon ![]() to start working with the advanced filter. The advanced filters can be managed with the following buttons:
to start working with the advanced filter. The advanced filters can be managed with the following buttons:
- Clear filter - to reset all the proposed advanced filter criteria for the column.
- Сancel - to cancel the last actions with the proposed criteria for the column.
Apply - to filter the table according to the proposed criteria for the column.
Sorting
Ascending/descending sorting is allowed for all columns.
Options to Data Store
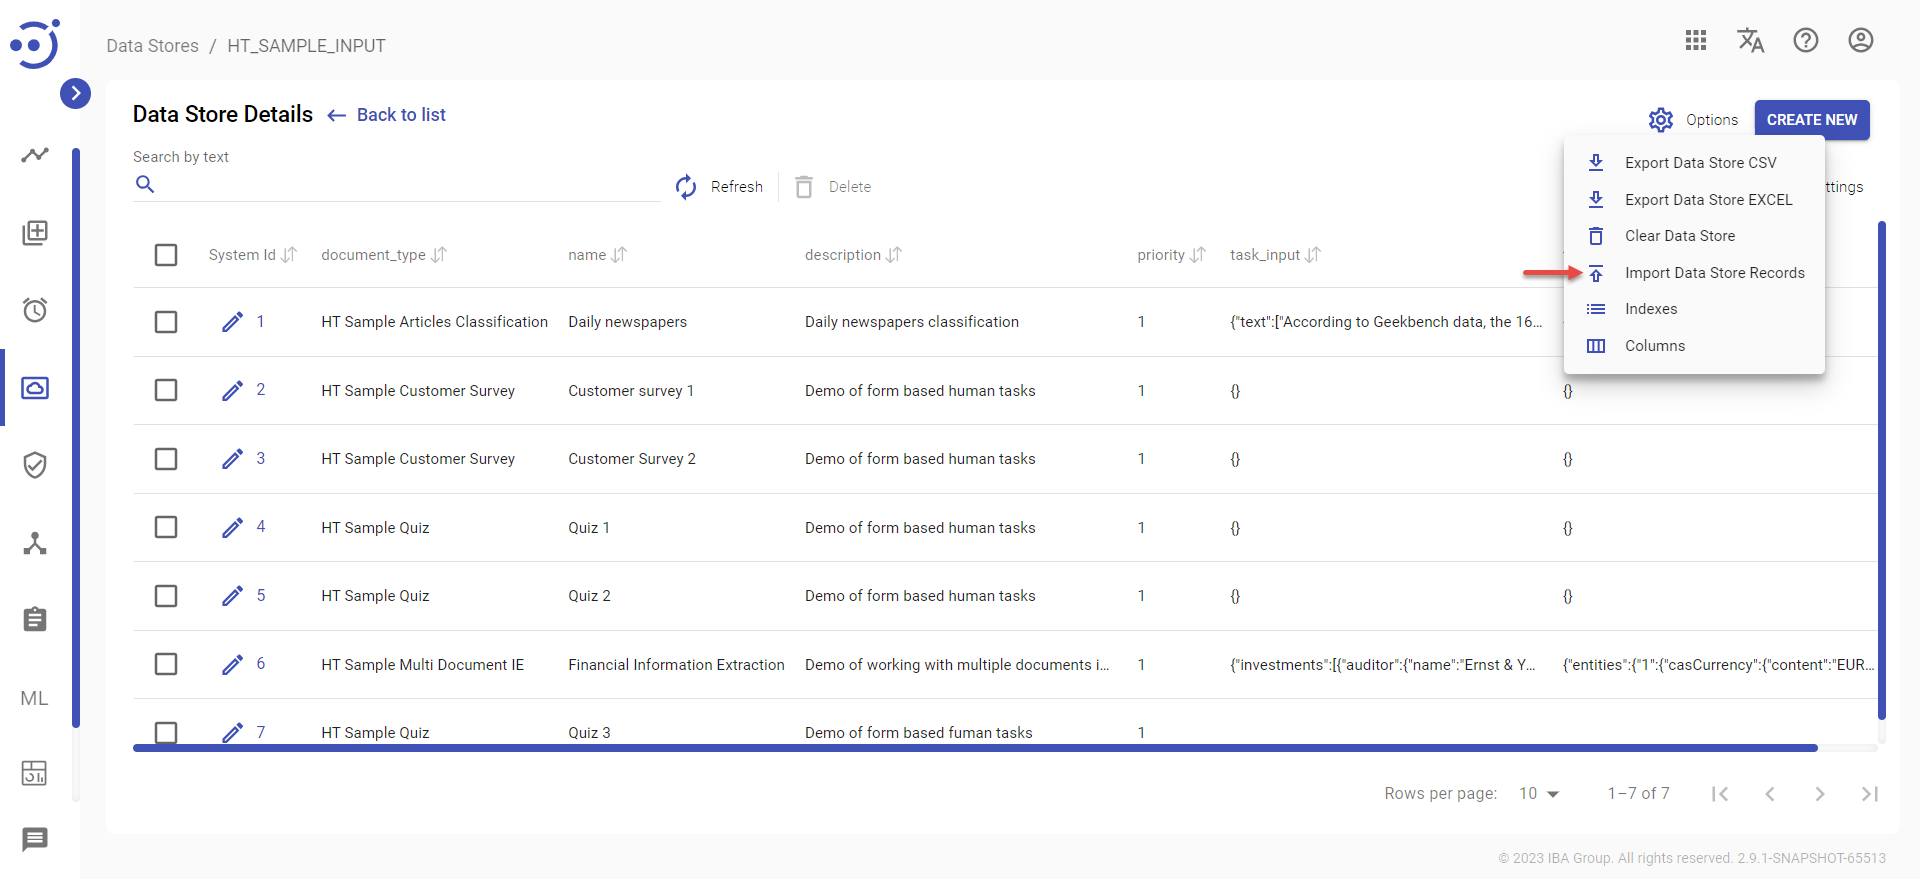
For additional actions with the datastore, click on the Options in the upper-right corner.
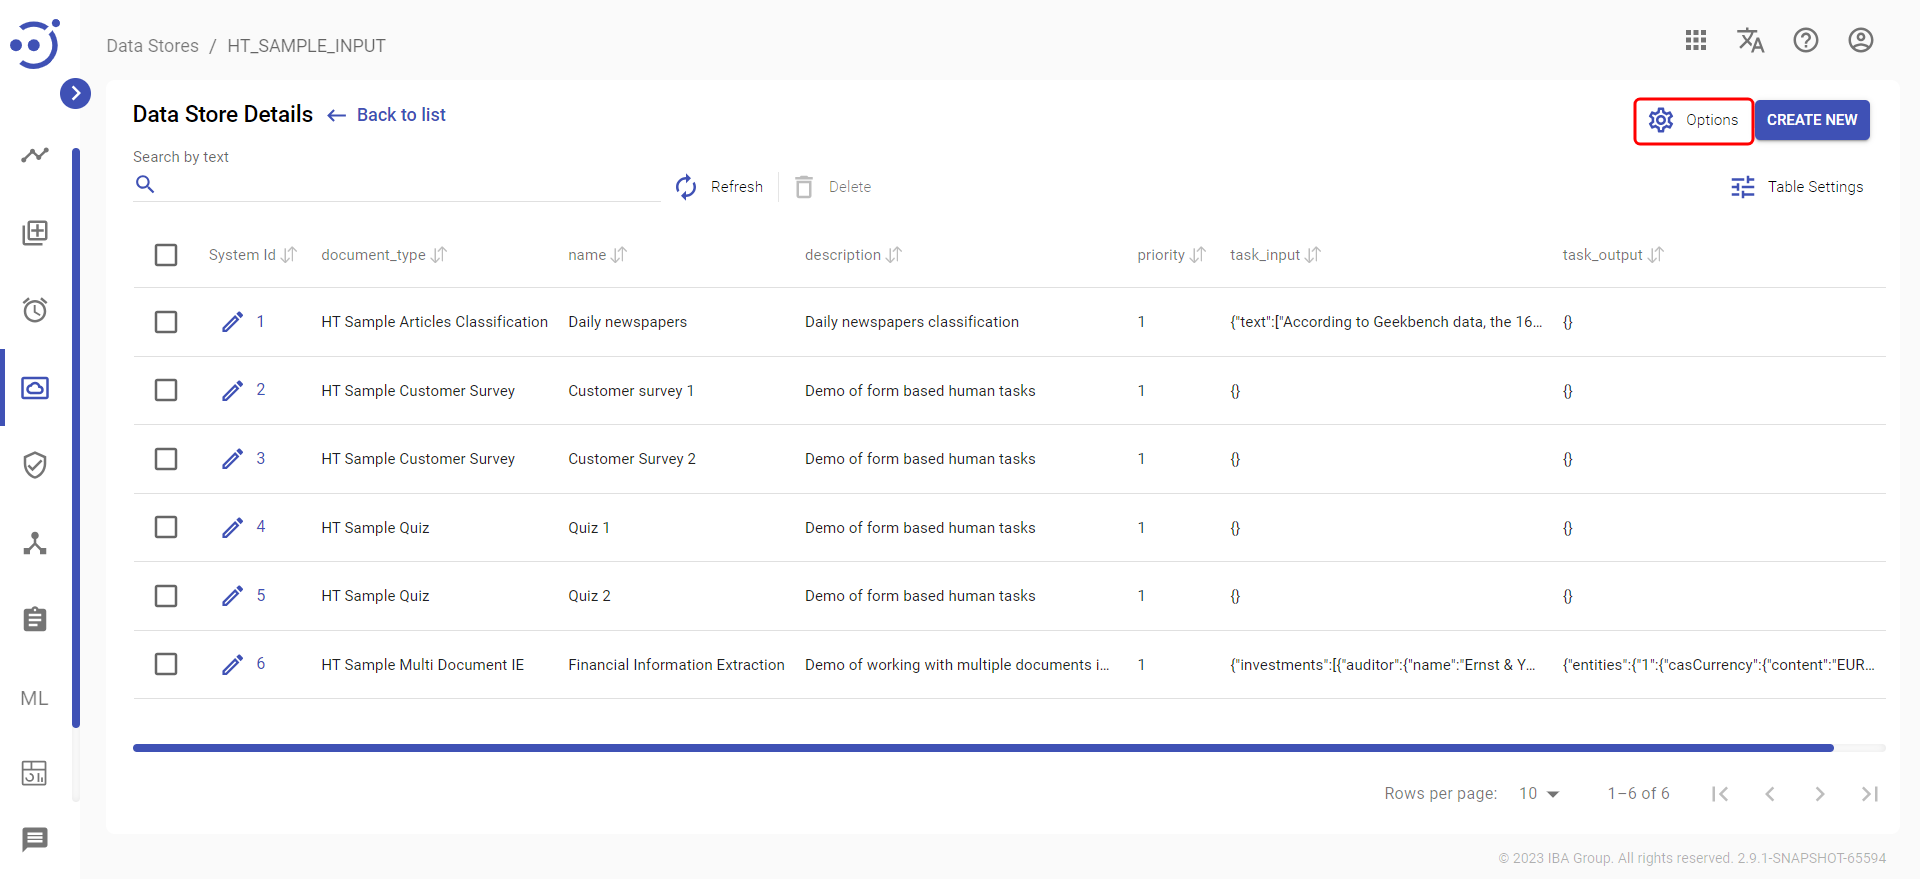
After clicking on the button a list of actions, that can be applied to this datastore, will be displayed.
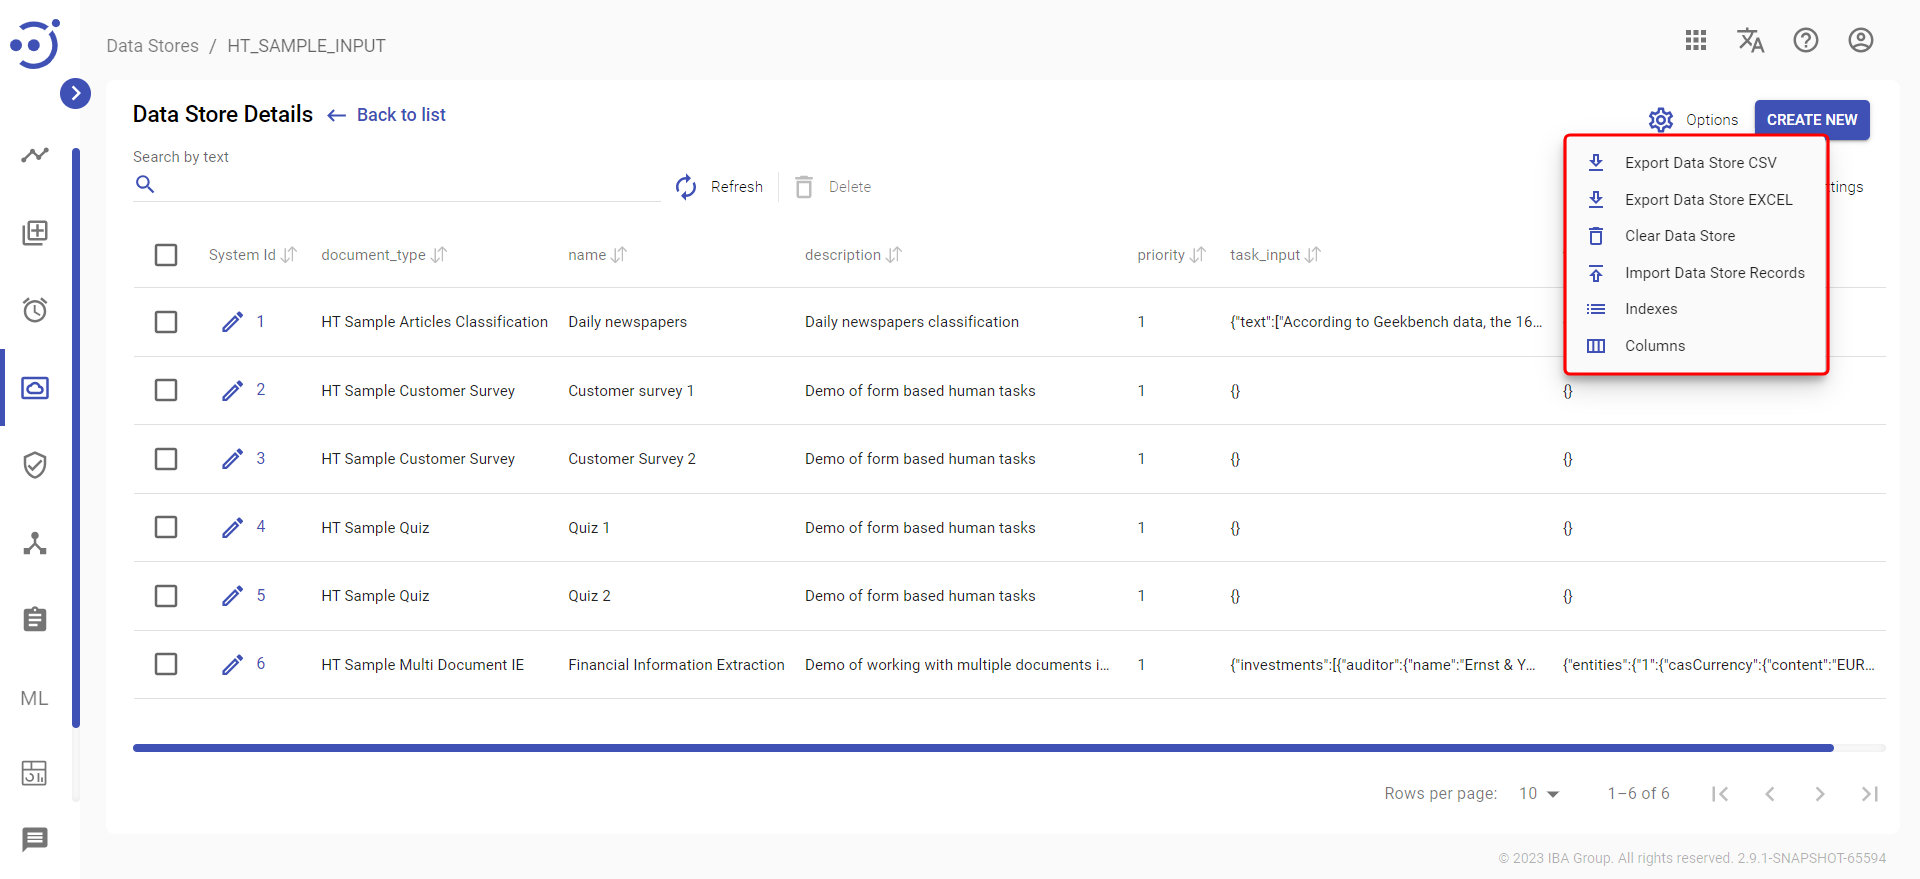
- Export Data Store CSV - to download existing records from the Data Store in CSV file.
- Export Data Store EXCEL - to download existing records from the Data Store in EXCEL file.
- Clear Data Store - to delete all records in the Data Store.
- Import Data Store Records - to upload a file with additional records to the Data Store.
Add New Records to Data Store
There are 2 possible ways to add New Records to the already existing Data Store:
- Add New Records manually - to add records manually one by one. See Add New Records manually.
- Upload a CSV file - to upload with multiple records. See Upload a file to Data Store.
In both cases, firstly you should open the existing Data Store by clicking its name:
Add New Records manually
1. Click CREATE NEW:
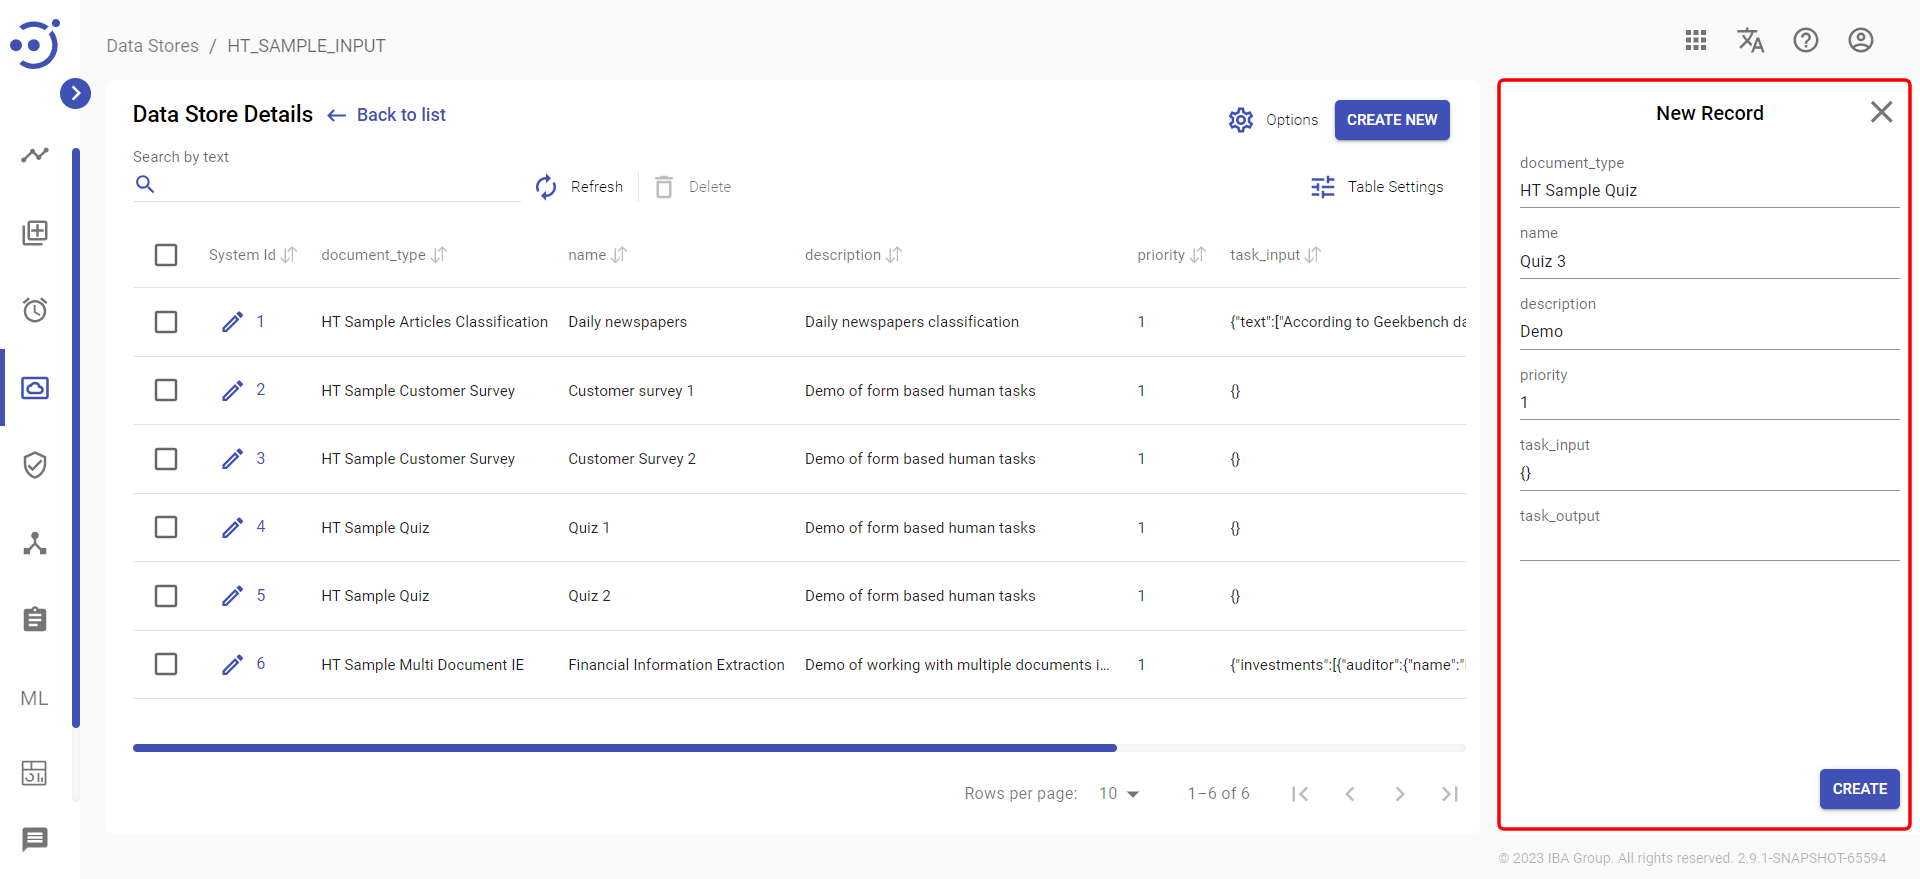
2. Enter values to each column header field in the New record popup panel and click CREATE:
Upload a file to Data Store
- Click Options and select Import Data Store Records:
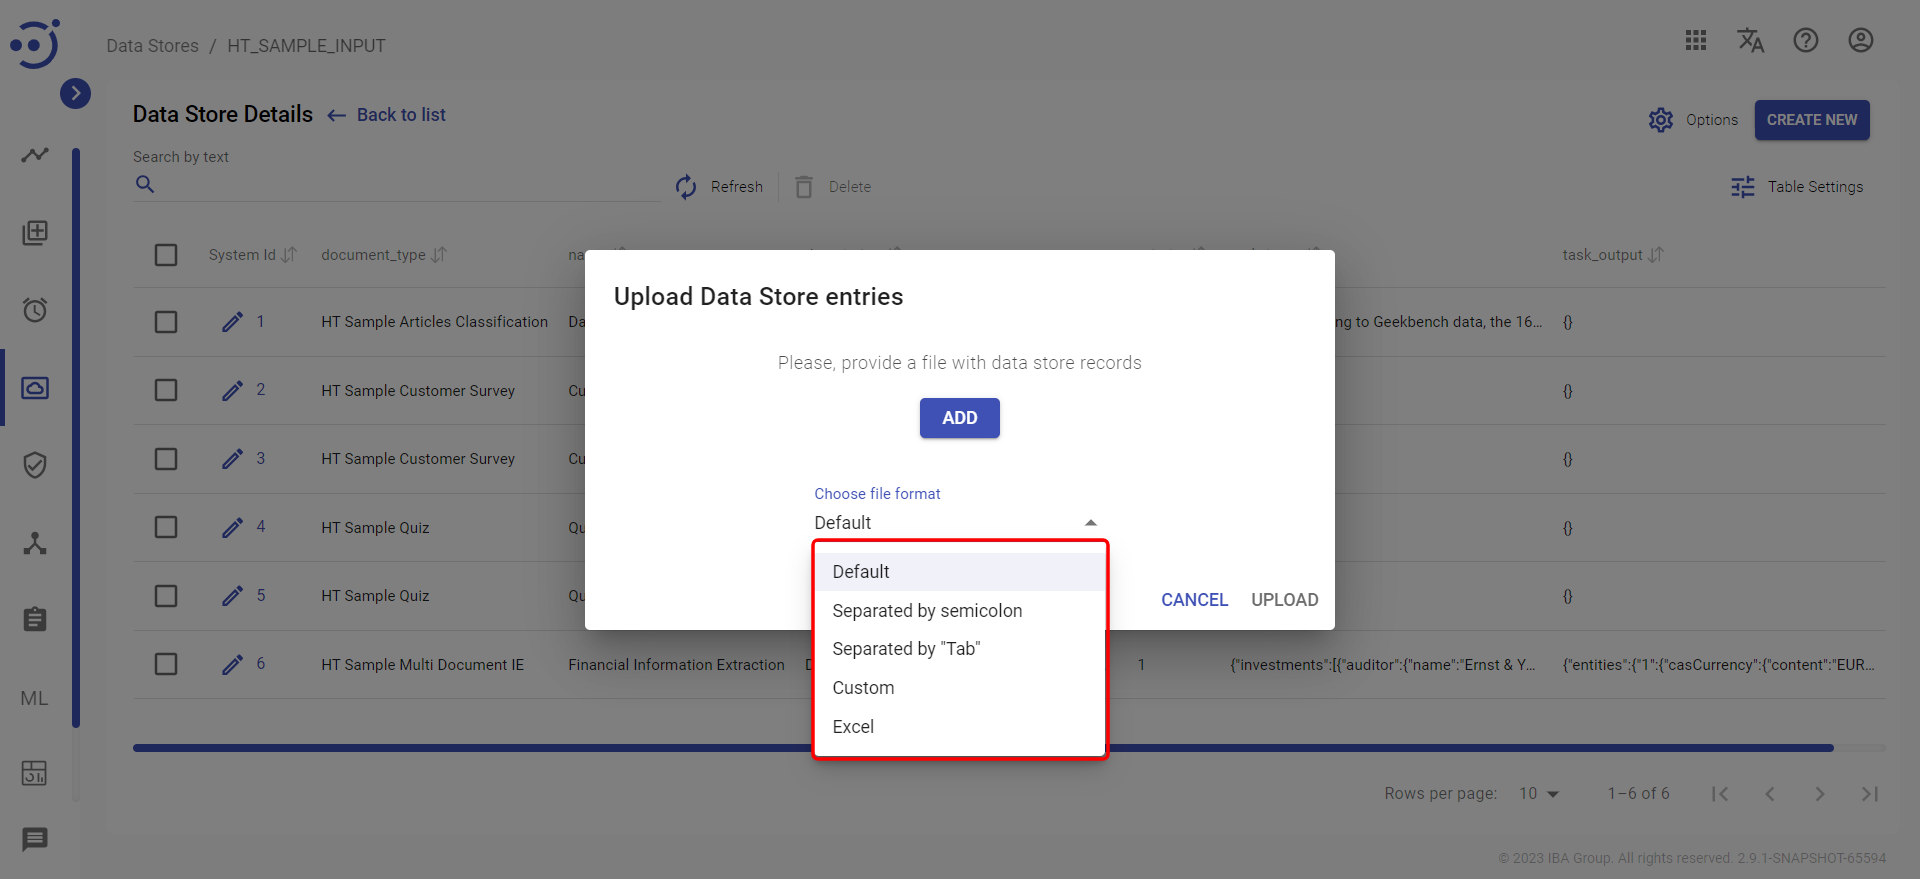
2. Choose file format:
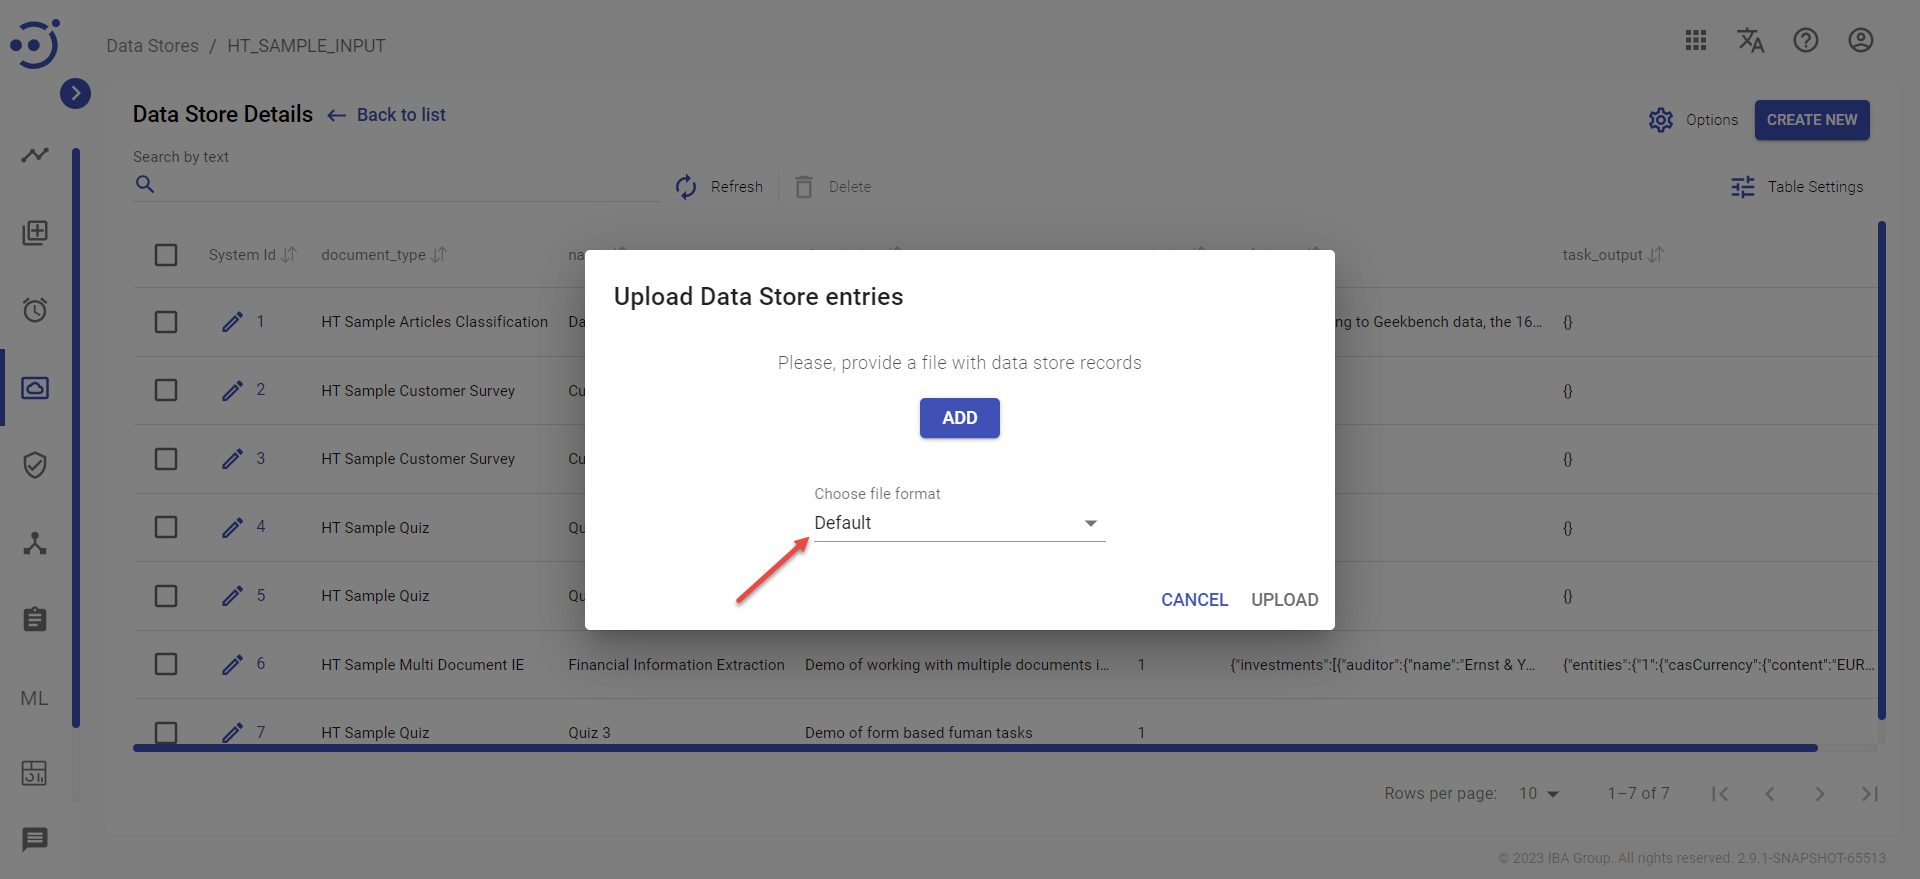
File format settings:
- Default - CSV file as a delimiter comma (,)
- Separated by semicolon - CSV file as a delimiter semicolon (;)
- Separated by 'Tab' - CSV file as a delimiter tab ( )
- Custom - CSV file as a delimiter comma (,) other options - for advanced user.
- Excel - Excel file in *.xlsx format.
 For correct import excel file use text format.
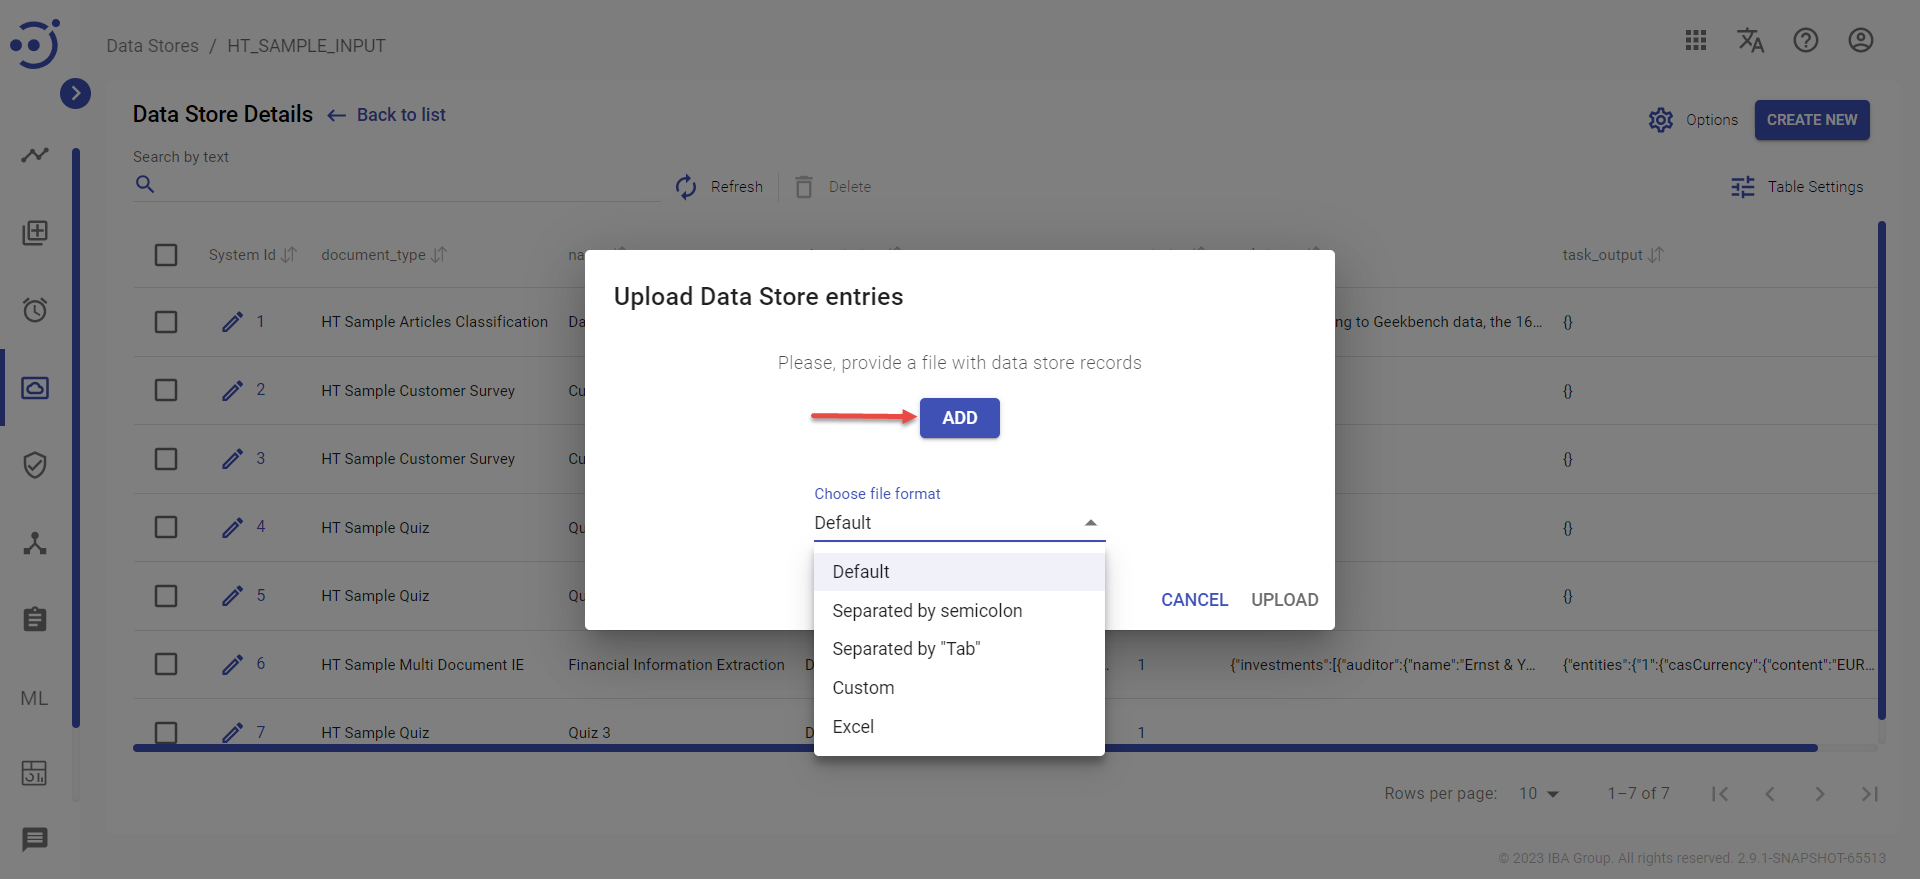
3. Click ADD to select file:
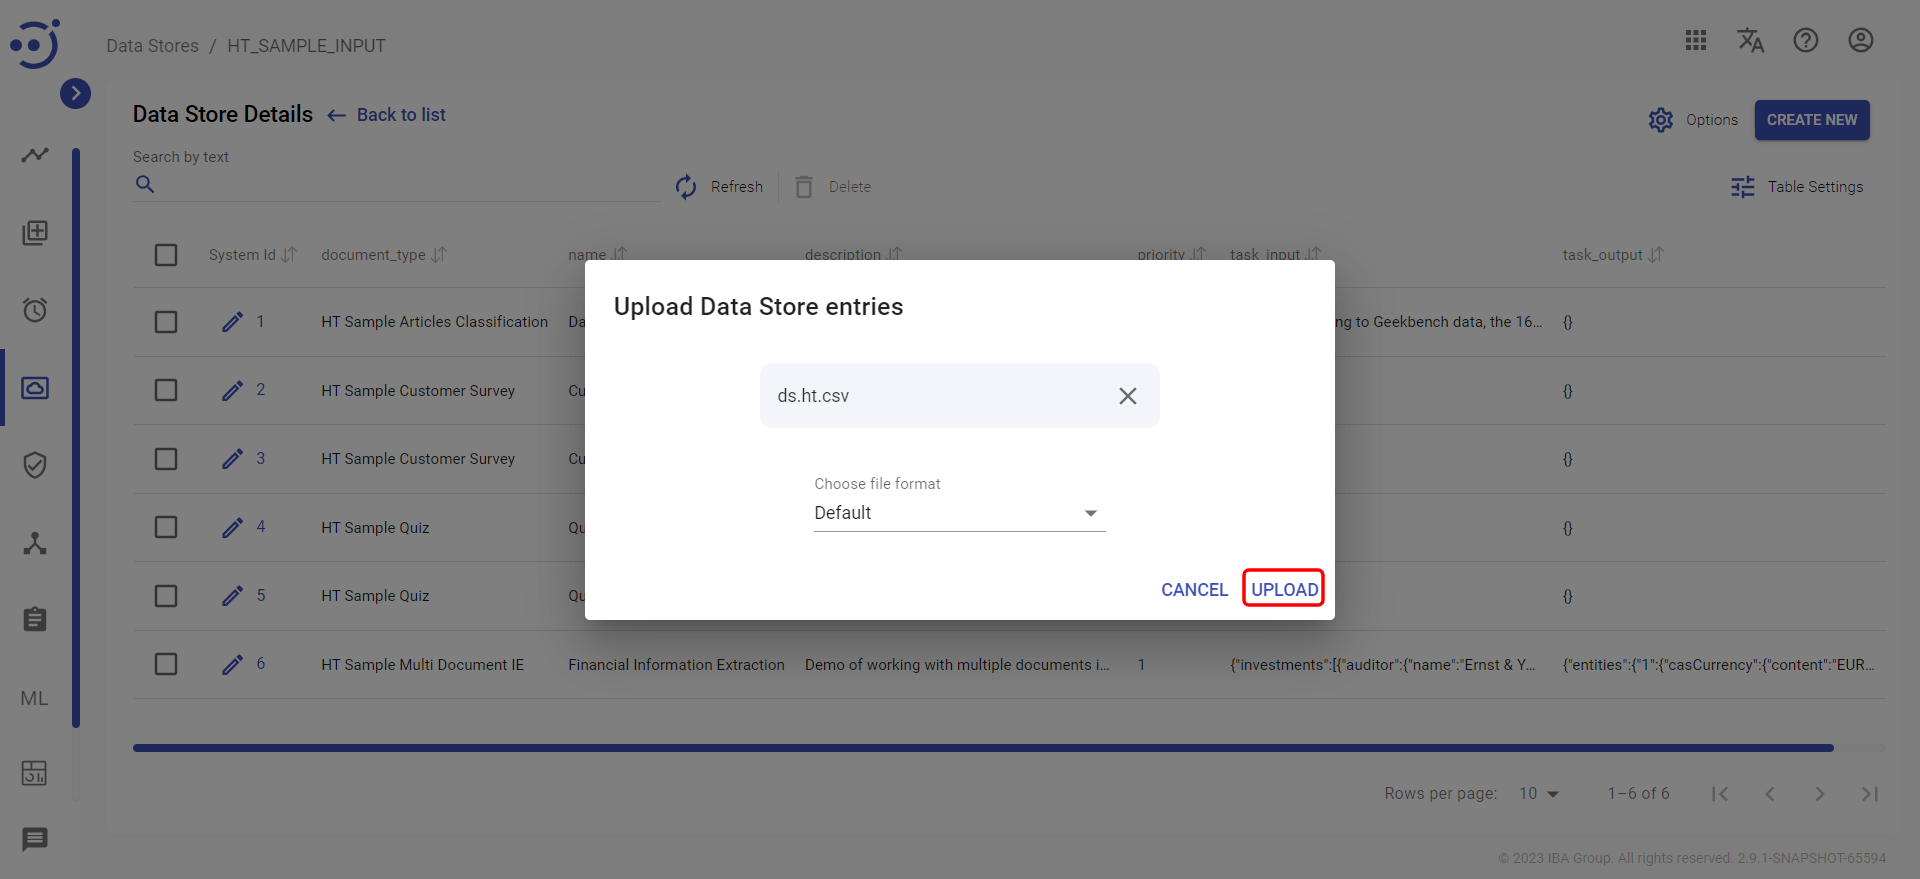
4. Click UPLOAD for load the file:
![]() The column headers in the chosen file should be the same as in the existing Data Store to be mapped properly. Only the values with the same column headers will be added to the Data Store, the other will stay blank. If no match in column headers will be found, then empty records will be added to the Data Store.
The column headers in the chosen file should be the same as in the existing Data Store to be mapped properly. Only the values with the same column headers will be added to the Data Store, the other will stay blank. If no match in column headers will be found, then empty records will be added to the Data Store.
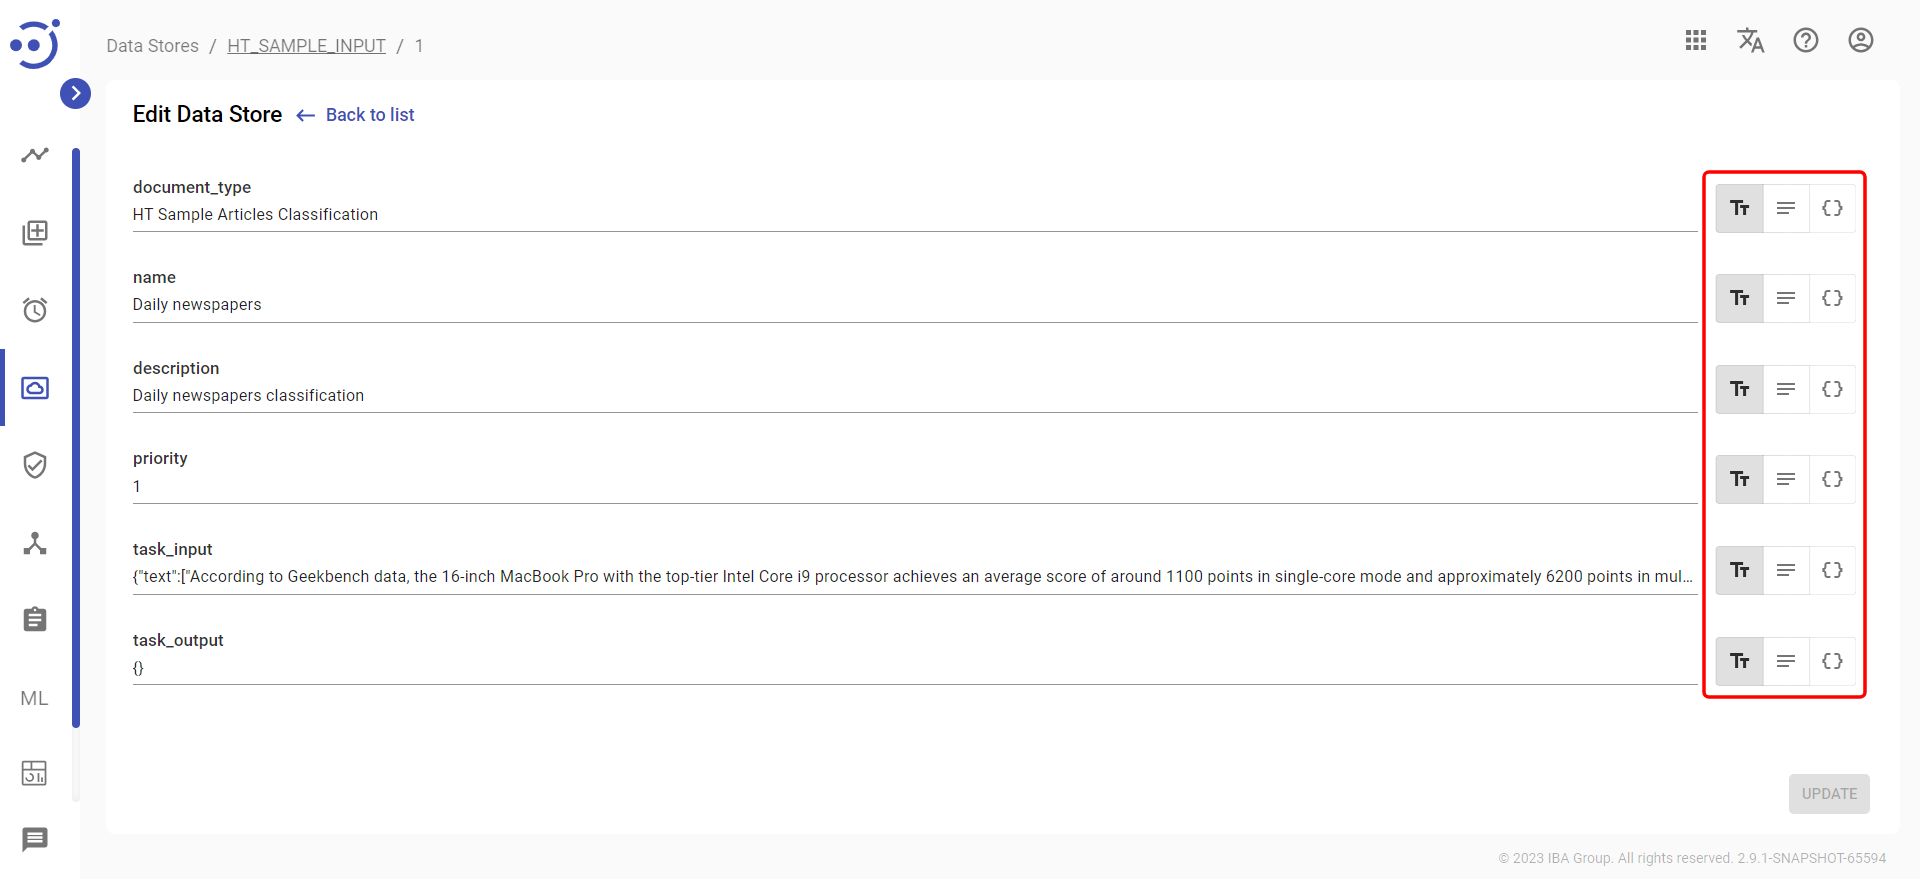
View/Edit an existing Record in Data Store
To update an existing Record, you need to:
- Press
on the corresponding Record.
- Change the field values and, if necessary, change the data display format from String to Text or JSON.
- Press UPDATE.