Quick Start Guide
Quick Start Guide
EasyRPA Control Server instance
You get everything you need during development with the Control Server installation on Nexus:
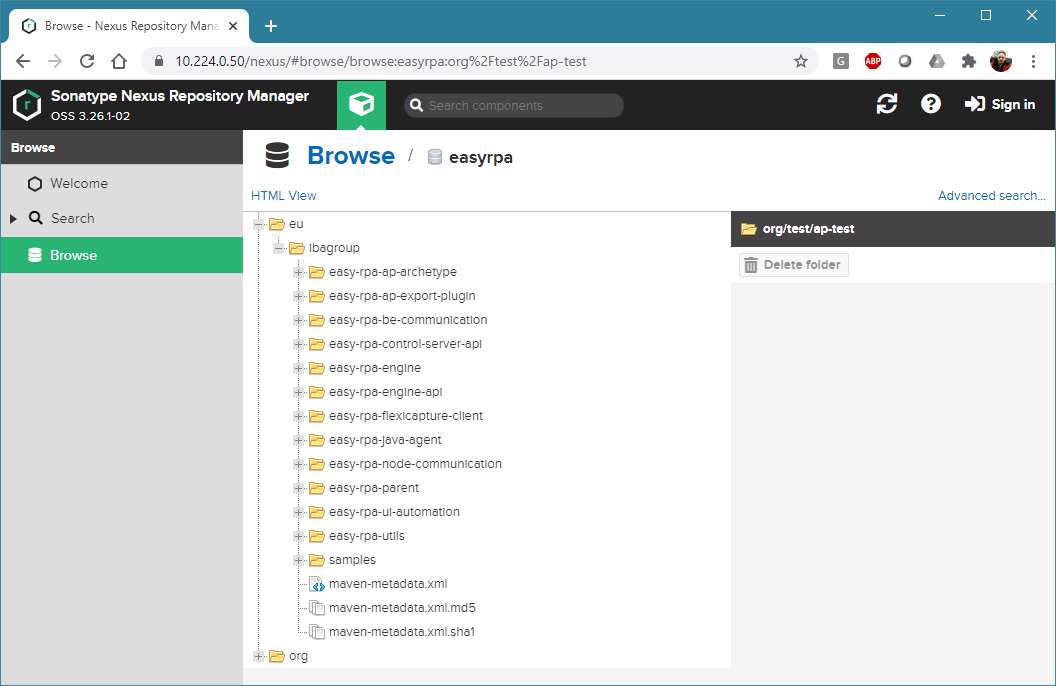
Refer to the installation guide to obtain a development CS instance or use an existing instance that you have access to.
Setup maven to use EasyRPA nexus repository
Open the maven settings.xml file (under */.m2 on Linux or C:/Users/*your user>/.m2 on Windows) and add the maven repository using the provided templates.
In order to deploy Automation Process jar code on CS Nexus, you need to include the following authentication artifact:
	<servers>

		. . . .
		<server>
			<id>rpaplatform-nexus</id>
			<username>{Nexus deployment user}</username>
			<password>{Nexus deployment password}</password>
		</server>

	</servers>
"username" and "password" are provided by the platform administrator. Please, refer to the Application server post-installation for more details.
Control Server maven repository for artifacts access:
. . . . .
<profiles>
	<profile>
		<id>rpaplatform-nexus</id>
		<repositories>
			<repository>
				<id>rpaplatform-nexus</id>
				<url>https://{CS host}/nexus/repository/rpaplatform/</url>
			</repository>
		</repositories>
		<pluginRepositories>
			<pluginRepository>
				<id>rpaplatform-nexus</id>
					<url>https://{CS host}/nexus/repository/rpaplatform/</url>
			</pluginRepository>
		</pluginRepositories>
	</profile>
</profiles>
<activeProfiles>
	<activeProfile>rpaplatform-nexus</activeProfile>
</activeProfiles>

. . . .
Generate project from archetype
Using maven easy-rpa-ap-archetype, we will create a new project from a template. Run the wizard with the following command:
mvn archetype:generate -DarchetypeGroupId=eu.ibagroup -DarchetypeArtifactId=easy-rpa-ap-archetype -DarchetypeVersion={easyRPA version} -DgroupId={your project group id} -DartifactId={your project artifact id} -Dversion={your project version}Ensure that you have added the Control Server root certificate to your java trust store.
The archetype generator will provide you with pre-filed values for project generation:
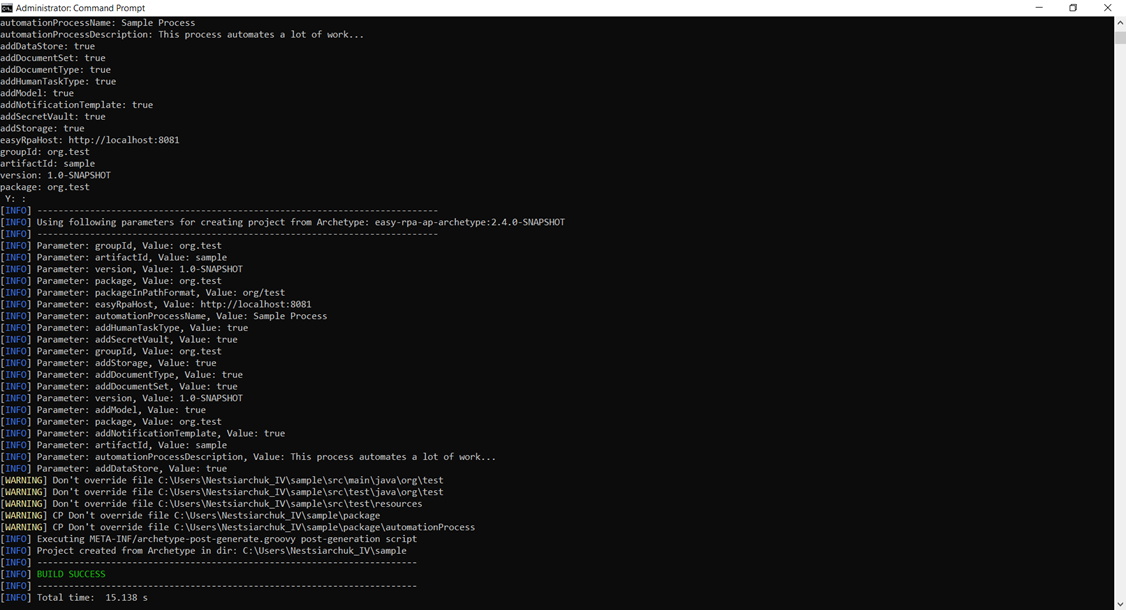
You can either use the default or type N to run the wizard in interactive mode.
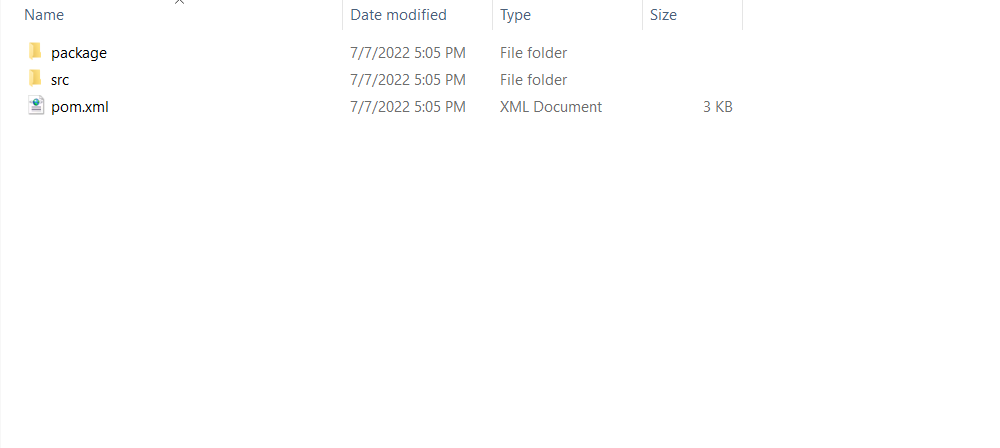
The result will be as follows:
Please make sure 'moduleClass' is correctly set in the package/automationProcess/ap.json
You can find the current version of Easy RPA at the bottom of the Control Server page or in the "About" window. The version consists of three digits separated by a dot.
To start downloading all the required artifacts, open the generated archetype project in the IDE and run -maven clean install.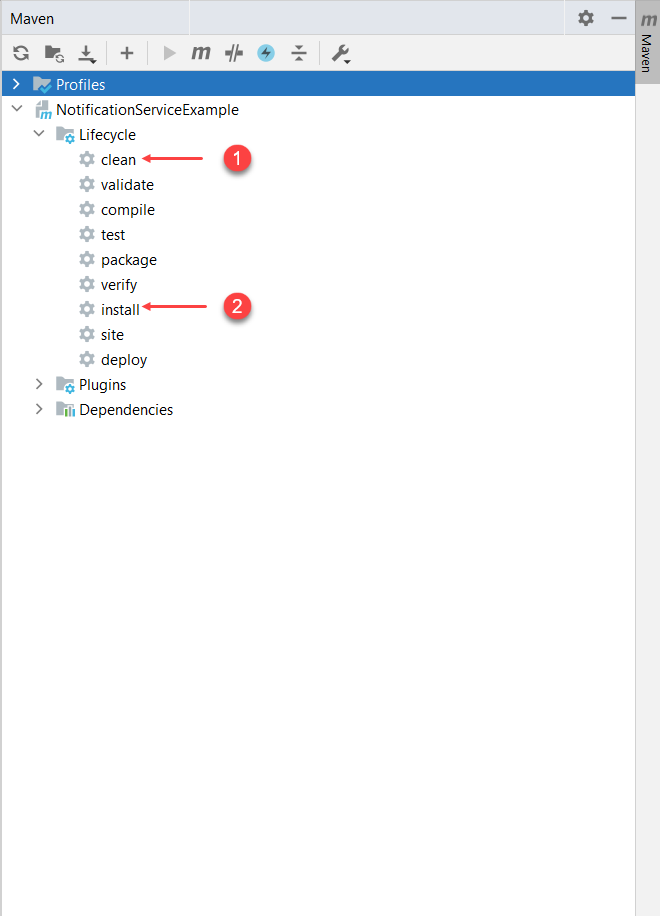
Adding logic to your automation process
Now let's add some simple logic to the execute() method in the generated Task class - let's log "Hello World" message. This is the most simple no input-output task we can build. It's made that way for the purpose of that demo.
Our class should be looking like this now
import eu.ibagroup.easyrpa.engine.annotation.ApTaskEntry;
import eu.ibagroup.easyrpa.engine.apflow.ApTask;
import eu.ibagroup.easyrpa.engine.apflow.ApTaskBase;
import lombok.extern.slf4j.Slf4j;


@Slf4j
@ApTaskEntry(name = "Sample Task", description = "Easy RPA Generated Task")
public class Task extends ApTask {
	@Override
	public void execute() {
		log.info("Hello World!");
	}
}
Running process locally
To test our simple process lets use generated ModuleLocalRun class which can be found under the 'src/test/java' project folder.
import eu.ibagroup.easyrpa.engine.boot.ApModuleRunner;

public class ModuleLocalRun {

	public static void main(String[] args) {
		//ApModuleRunner.localLaunch(Module.class, new DevelopmentConfigurationModule(args));
		ApModuleRunner.localLaunch(Module.class);
	}
}
ModuleLocalRun is a plain Java executable - to run it either Java command line or your favorite Java IDE can be used.
If everything is correct you should be getting "Hello World" message printed out in console window.

Run Automation Process in cooperate with Control Server
To run our simple Automation Process with the Control Server we need following additional steps:
- Setup an AP_RUN node locally and register it with the Control Server
- Setup locally run of the AP against the Control Server
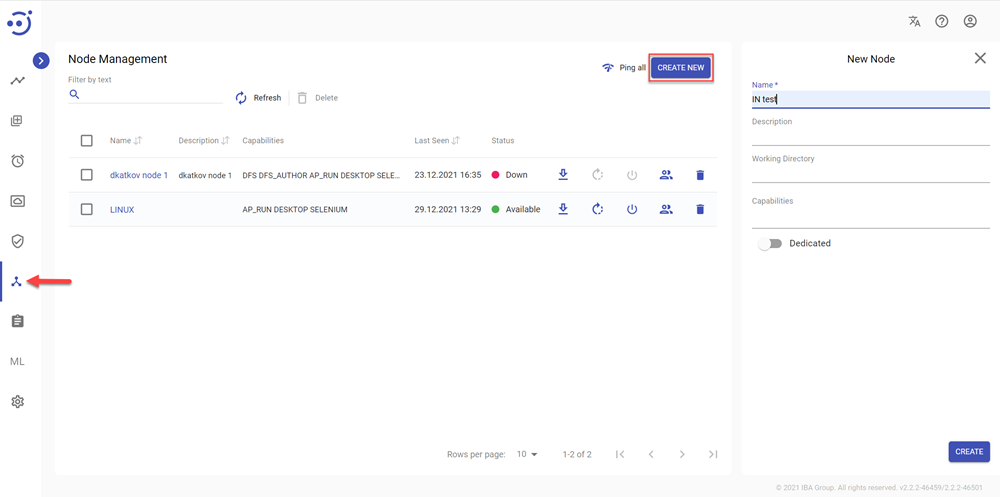
Setup a Node
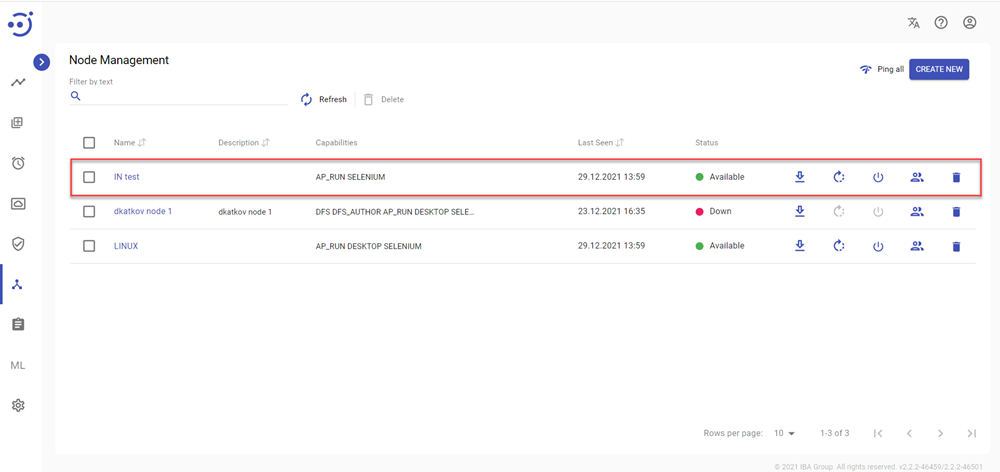
To install and setup EasyRPA node agent locally, go to Control Server, navigate to Nodes module and create a new Node for your machine:
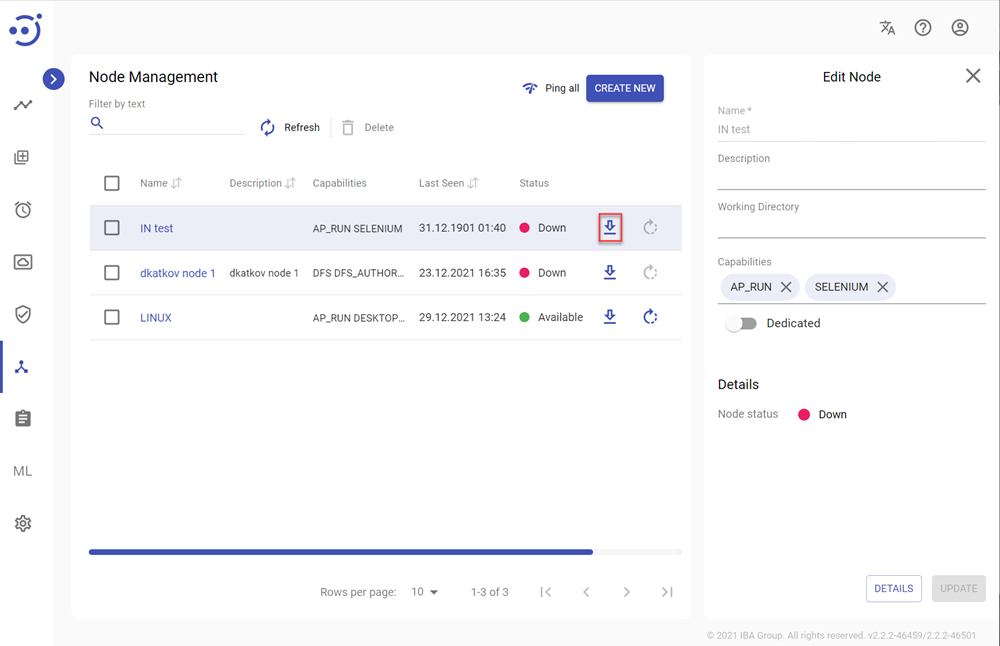
Download the node agent package to your machine
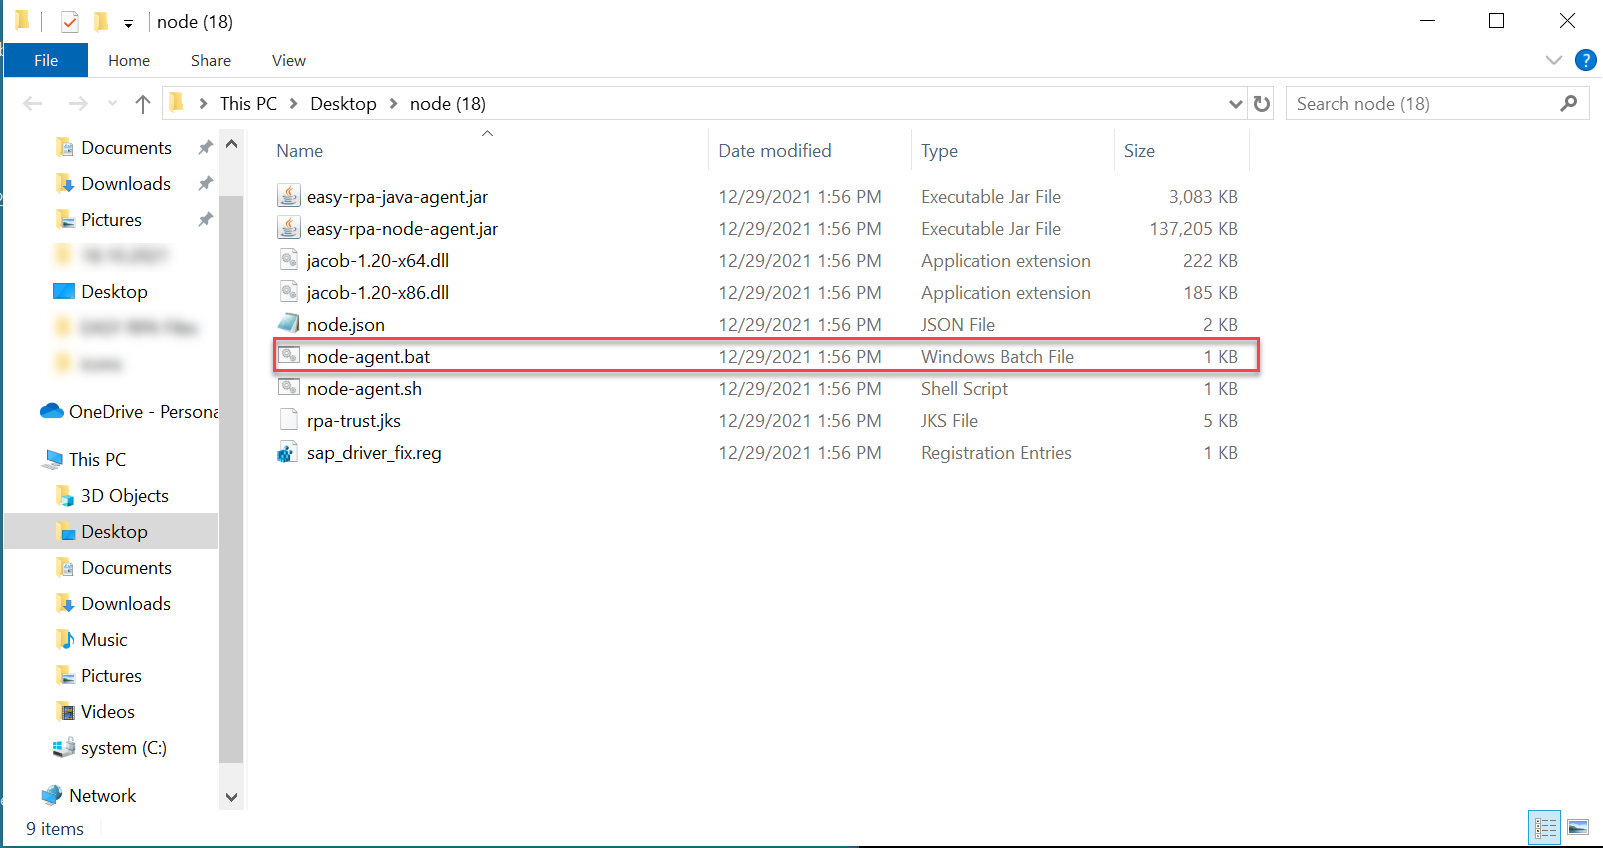
Unzip it and run node-agent.bat file:
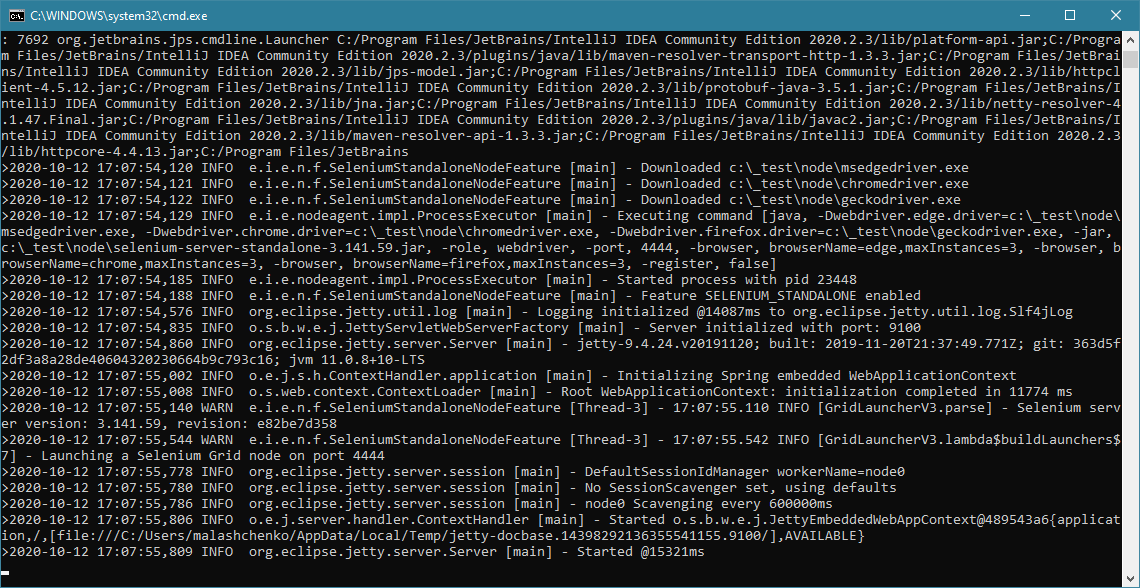
The node becomes available for CS:
Now you can run the Automation Process using the local EasyRPA Node. Robot will perform RPA tasks on your developer machine.
Setup locally run of the AP against a Control Server
In preparation to run we need to link our run target to a ControlServer instance first.
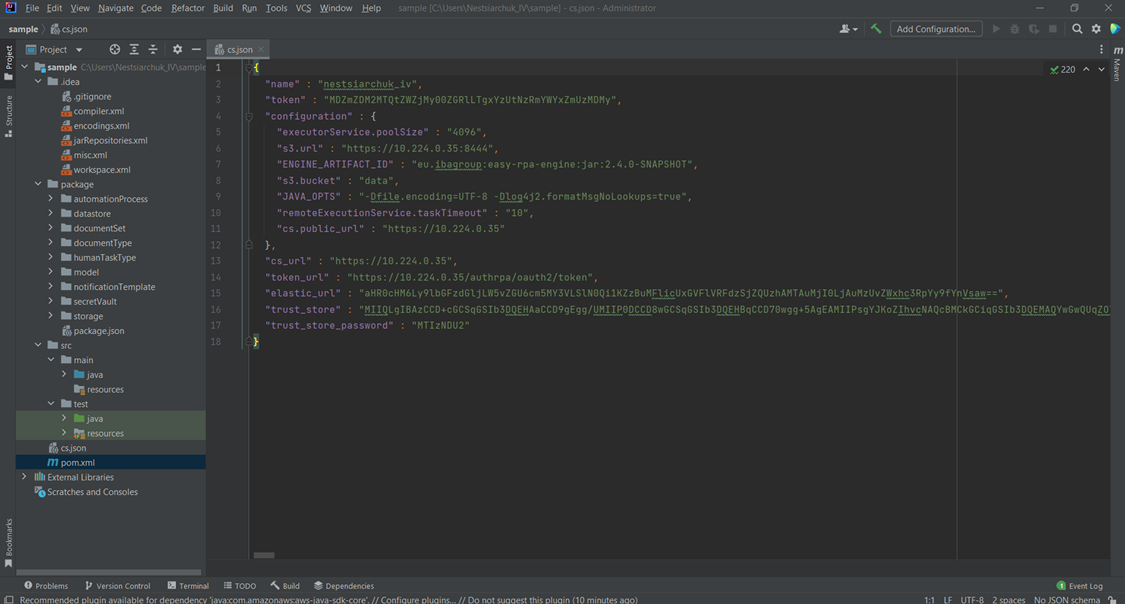
Download development configuration JSON file, put it into run working directory. Note that users can only download the Development configuration if they are members of the Group with Development-ACTION permission.
Rename file to cs.json and put it into module working directory:
Now edit the ModuleLocalRun class like it is suggested below - localLaunch now should accept extra DevelopmentConfigurationModule param
public class ModuleLocalRun {

	public static void main(String[] args) {
		ApModuleRunner.localLaunch(Module.class, new DevelopmentConfigurationModule(args));
		//ApModuleRunner.localLaunch(Module.class);
	}
}
and finally run the ModuleLocalRun again:
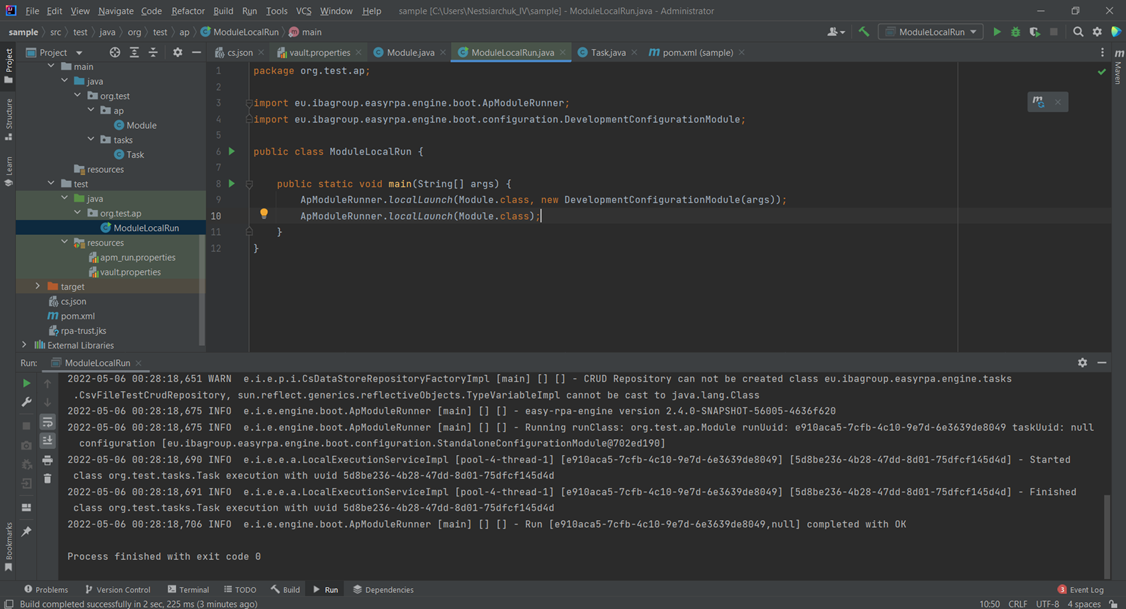
Check results in Control Server: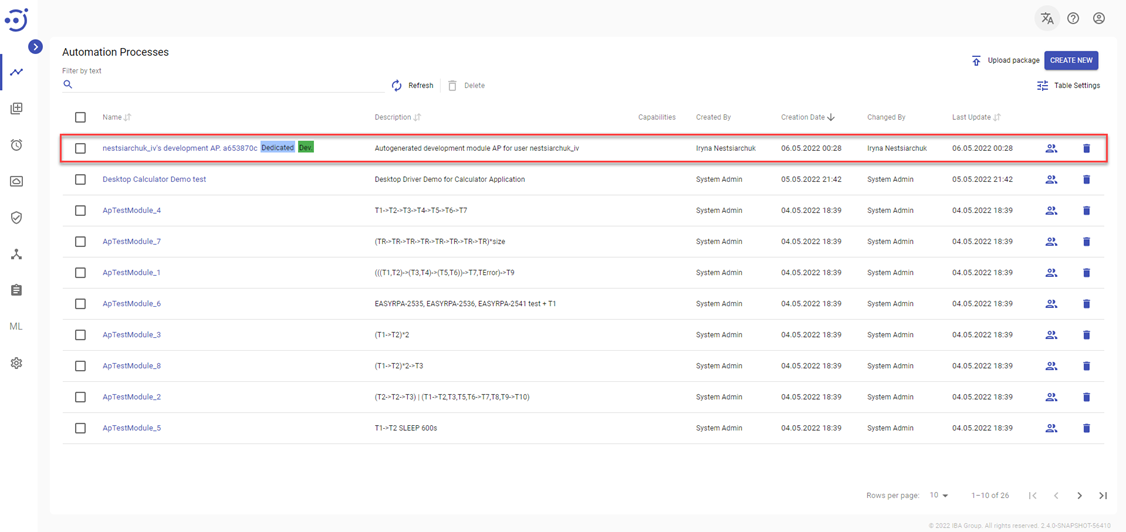
Deploy on control server
To use plugin for automatical Ap package upload on Control Server, you need to set path to development configuration file - cs.json:
<build>
	<plugins>
		<plugin>
			<groupId>eu.ibagroup</groupId>
			<artifactId>easy-rpa-ap-export-plugin</artifactId>
			<version>2.4.0-SNAPSHOT</version>
			<configuration>
				<config>c:\work\cs.json</config>
			</configuration>
		</plugin>
	</plugins>
</build>
And run the following command that will build the project, create a zip-package and upload it into CS you specified:
mvn clean package deploy -Pcs-upload
Now you can check Control Server's Automation Processes list for the process added above

Follow Automation Process Details instructions to run the AP from the CS UI.