Node agent installation
Node agent installation
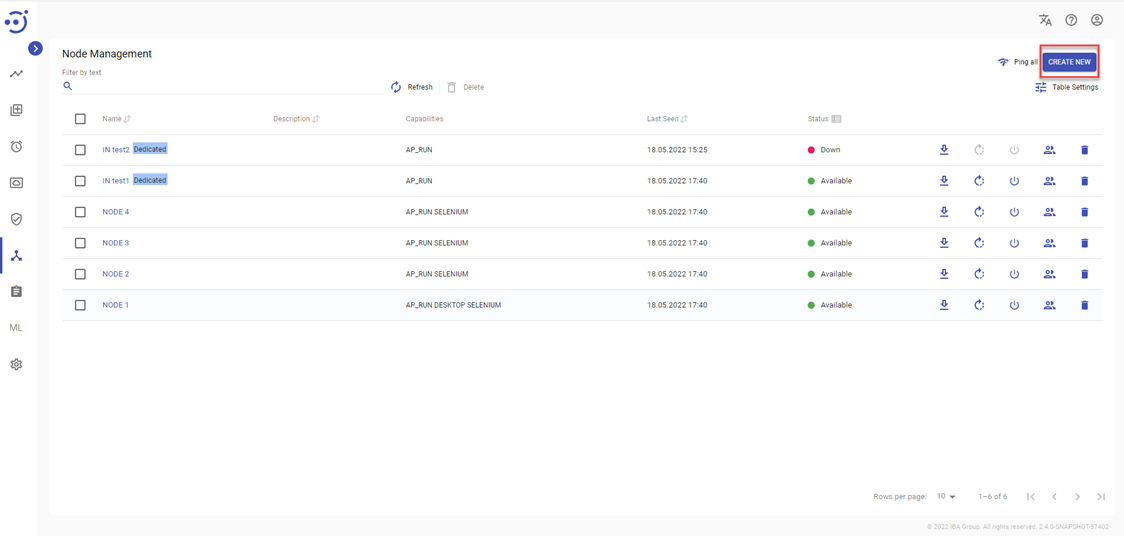
A Node Management module in EasyRPA allows users to view a list of the available nodes. If you have created a Node, you can manage it as described in the Node Management article.
Create a new Node
To create a new Node, you need to:
- Navigate to the Node Management module.
- Click Create New.
- In the New Node pop-up panel enter the following details:
- a unique name to distinguish the node.
- a node description optionally.
- a working directory optionally.
- capabilities - capability labels indicating what capabilities the node has.
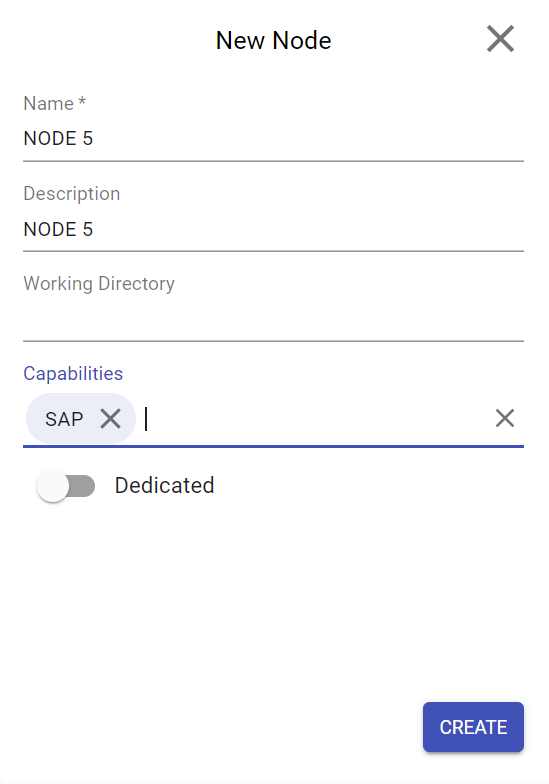
- Click Create.
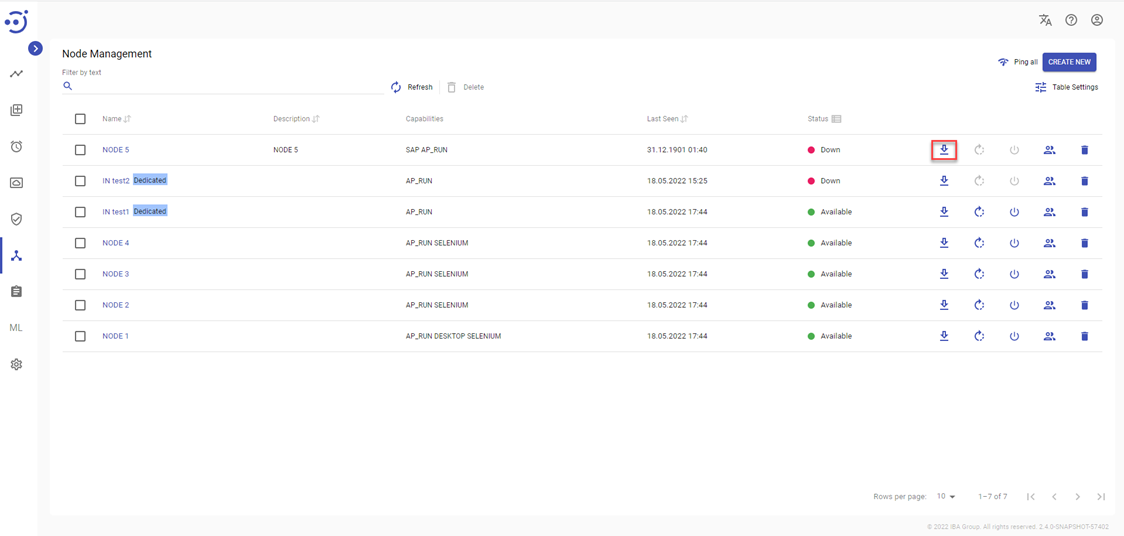
This will result in the new node in status "Down" appearing in the node catalog and the Download icon showing up so you can download an installation package:
The downloaded package contains the following files:
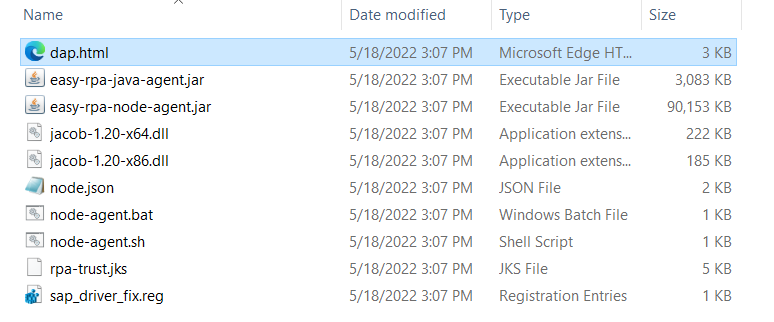
Windows based node agent
- Extract downloaded ZIP on the machine where automation processes will be executed.
- Run node-agent.bat file. After the Node is started node status in Control Server will be changed to Available.
Linux based node agent
- Extract downloaded ZIP on machine where automation processes will be executed.
- Run node-agent.sh file. After the Node is started node status in Control Server will be changed to Available.
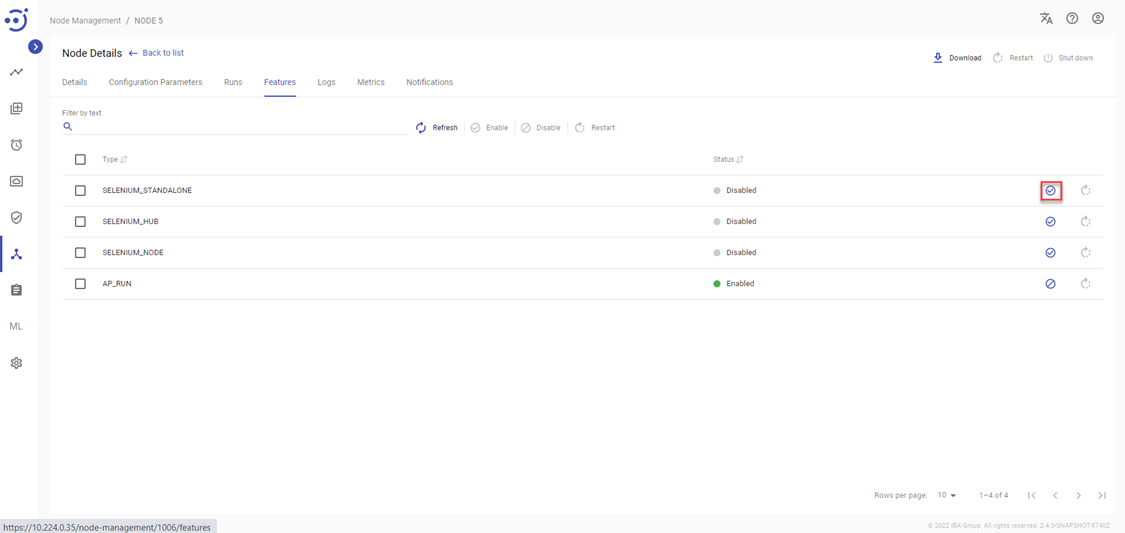
Enable features in existing Nodes
To enable the required features (AP_RUN feature is enabled by default.), you need to:
- navigate to the corresponding node
- open the Features tab
- enable the feature, click the Enable button. The status of the feature will be changed to Enabled, and the corresponding drivers will be installed on the machine