Custom Human Task Type
Custom Human Task Type
What is Human Task Type ?
A Human Task Type (HTT) is a special JavaScript web-based application (provided as a zip package) which provides an user interface for Workers (contractors, SMEs, employees) to work on a Task within an EasyRpa Automation Process.
Basic Structure
Basic HTT consists of 3 files:
index.html - Provides the main logic and html structure. This file is the point of entry in Human Task. The basic example of structure bellow:
<!DOCTYPE html>
<html lang="en">
<head>
	<title>Human Task Example</title>
</head>
<body>
	<div id="root">
		<!-- some html structure -->
	</div>
</body>
<script>
	//scripts with some rules, logic and etc.
</script>
</html>
sample.json - this file is needed for the Playground where you can see and test your HTT.
The properties 'inputJson', 'outputJson' and 'settings' are required{ "inputJson": { ... }, "outputJson": { ... }, "settings": { ... } }package.json - this file is needed to know the name and version of HTT for EasyRPA. The basic example bellow:
{
	"name": "human-task-type-example",
	"version": "0.1.0"
}
Workspace Integration
Workspace uses posting or listening messages into or from Human Task to send and receive the data. The window.postMessage() method safely enables cross-origin communication between Window objects. When Human Task is created on Workspace you need to receive the input json data from Application Process. The input data will be stored in 'data' property of the received message. The structure of input data is the same as sample.json which described above.
To get input data you need to add the following listener in your index.html or your script file.
'validation-message' means that Worker has completed manual task and it is ready to be completed. Here you can validate the inserted data and post it to Control Server and complete Human Task.
window.addEventListener('message', message => {
	const { data } = message; //collect input data
	if (!data['validation-message']) {
		renderApp(data);
	} else if (data['validation-message']) {
		submit(data);
	}
});
When you got the input data you can use 'inputJson' to fill some fields or use 'settings' to collect some internal settings eg: labels, regexp, list of required fields etc.
Bellow the example to use incoming settings and inputJson to render Human Task and fill the values in the input field.
function renderApp(data) {
	const template = document.createElement('div');
	const root = document.getElementById('root');
	root.appendChild(template);

	const input = document.getElementById('main-input');
	input.value = data.inputJson.inputText;

	const inputLabel = document.getElementById('main-label');
	inputLabel.innerHTML = data.settings.input.label;
}
To submit the output data use the next example:
function submit() {
	const inputValue = document.getElementById('main-input').value;
	const outputJson = { text: inputValue };
	window.parent.postMessage(outputJson, '*');

	const data = {
		'validation-message': true,
		result: true,
	};
	window.parent.postMessage(data, '*');
}
Deploy in Control Server
- To deploy HTT to the Control Server you need to build a zip archive containing all the application files.
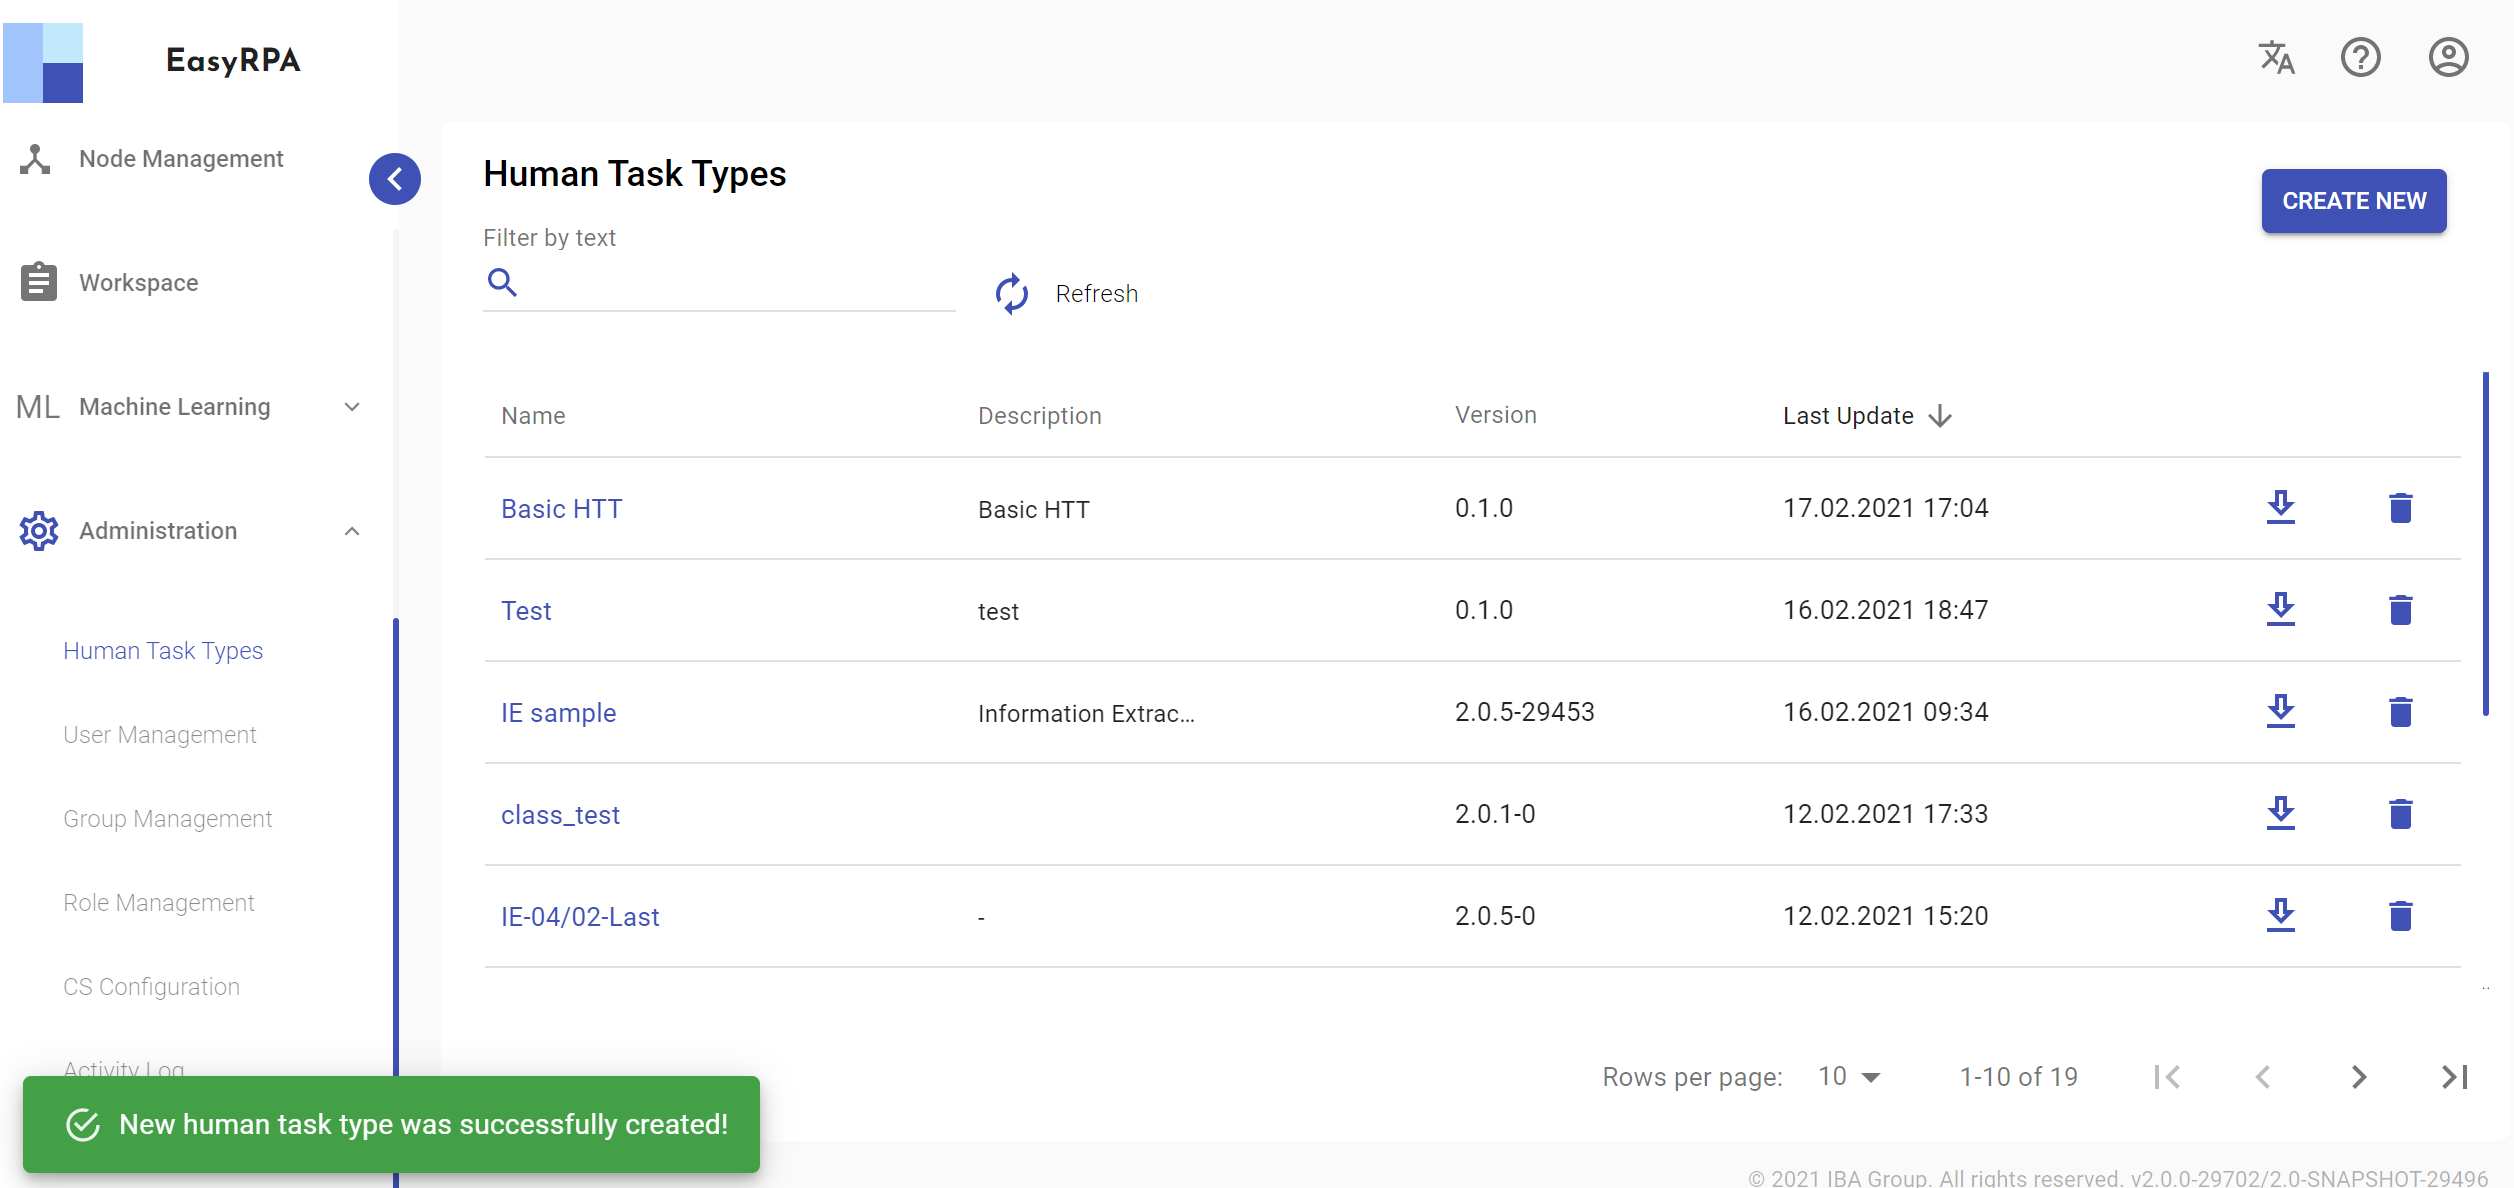
- Open Human Task Types page on Control Server
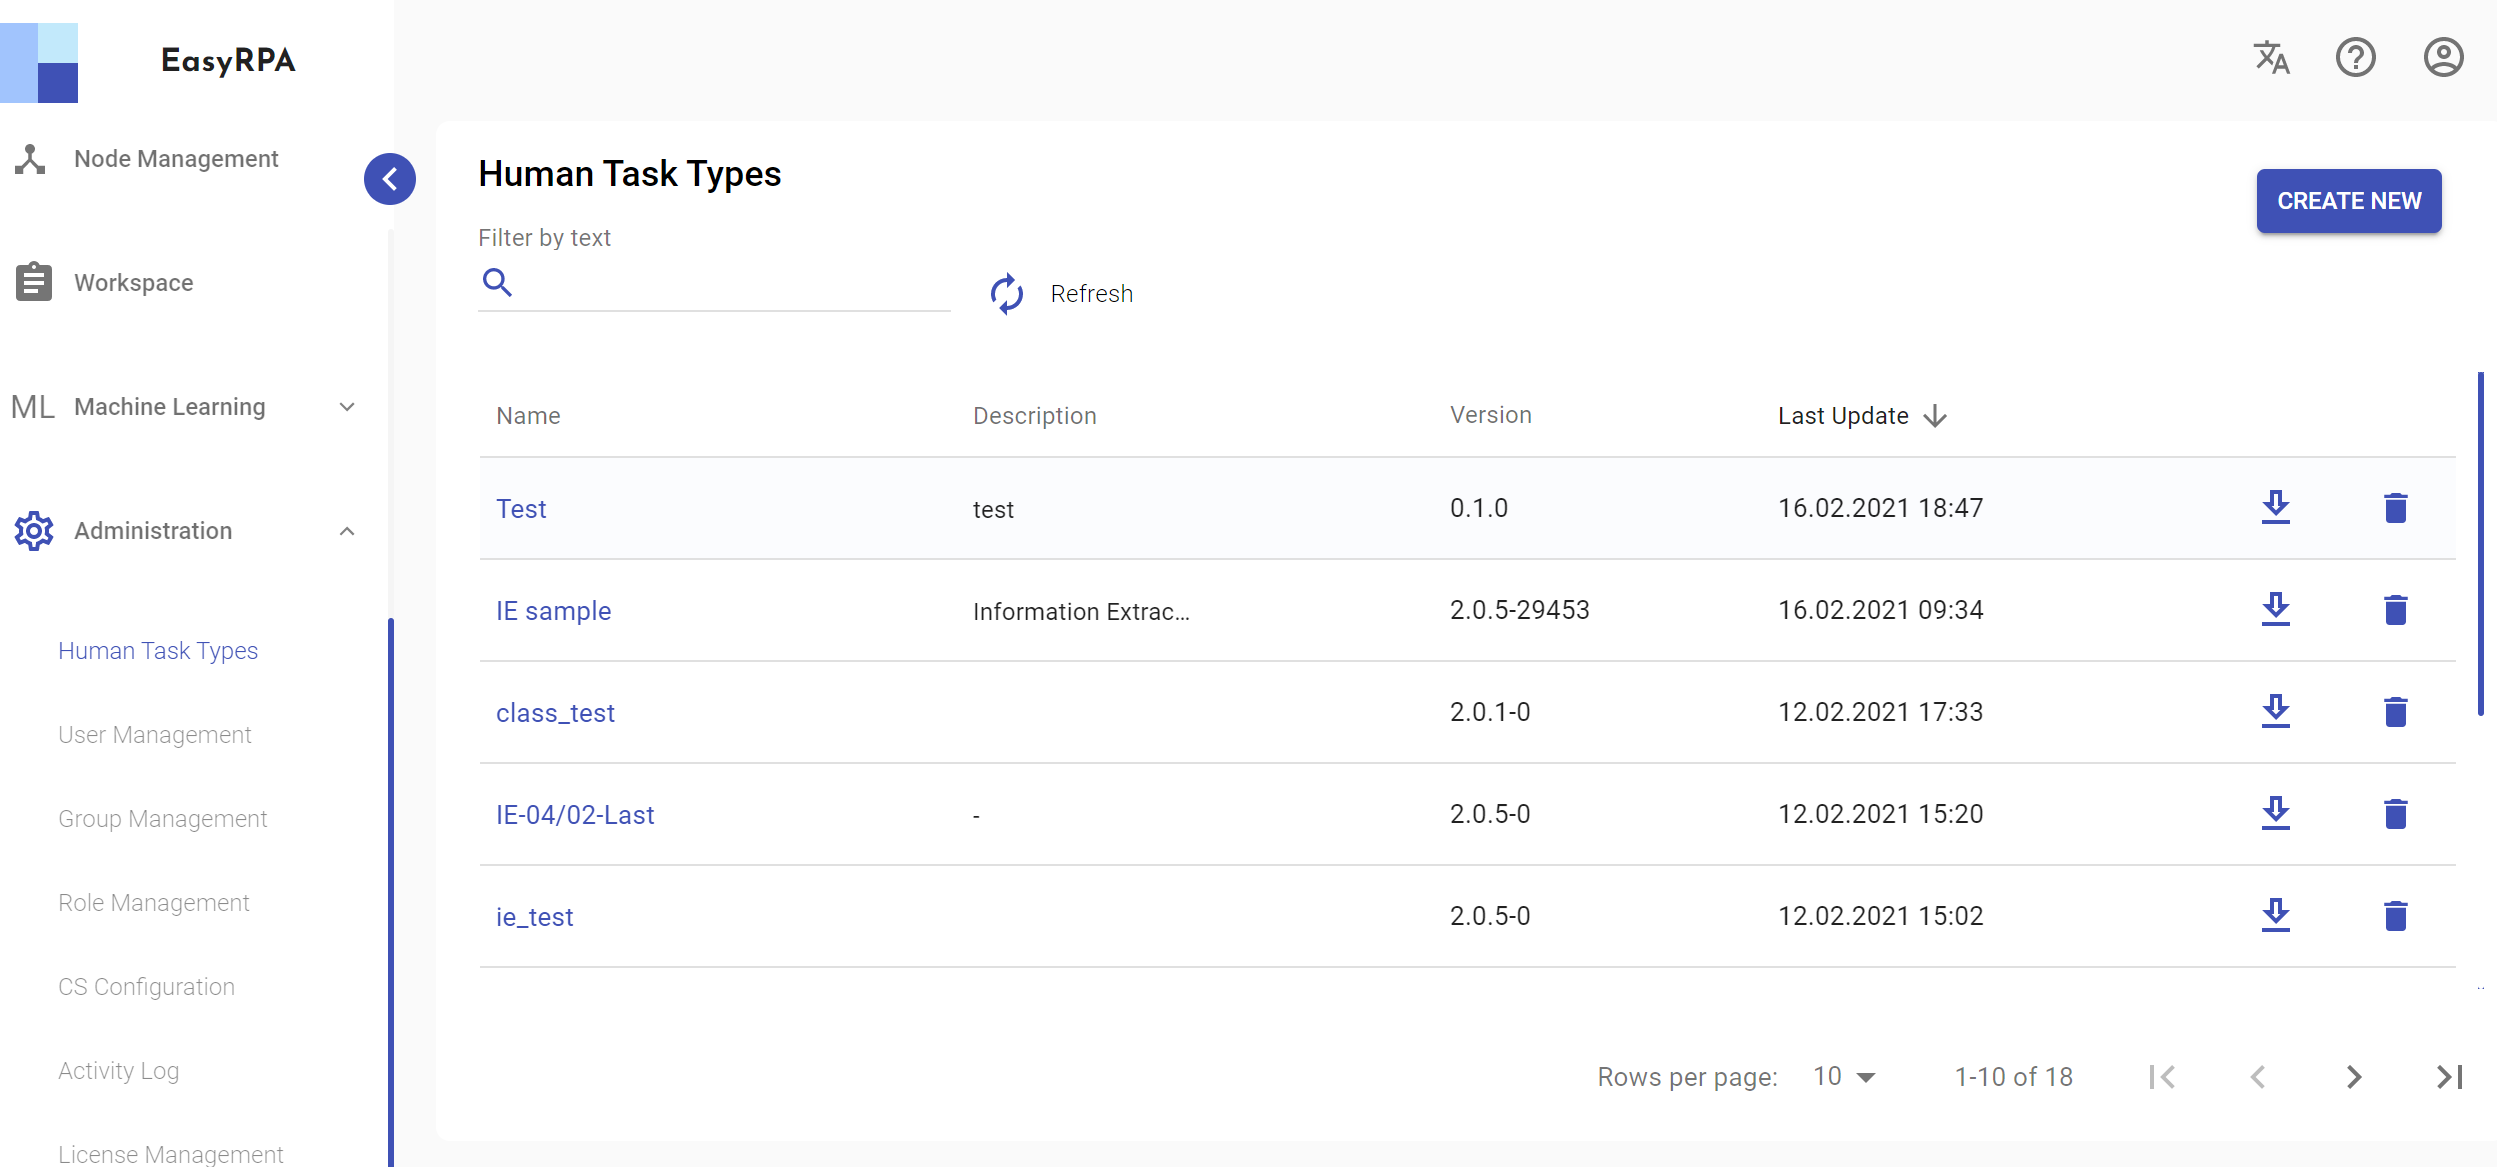
- Click Create New, fill the form and upload the prepared zip archive.
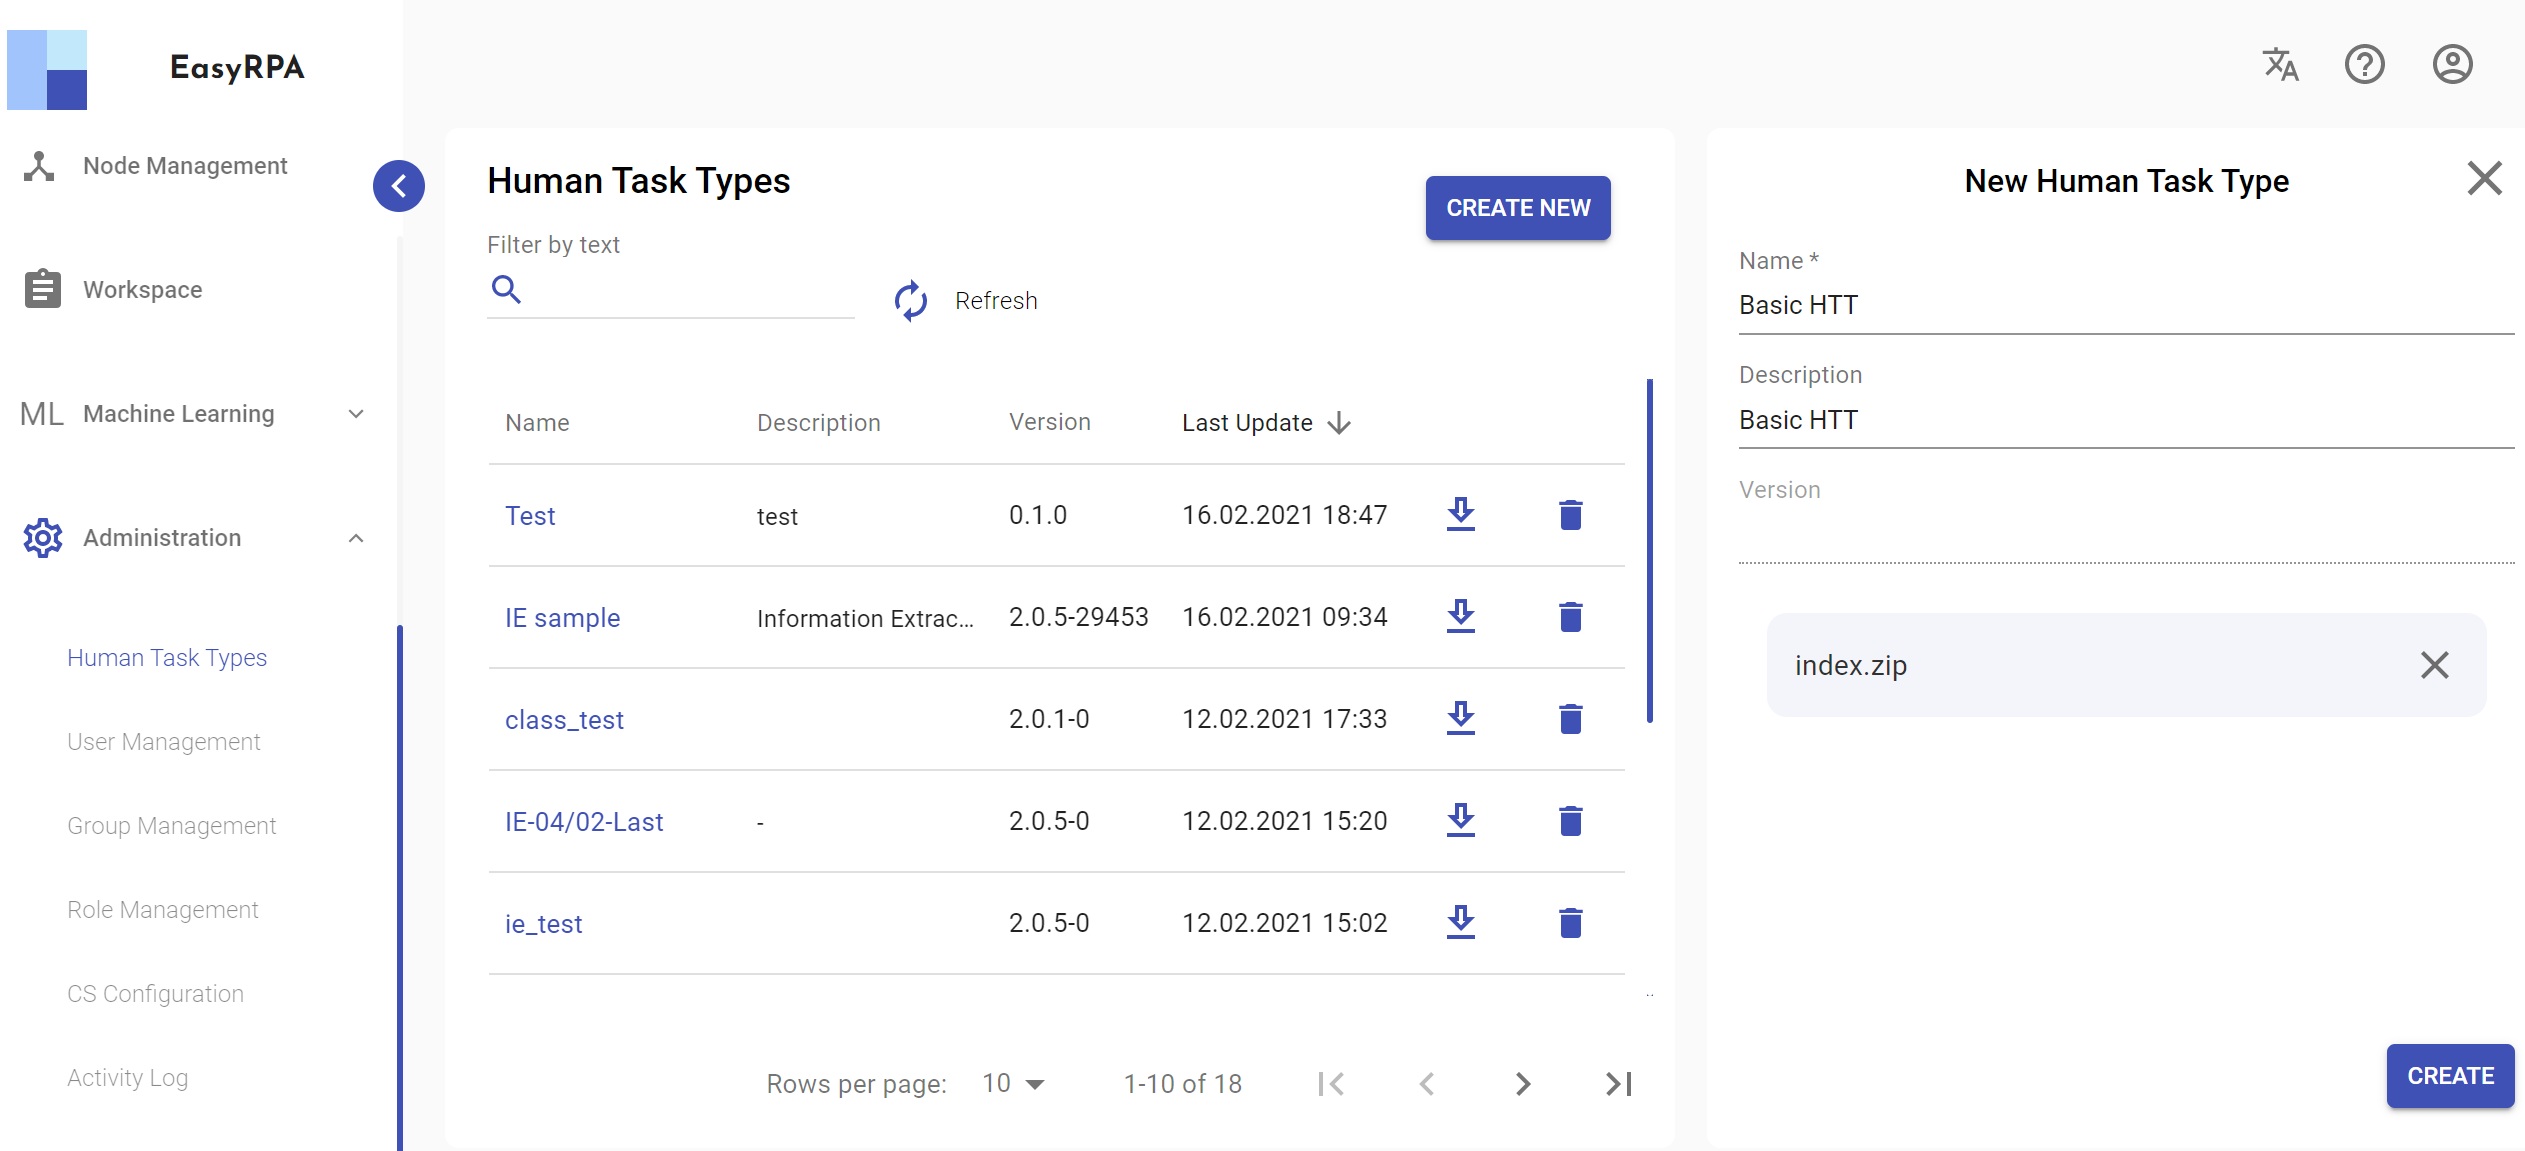
- Click Create.
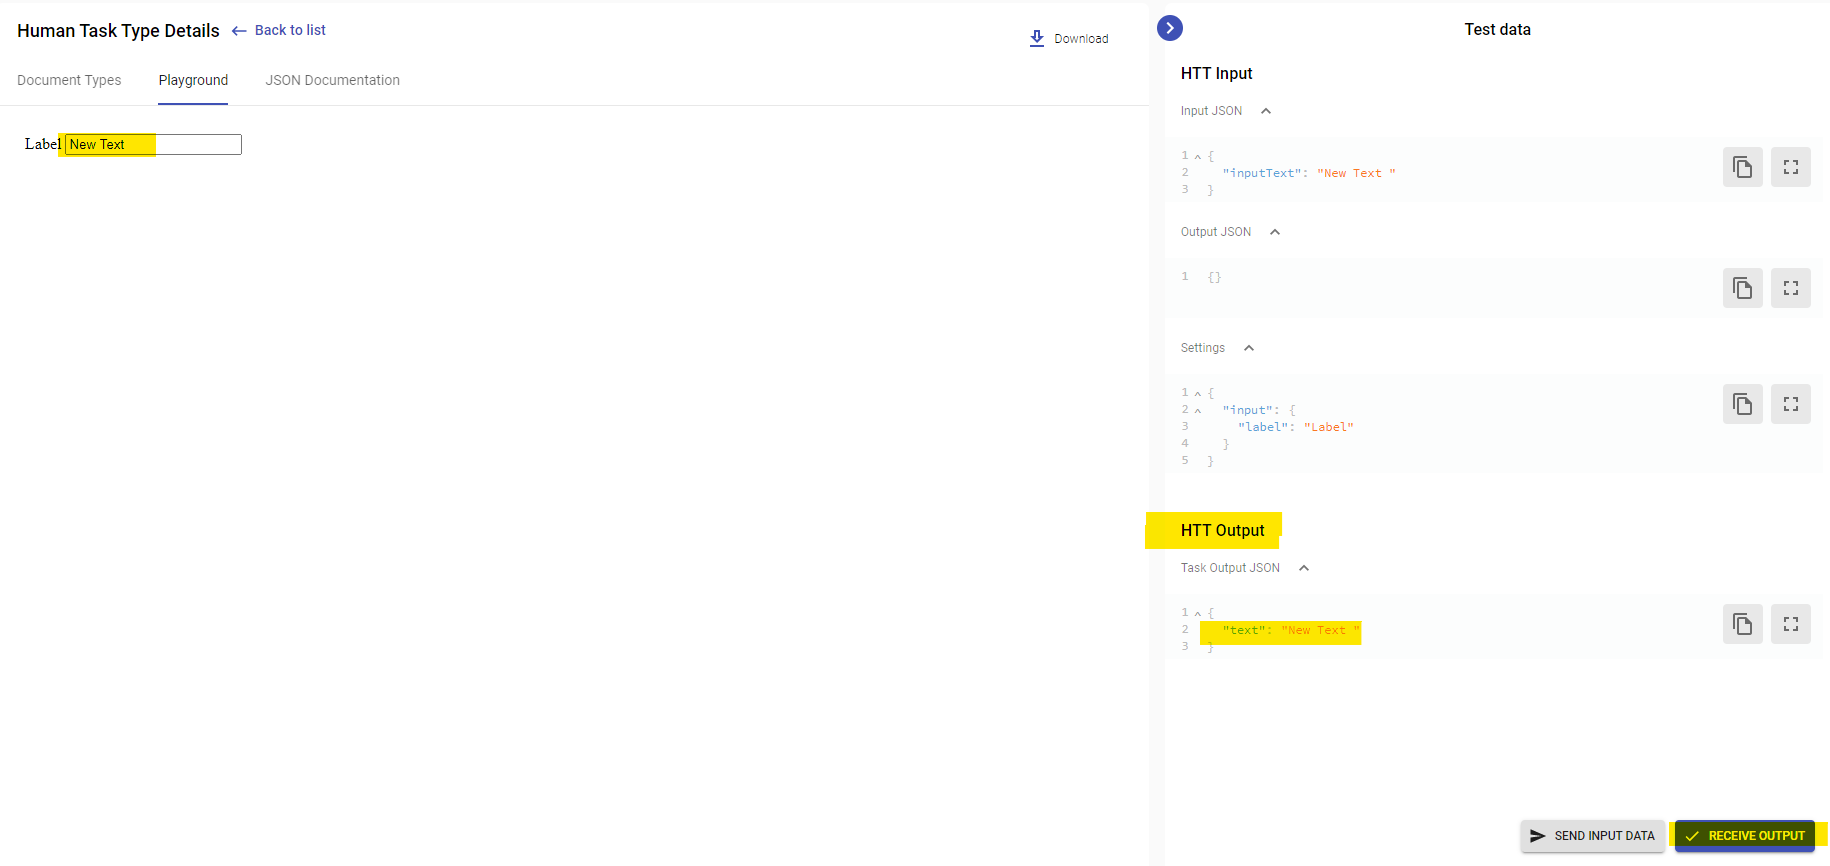
Test your own Human Task Type
The Playground allows developer to test how the Human Task integrates with the Workspace.
Lets see how the created HTT looks like in the Playground.
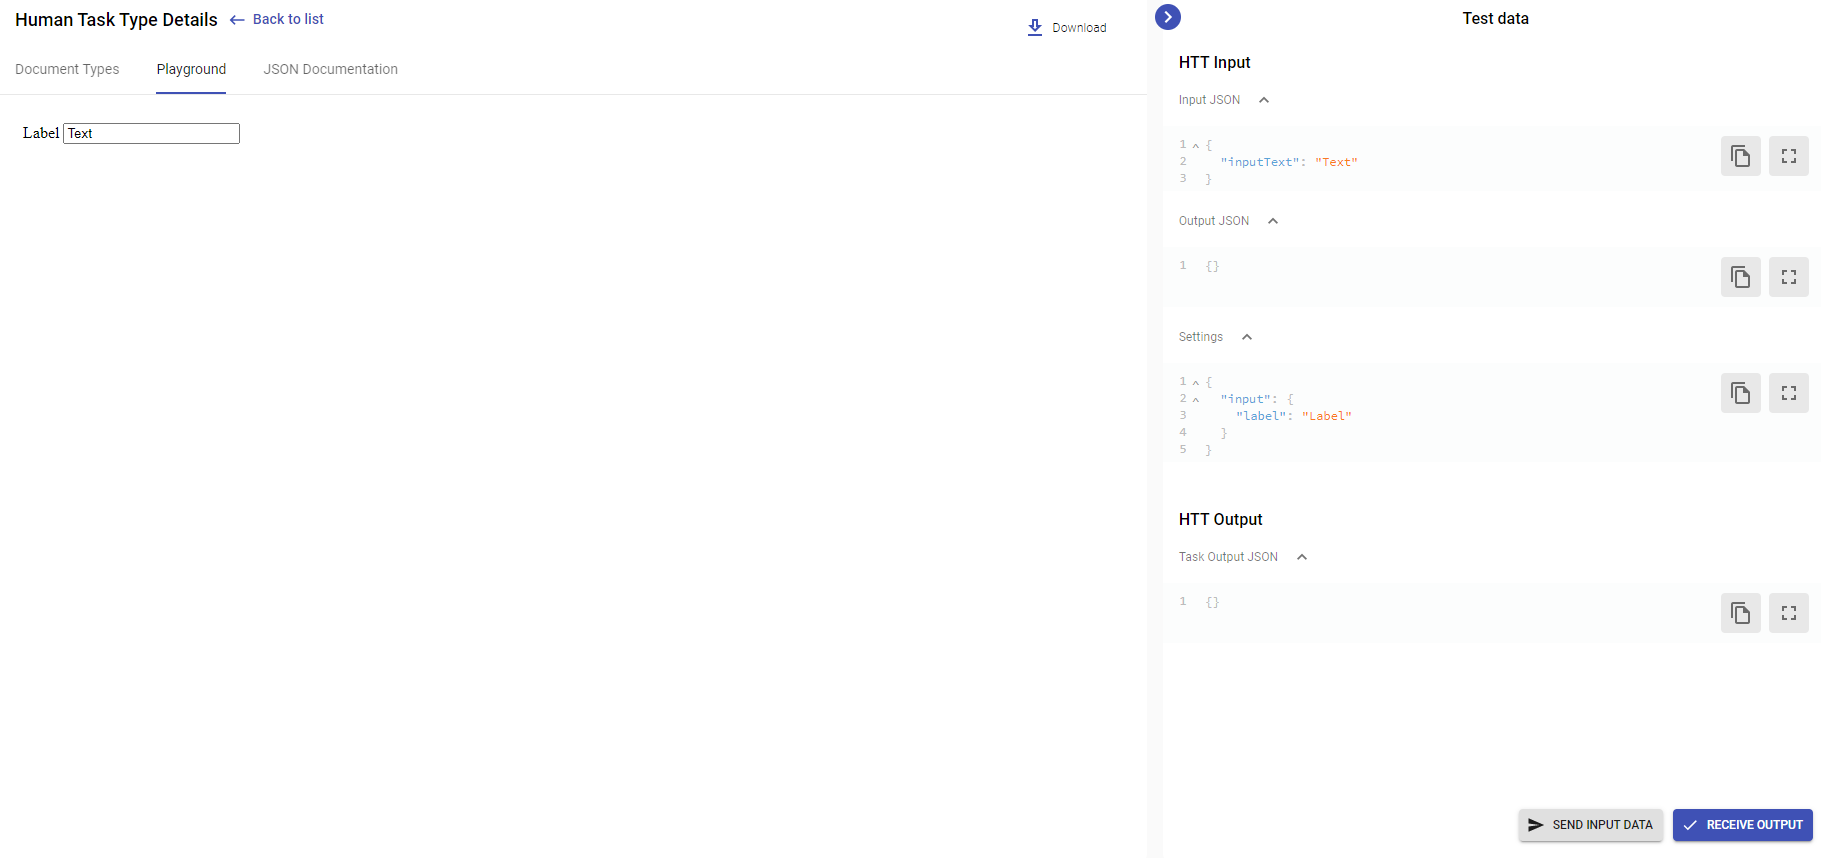
You can change the "Input JSON" and click "SEND INPUT DATA". The Workspace will fire an event with new input for the HTT.

To verify that HTT properly sends output on Workspace you need just click "RECEIVE OUTPUT" button. After that "HTT Output" section will be immediately changed.
Full Example
- For making settings (JSON) from ui forms create folder 'rjsfSchemas' with schemas (in files) according library react-jsonschema-form :
- basic.json
- extraction.json
- additional.json
- advanced.json